Do you remember the thrill of powering up your old console, the satisfying clunk of the cartridge clicking into place, and the vibrant, pixelated characters that transported you to another realm?
Whether you were a Mario fanatic (like me), a Sonic speedster, or a Pokémon trainer, those retro games hold a special place in our hearts.
Thanks to RetroPie, you can dive back into your favorite classic games. This is one of the easier projects you can build with Raspberry Pi.
Since I use Pi 5 for my homelab setup, I thought of utilizing my older Raspberry Pi 4 for the retro gaming project. In this guide, I will show you how I set up RetroPie on my Raspberry Pi 4. I'll also share some tips for that authentic retro gaming experience.
What is RetroPie, again?
Before I share the setup, let's talk about what RetroPie is. It’s a collection of emulators that enables you to play games from a wide range of classic consoles such as GameBoy, Game Cube, SNES, and PlayStation 1 & 2. You can even play some Microsoft DOS games as well.
Think of it as a pre-built package that turns your Pi into a retro gaming console with minimal setup.
But there are a few things to understand here. You won't just get access to hundreds of retro games. You'll have to get the game ROMs (digital file of the old classic games) and then upload them to the appropriate emulator folder inside the RetroPie.
There are websites that let you download the retro games of your choice. The problem is that downloading ROMs could be illegal in your country. That's the thing about corporate greed. Even if they have not been selling those games and devices for years, they won't let you enjoy that little piece of your childhood.
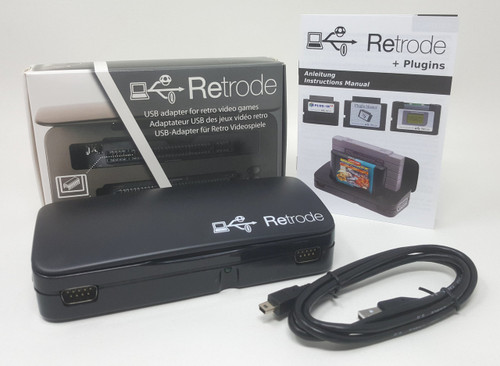
The pure legal way is that if you have those old game cartridges, you can build ROMs on your own. There are specialized devices that let you create ROMs from old cartridges.
For more details on retro game ROMs, watch the video below.
Ready to get started? Here’s how to set up RetroPie on your Raspberry Pi.
What you’ll need:
- A Raspberry Pi (ideally a Pi 3 or 4 for better performance but could work with Zero as well)
- A microSD card (at least 16 GB recommended)
- Official power supply for the Raspberry Pi
- Monitor & HDMI cable (or composite video cable for CRT TVs)
- Keyboard and mouse
- Controller or joysticks (Optional)
- An internet connection (Optional)
RetroPie installation
There are two ways of getting RetroPie on a Raspberry Pi:
- You can install RetroPie from a standalone image by flashing it onto your microSD card.
- If you’re already running an operating system like Raspberry Pi OS, you can install RetroPie right on top of it.
Method 1: Installing from pre-built RetroPie image
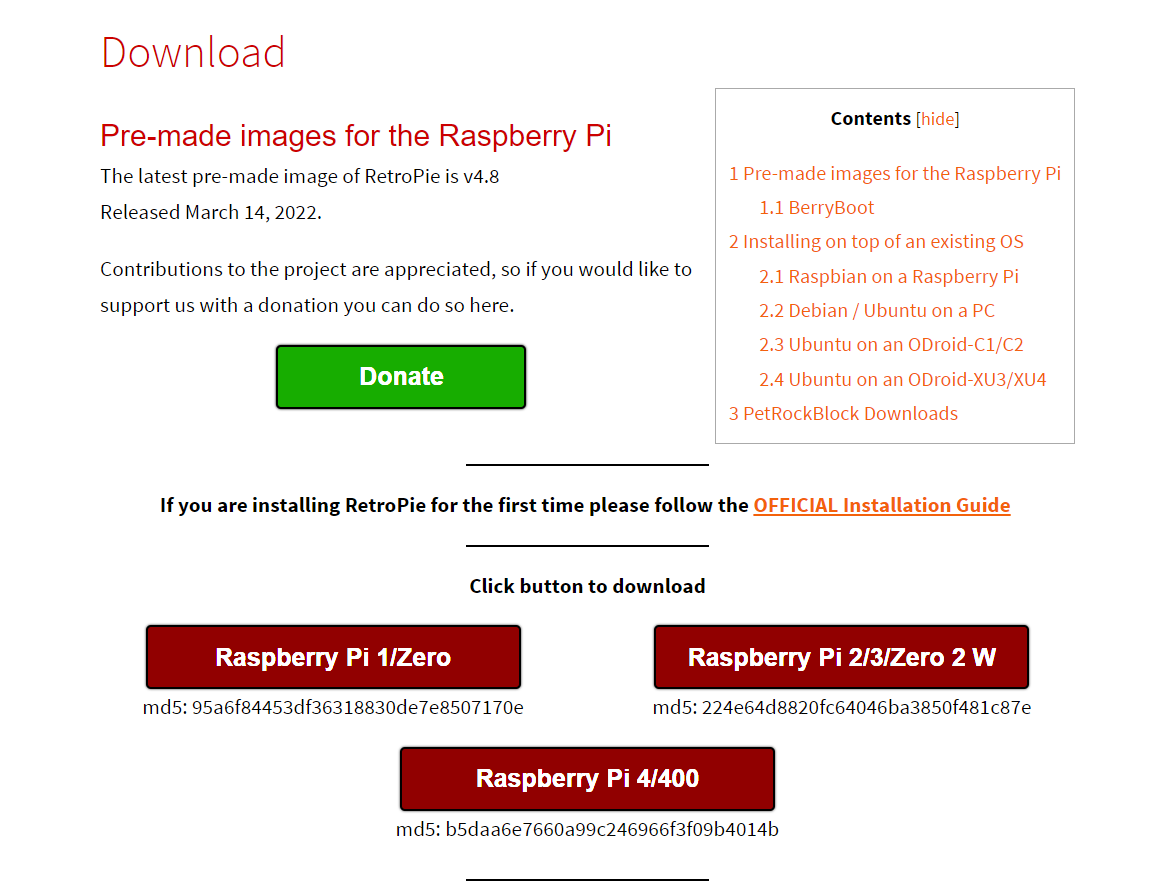
I have already downloaded the image on my system from the RetroPie's downloads page.
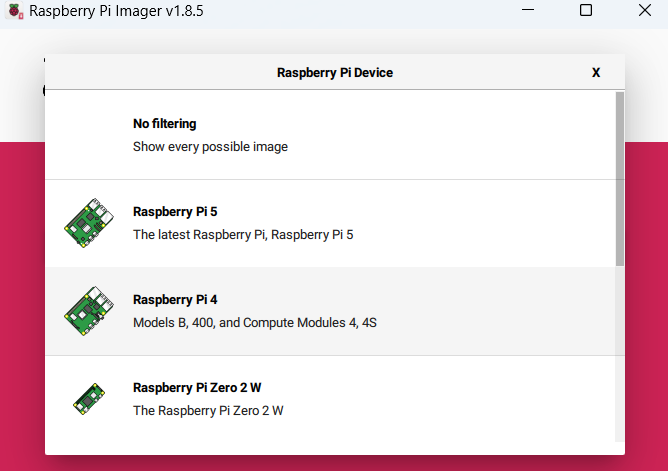
Next, burn it in a microSD card. I am using Raspberry Pi Imager tool but you can use Balena Etcher or even Rufus (if you are on Windows).
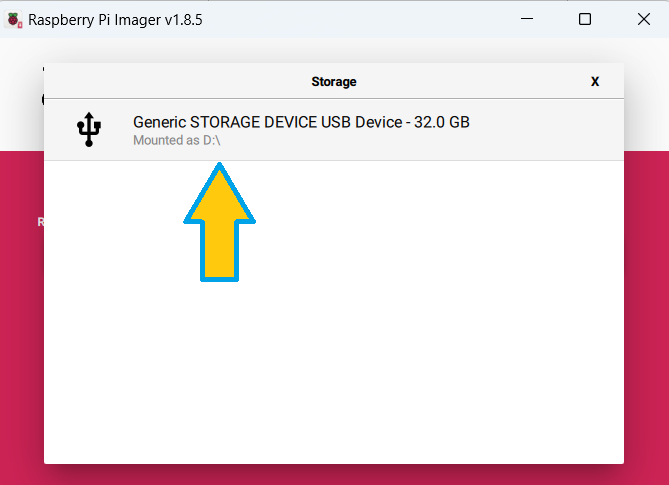
Select your device (as shown in the image below):
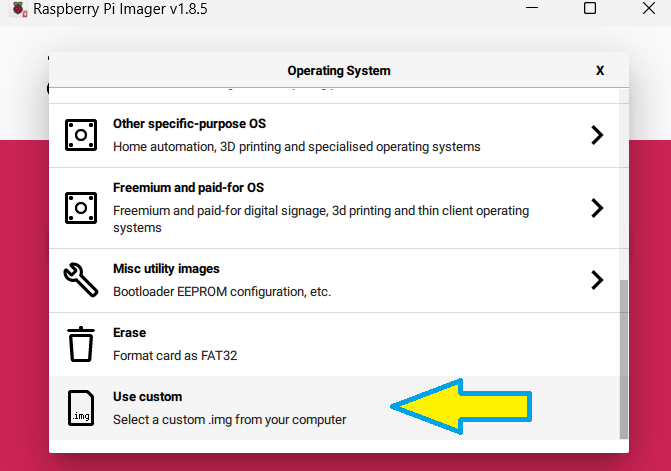
Select your "Custom Image":
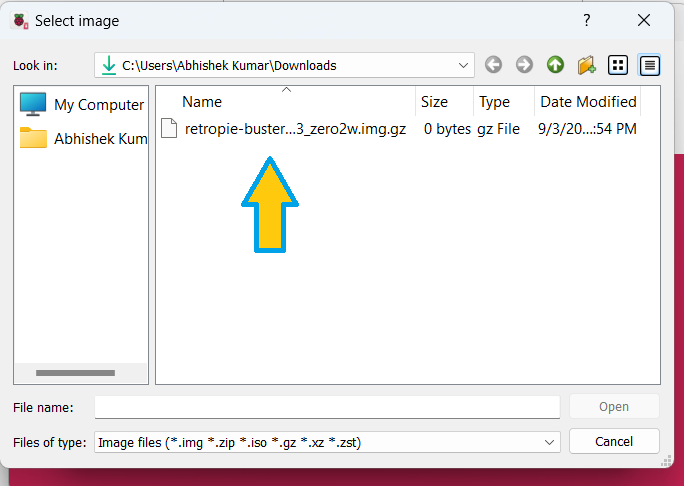
Browse to the downloaded RetroPie image:
Choose the installation medium (microSD card):
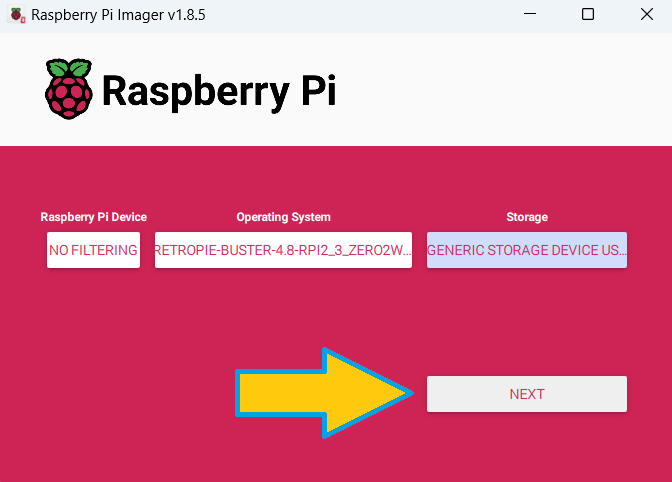
Hit "Next"
That's it. Wait for the process to complete and then take out the SD card.
Method 2: Installing RetroPie on top of existing Raspberry Pi OS
Updating Raspberry Pi OS is the most basic thing you should do first:
sudo apt update && sudo apt upgrade -yInstalling necessary packages
With your Raspberry Pi’s OS updated, it's time to install a couple of essential packages for RetroPie.
First, you'll need the “dialog” package, which the RetroPie setup script uses to create dialog boxes in the terminal. Next, the “git” package is crucial as it allows us to clone the setup script repository directly to the Raspberry Pi.
You can install both packages by running the following command:
sudo apt install -y git dialog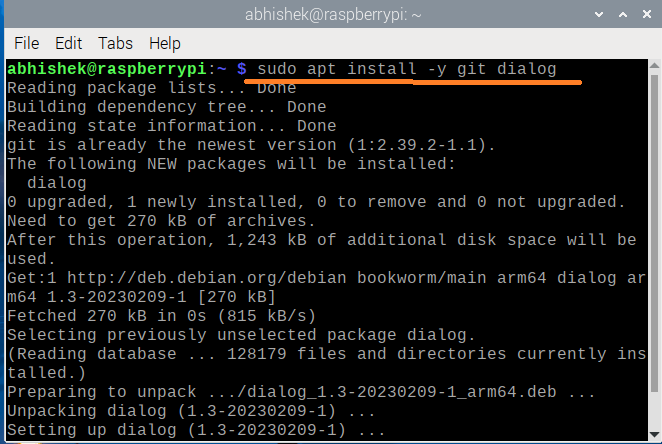
Cloning the RetroPie setup script
Now that we’ve got the required packages, let's move on to cloning the RetroPie setup script. This script will install RetroPie on your Raspberry Pi.
Switch to your home directory:
cdNow, use the commands below to clone the RetroPie setup script into your home directory:
git clone --depth=1 https://github.com/RetroPie/RetroPie-Setup.git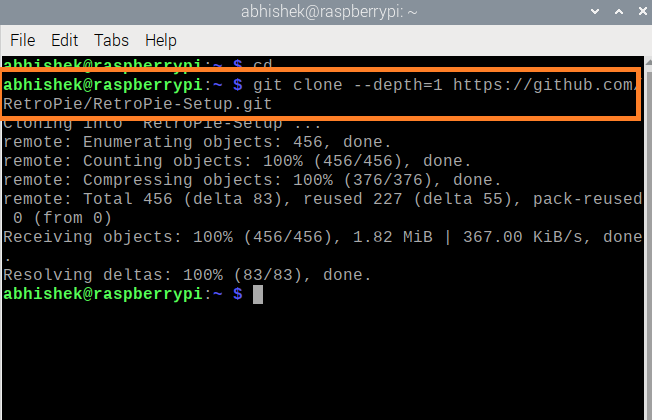
Running the RetroPie setup script
Next, navigate to the “RetroPie-Setup” directory that was created when you cloned the repository.
cd RetroPie-SetupOnce inside the directory, you can start the setup script.
This script will handle the installation of all the necessary packages for a few basic emulators.
sudo ./retropie_setup.sh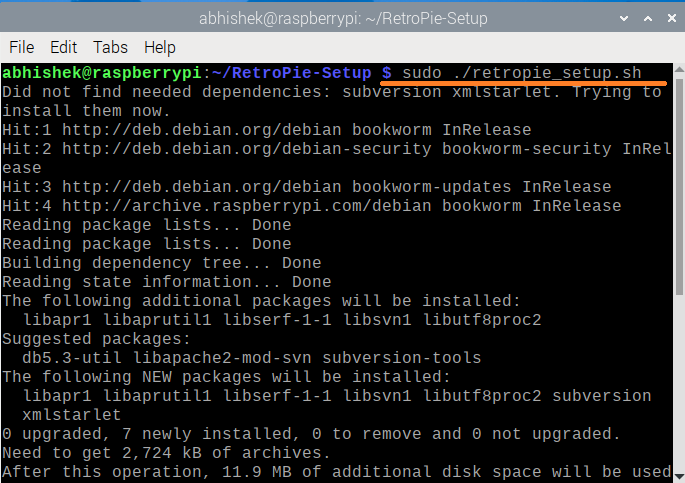
Starting the installation process
You should now see the RetroPie setup dialog on your screen. Just press OK.
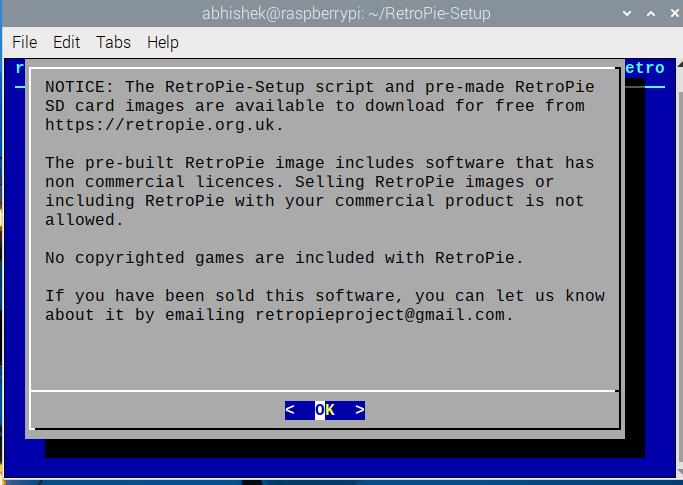
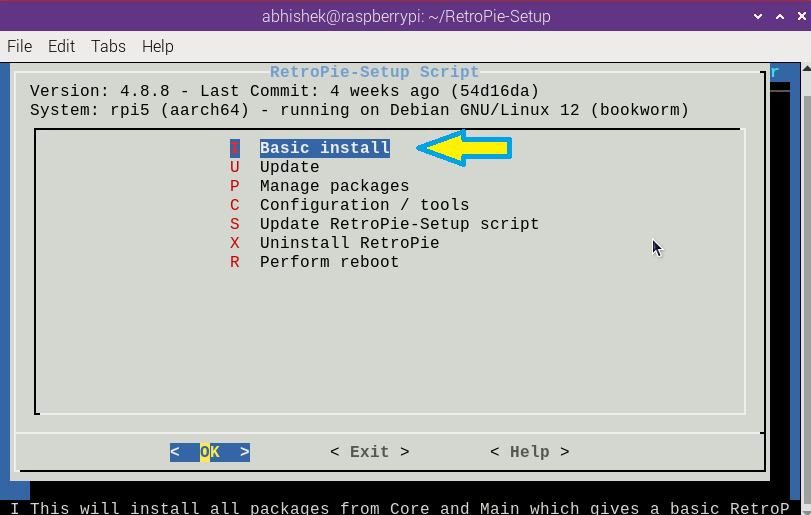
The next menu offers several options, but for now, focus on the “Basic Install” option. This will install the core and main packages needed to get RetroPie up and running.
Navigate to “Basic Install” using the arrow keys, and press Enter to select it.
Confirming the installation
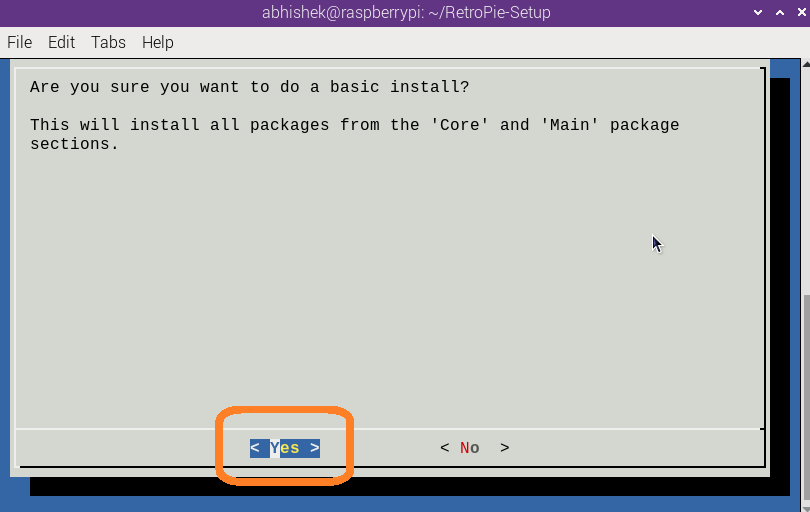
You'll be prompted to confirm whether you want to install the “Core” and “Main” components of RetroPie. Select “Yes” to proceed.
Once the installation is complete, you’ll return to the main menu of the RetroPie setup script.
Final Steps: Rebooting
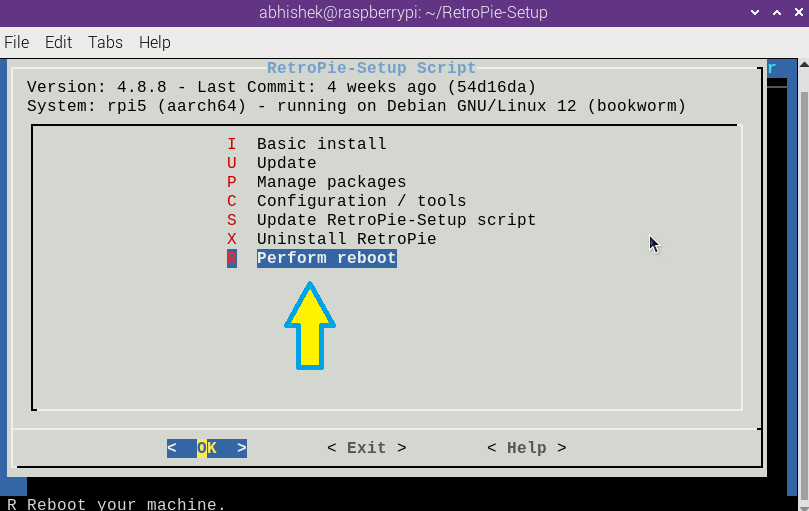
Finally, to ensure everything is working correctly, reboot your Raspberry Pi.
In the main menu, select the “Perform reboot” option.
Adding Games (ROM's) to RetroPie
So, you've set up RetroPie on your Raspberry Pi, and now you're ready for the fun part- adding games, aka ROMs!
What are ROMs?
ROMs are essentially digital copies of games from old consoles.
They allow you to play your favorite classics on modern hardware, like our little friend Pi here.
How to add game ROMs to RetroPie
Adding ROMs to your RetroPie setup is easier than you might think. Here's how you can do it:
Method 1: Transferring ROM's via USB Drive
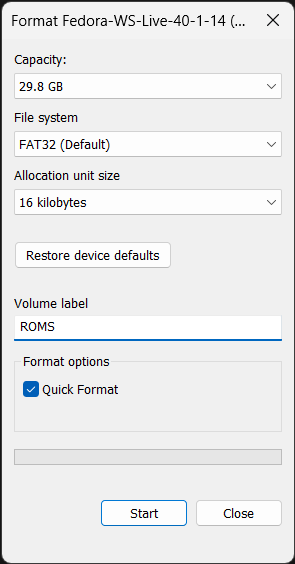
This is the most straightforward method. Just format a USB drive to FAT32. I'm doing a Quick format in Windows:
In Linux, you can use 'GNOME Disks' utility or a Command line tool like this:
sudo mkfs -t vfat /dev/sda1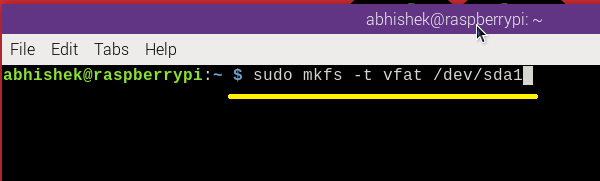
mkfsis a command use to format block storage devices.-tensures the type of file system/dev/sda1is the location of my storage device.
Create a folder, I named it as "retropie" and plug it into your Pi.

RetroPie will automatically create sub-folders for each console.

Next, copy your ROM files into the appropriate folders and plug the USB back into your Pi, and RetroPie will handle the rest.

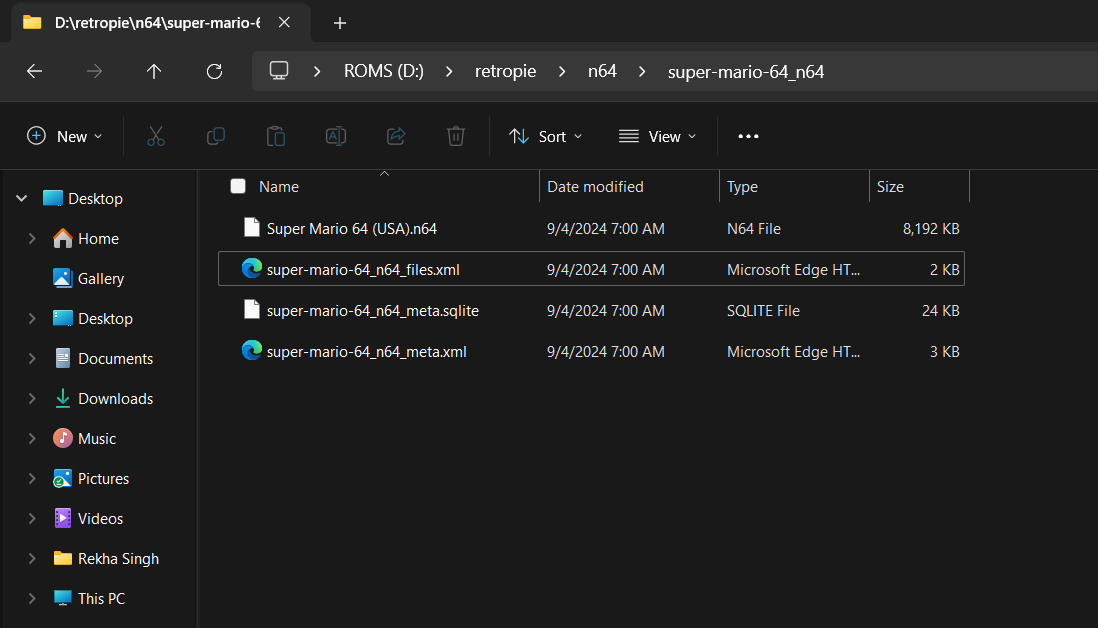
Here is the unzipped version of the ROM:
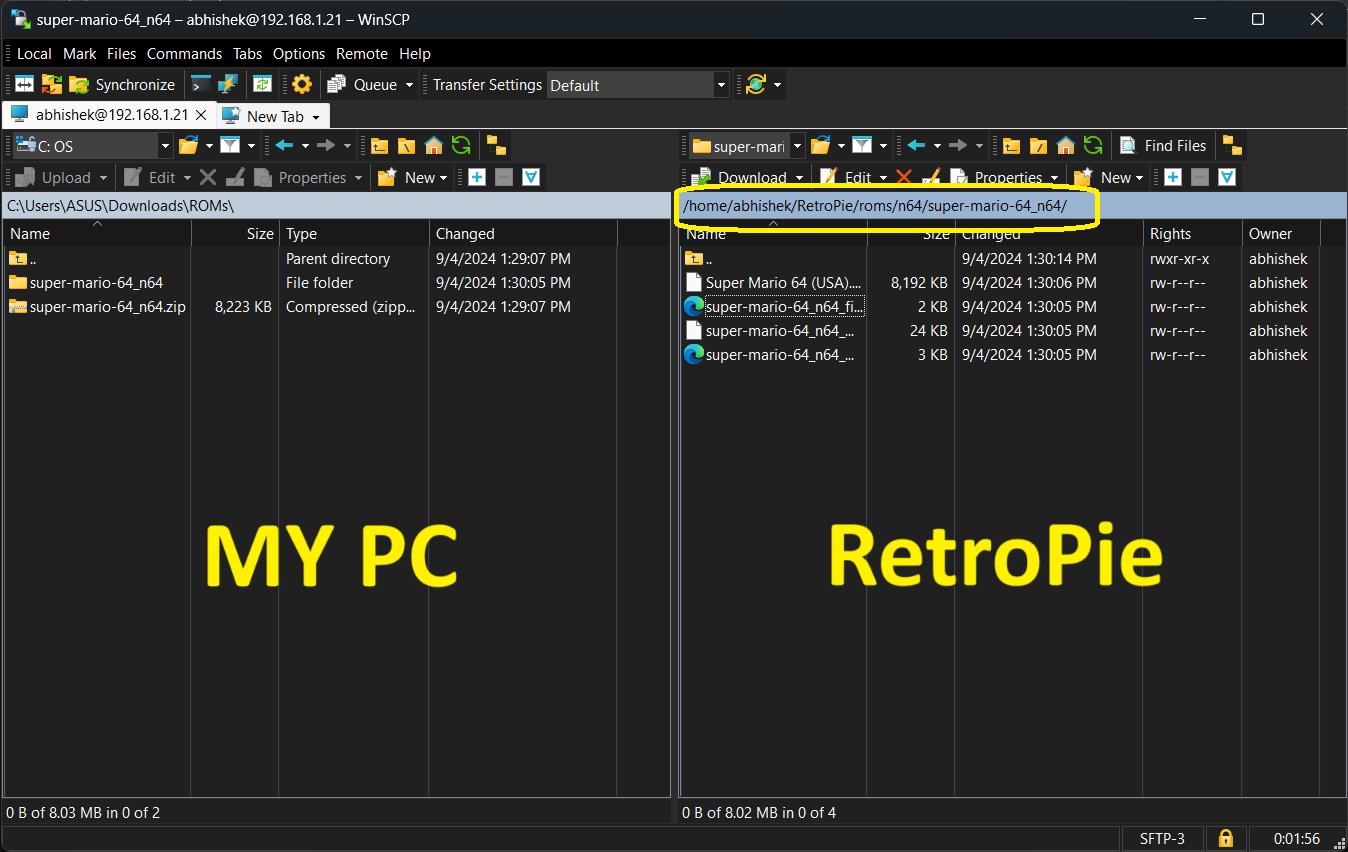
Method 2: Transferring ROMs via network transfer
If your Raspberry Pi is connected to your home network, you can transfer ROMs directly over WiFi using Samba, SFTP, etc.
Here I'm using WinSCP to transfer my ROMs using SFTP:
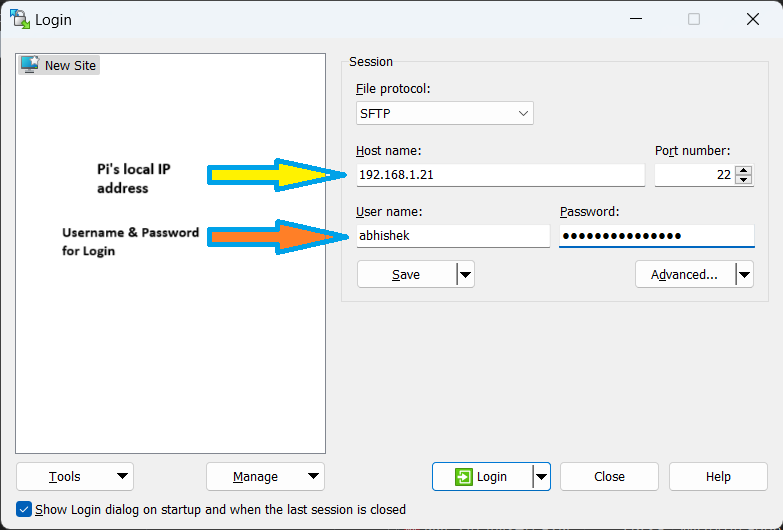
After login, just go to the RetroPie directory or where you want to save your games.
I'm saving my ROMs in this directory: /home/user/RetroPie/roms/n64:
That's it! Now that your ROMs are added, you're ready to boot up and start gaming.
First boot of RetroPie
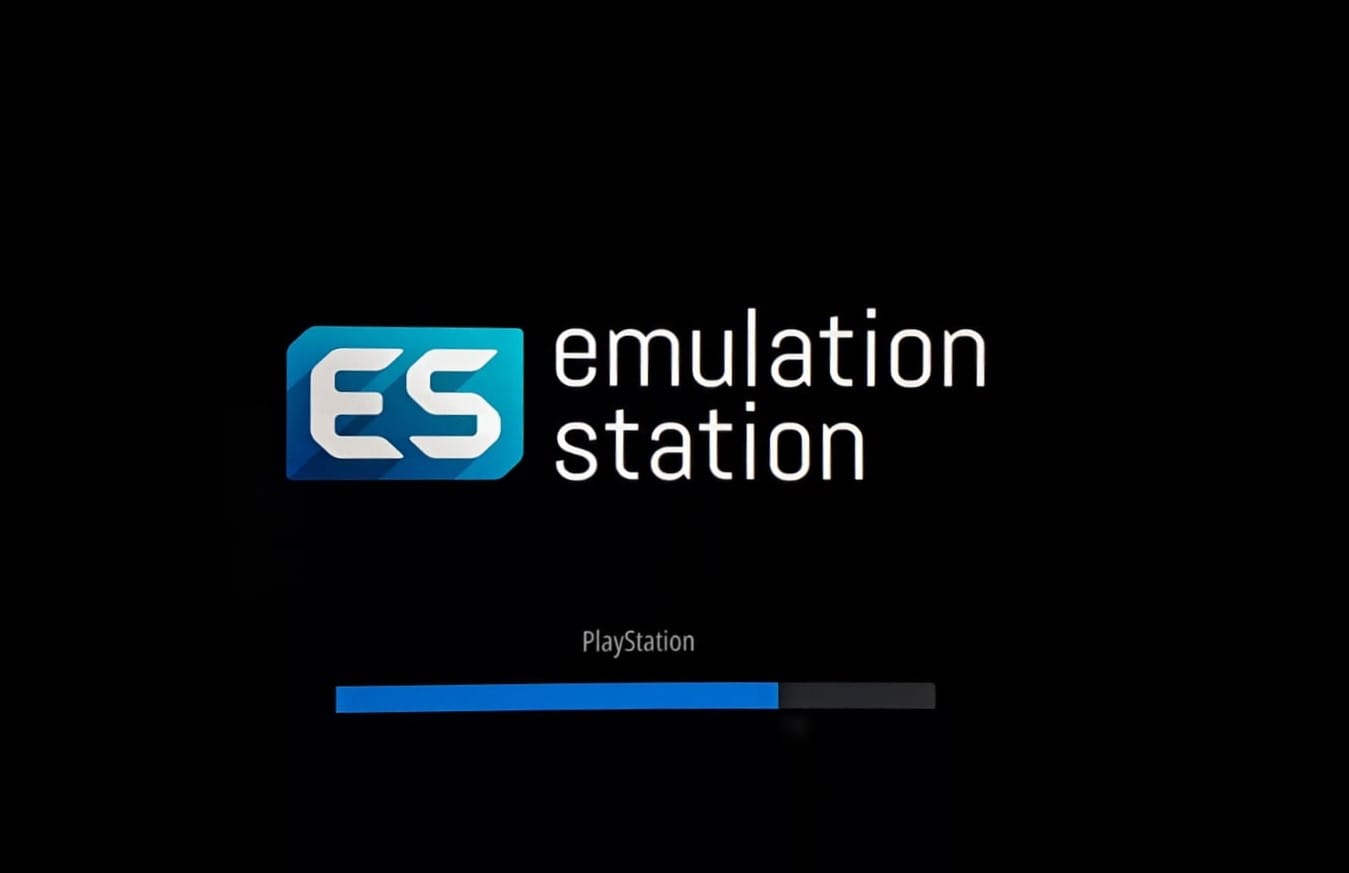
You'll see the RetroPie splash screen on the first boot, followed by EmulationStation's welcome message.
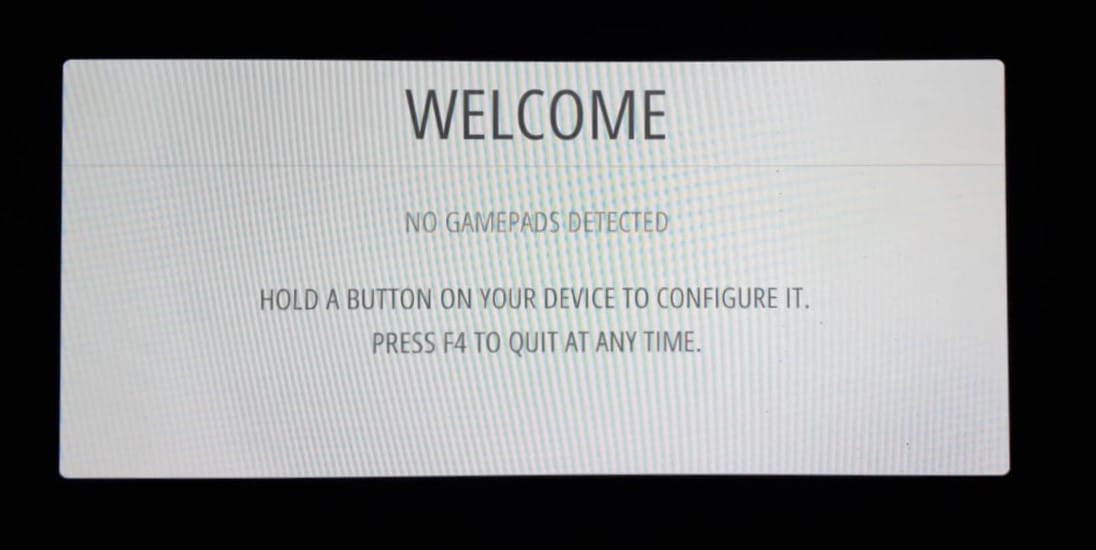
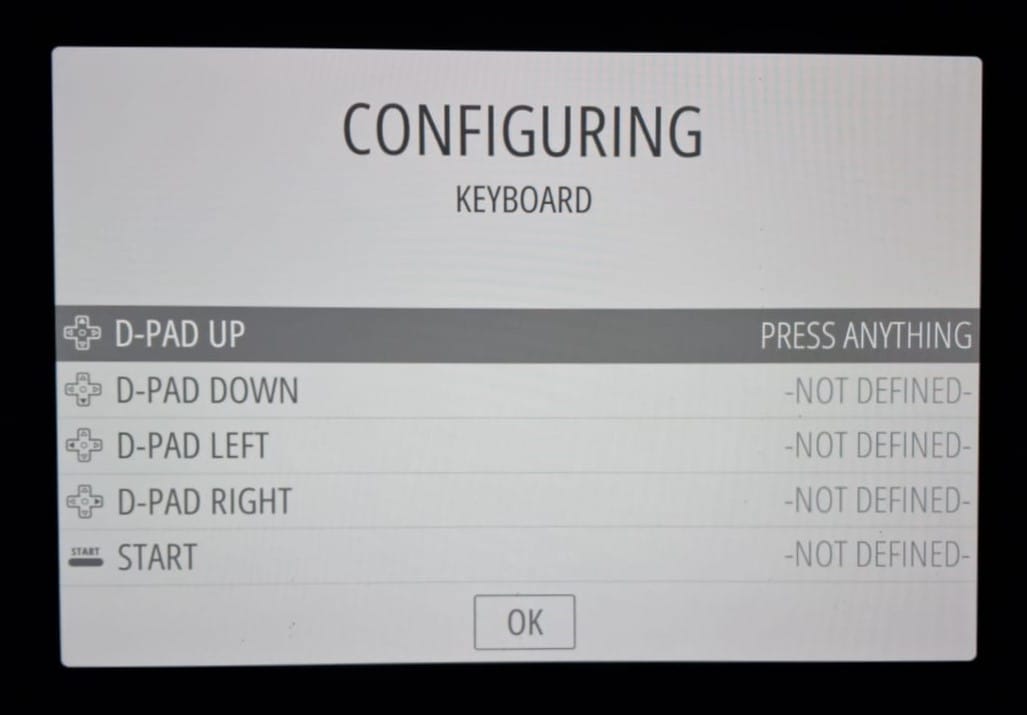
Next, you will be prompted to configure your controller. This only takes a minute, and once it's done, you'll have full control over the system.
Once your controller is set up, you'll be taken to the main EmulationStation menu.
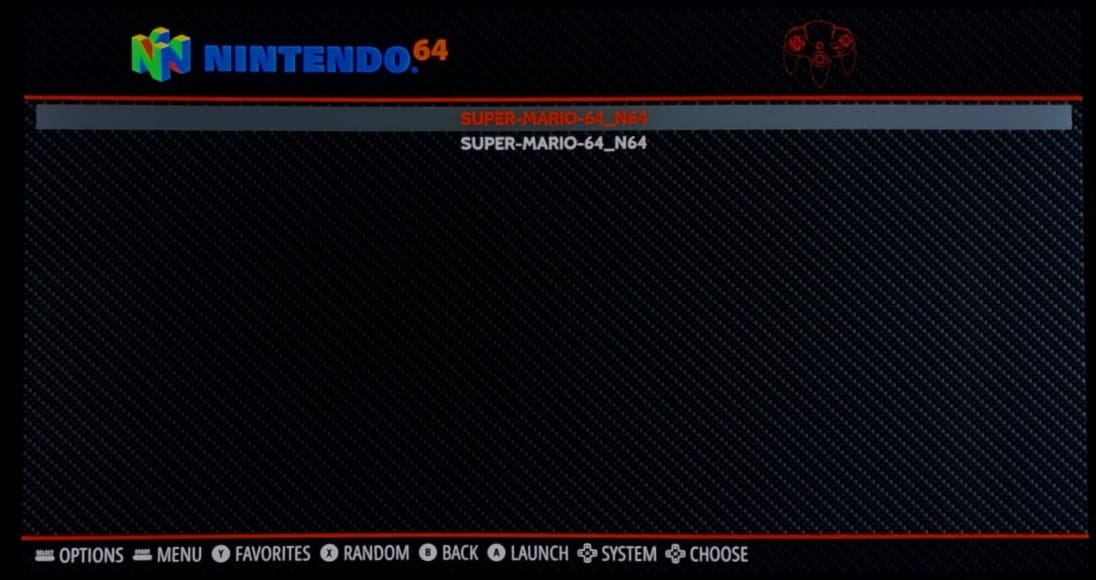
Here, you'll see a list of all the systems for which you've added ROMs. In my case, it's for Nintendo 64:
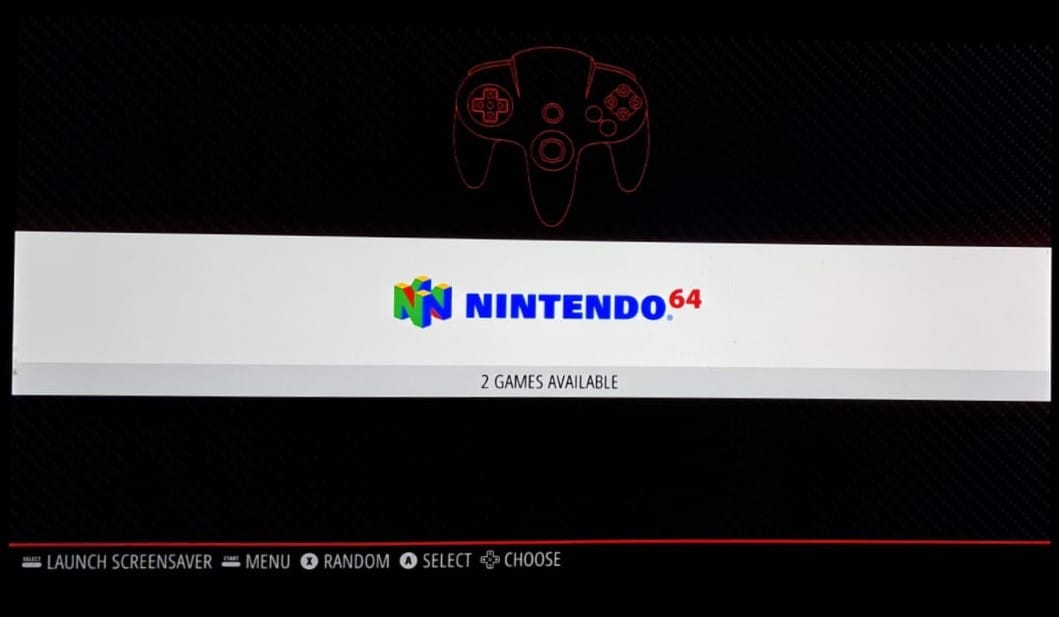
The interface is clean and easy to navigate. You can use your controller to scroll through the different consoles, select a game, and dive straight into the action.
Here I have added the Super Mario 64, a true classic that never gets old. It's showing 2 copies because I've added one compressed and the other one direct.
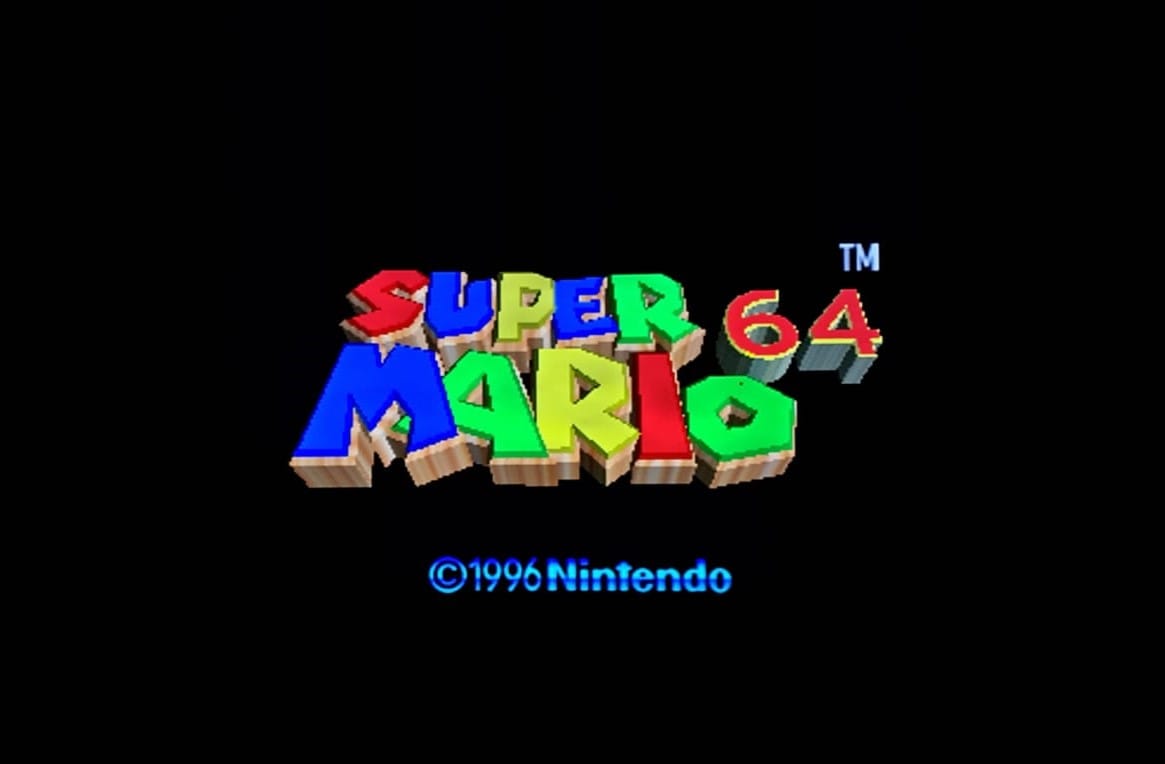
When we select it from the menu, you'll see the familiar startup screen:
and there he is - Mario himself, ready for action!
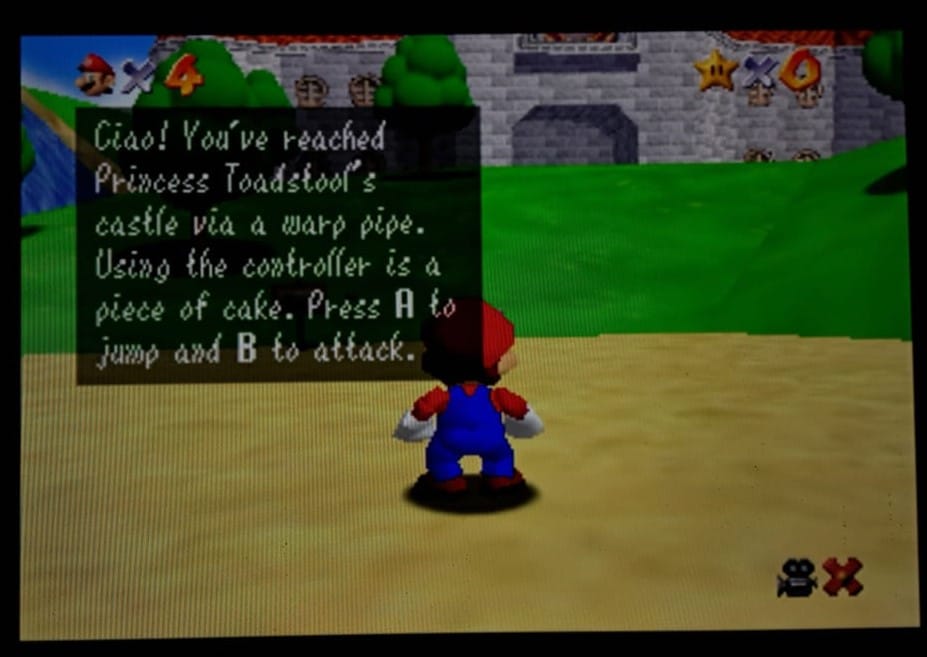
The game loads a bit slow but manageable, and with just a press of a button, you are back in the colorful world of Mario.
Final Thoughts:
While RetroPie is an amazing way to bring back the nostalgia of classic gaming, it's not without its quirks, especially if you are using older Pi models like Pi 3. If you are aiming for a smooth, lag-free experience, I'd highly recommend using a Raspberry Pi 4.
RetroPie may not have seen a new release in the last few years but it still works.
I'm curious. What does your retro gaming setup look like? What games are you playing? Share your setups and experiences in the comments below.
from It's FOSS https://ift.tt/pgzY61k
via IFTTT
Tidak ada komentar:
Posting Komentar