
As I have mentioned numerous time earlier that openEuler is based on CentOS. This means, like any distro in the Red Hat domain, it uses DNF package manager.
DNF is a popular packager manager and you should not find any difficulties in using.
This tutorial here provides examples for some of the common usage of the DNF command for installing, removing and managing software on your openEuler system.
Update the system
Like any other system, the first step in managing packages is to check whether the installed packages are up-to-date or not. Open a terminal and run the command:
sudo dnf updateThis will check the repo for any package version changes and updates your system accordingly. All package and their dependencies will be updated with this command.
If you want to see what packages have updates available, use:
dnf check-updatesudo dnf update <package-name>. Always try to update entire system instead of individual packages whenever possible.List installed packages
To know what packages are installed on the system, us the command below:
dnf list all | lessPiping to less command allows you to easily navigate your way through the long list.
At the same time, to know a particular package is installed, replace all with package name or expression:
dnf list <pakcage-name-or-expression>Search for a package
To install a particular package, you need the proper name of that package in the repository. But if you don't know that name, use the search option in DNF to get the package name.
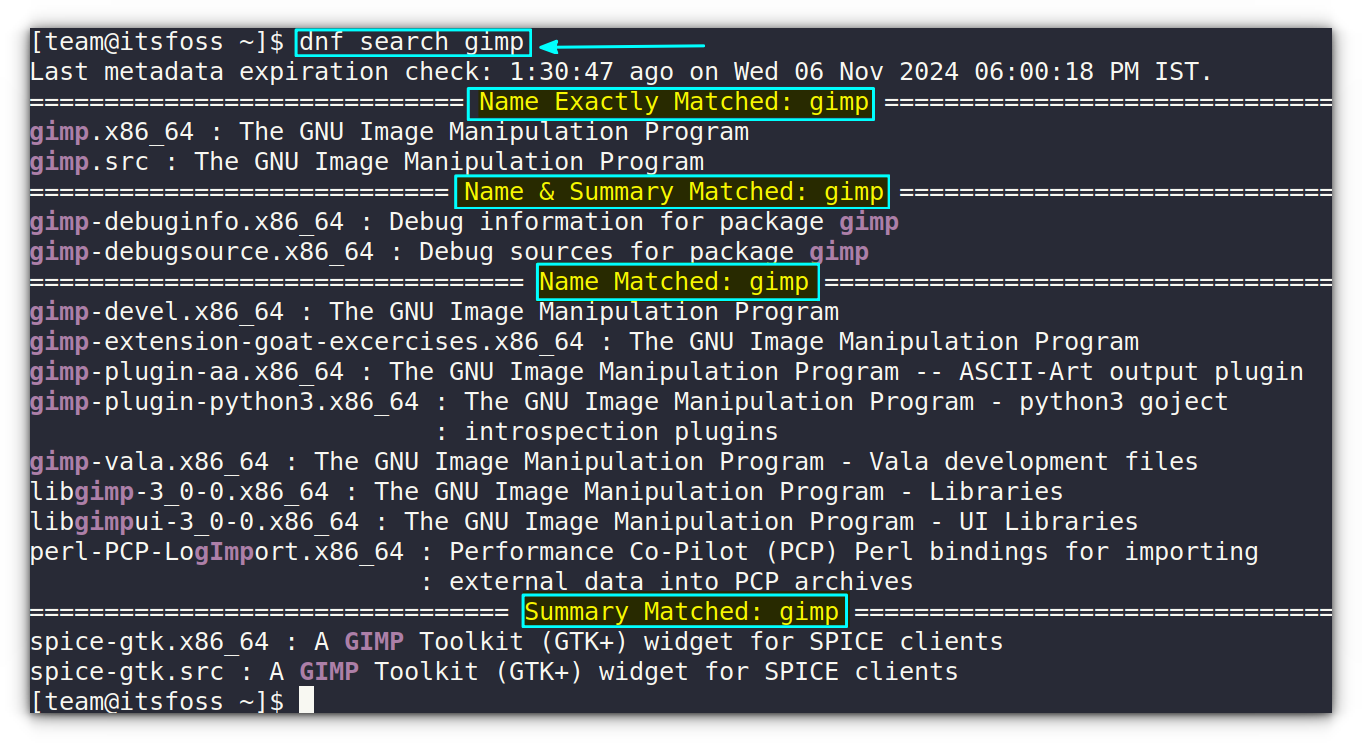
dnf search <search-term>You will get a neat list of packages that match the search term.
The package matches are given in multiple sections, like Name match, description match, etc.
Get package information
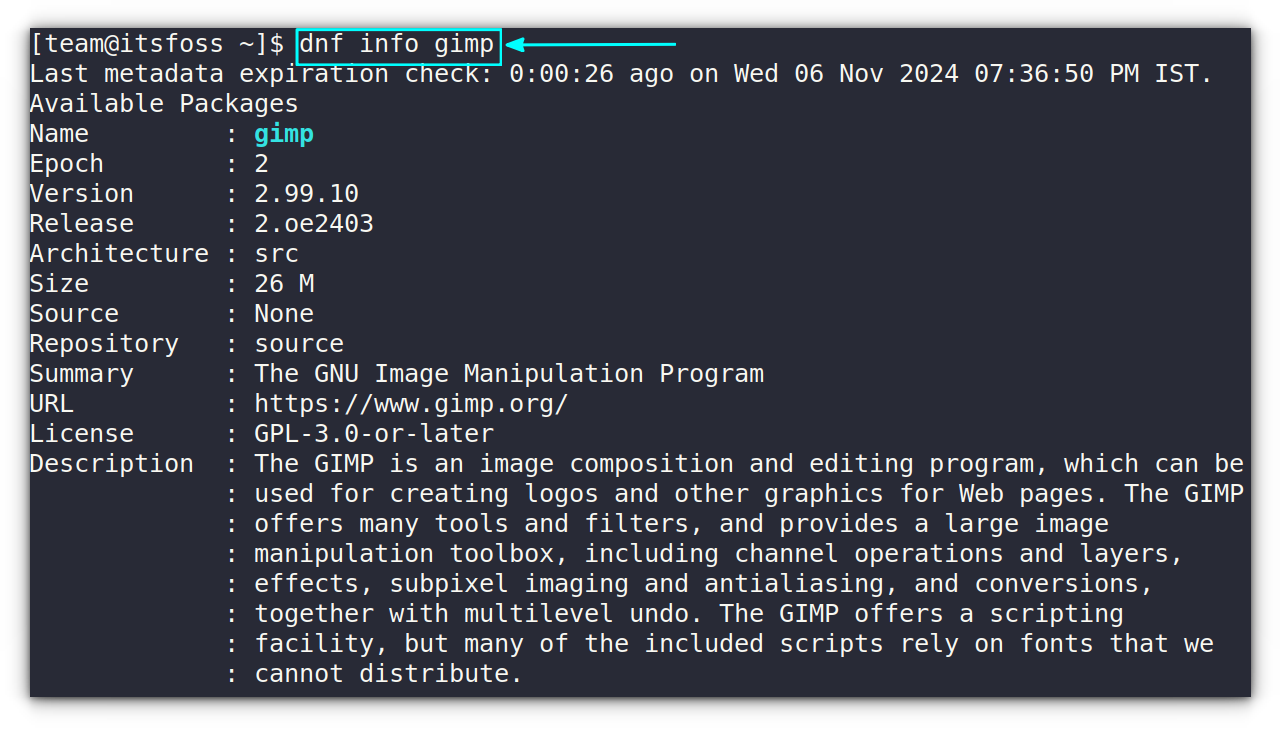
Now that you got a list of packages that matches the name you searched. Let's see what that package is all about without installing it.
dnf info <proper-package-name>This will print relevant information about the package. In the screenshot below, you can see the details like version, a small summary, etc. are displayed for the package.
Install the package
Did you get the exact package you were looking for? Then it's time to install it. Use the command:
sudo dnf install <proper-package-name>This will download and install the mentioned package to your system.
You can also install multiple packages in one command:
sudo dnf install <package1> <package2> --setopt=strict=0--setopt=strict=0 flag to make sure that, issues like unavailable packages or broken dependencies affect the transaction. But if the skipped part are essential, you need to take care that afterwards.Download a package and install it
DNF provides a solution to download a package and then install separately. First, download the single package using:
dnf download <package-name>Or, download the package with dependencies:
dnf download --resolve <package-name>Now, install the single package using the command:
sudo dnf install </path/to/downloaded/file>To install package and downloaded dependencies, go to the folder where the packages are downloaded. Now install using:
sudo dnf install ./*.rpmRemove a package
When you don't need a particular package, it is good to remove it from the system.
First, get the proper package name of the program. Now, run the command:
sudo dnf remove <proper-package-name>You can use the autoremove command to uninstall all the unnecessary package dependencies that are not needed anymore.
sudo dnf autoremoveInstall and remove a package group
Sometimes, packages are grouped together based on the purpose. For example, to list all the package groups, use the command:
dnf group listThis will list all the installed package group as well as the available package groups.
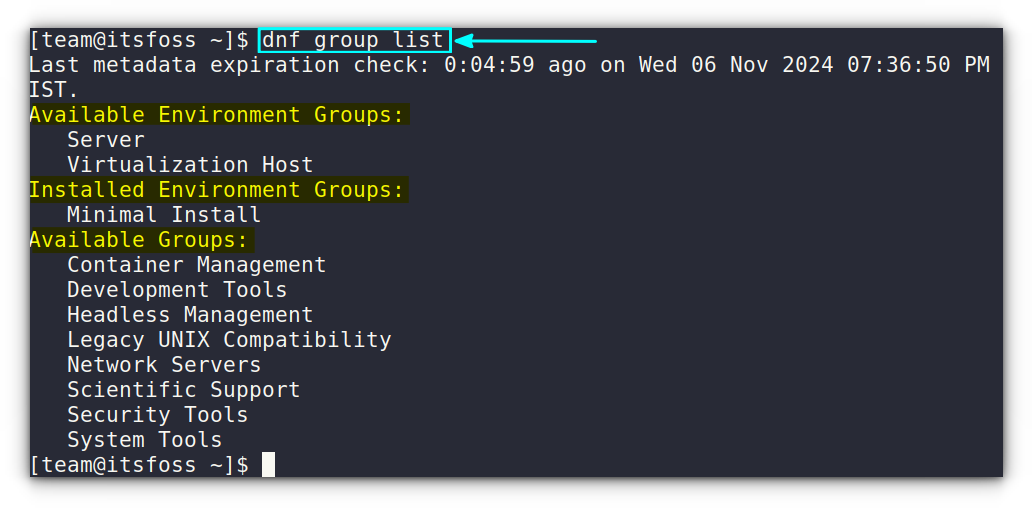
You can see in the screenshot above, we have installed. Now, let's say we want to install the “Development Tools” group.
So, first, look for a short info about the group.
dnf group info "Development Tools"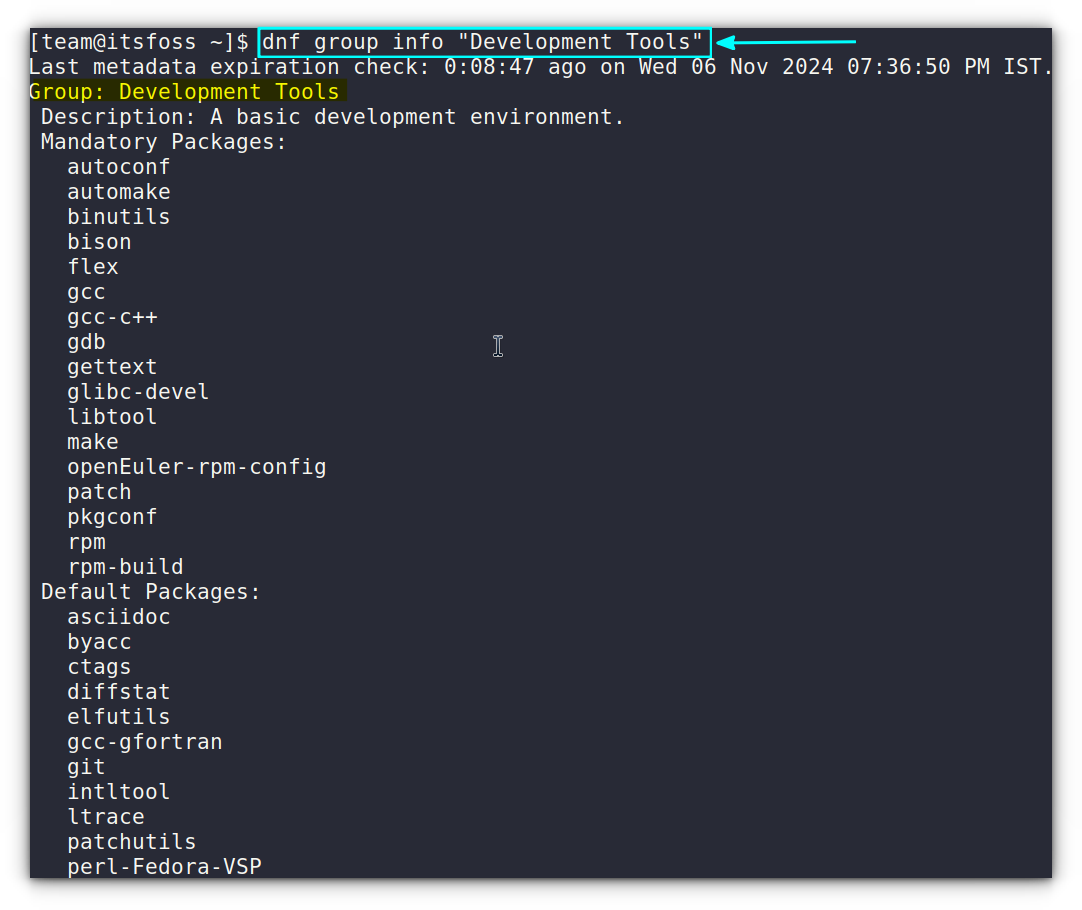
As you can see, this prints what all packages are available in this group. To install this group, use:
sudo dnf group install "Development Tools"The packages specified in the group will be installed on your system.
Now, to remove a package group, follow the same procedure, except specify group.
sudo dnf group remove group-nameCommon DNF commands at a glance
| Description | Command |
|---|---|
| List installed packages | dnf list all |
| Search for installed package | dnf list <search-term> |
| Check for available updates | dnf check-update |
| Update the system | sudo dnf update |
| Update individual package | sudo dnf update <package-name> |
| Search for a package in repository | dnf search <package-search-term> |
| Get package information | dnf info <package-name> |
| Download a package | dnf download <package-name> |
| Download package with dependencies | dnf download --resolve <package-name> |
| Install a package from repository | sudo dnf install <package-name> |
| Install multiple packages | sudo dnf install <package1> <package2> --setopt=strict=0 |
| Install a downloaded package | sudo dnf install <path-to-downloaded-file> |
| Remove a package | sudo dnf remove <package-name> |
| Remove unused dependencies and residual packages | sudo dnf autoremove |
| List all package groups | dnf group list |
| Get group information | dnf group info "Development Tools" |
| Install a group packages | sudo dnf group install <group-name> |
| Remove a package group | sudo dnf group remove <group-name> |
from It's FOSS https://ift.tt/4UFNJjs
via IFTTT
Tidak ada komentar:
Posting Komentar