
When you are exploring Linux, sometimes you make changes that have unintended consequences.
You may reinstall Linux easily with WSL, but you'll lose the existing data and configuration you had on it.
Thankfully, WSL allows you to export your Linux distro as a tar file and import it later. This is equivalent to a backup and restore feature.
Let's see how it is done.
Export a WSL Linux distribution
In WSL, you have the option to export a distribution to a TAR file, along with the configurations and settings intact.
First, list all the installed WSL distributions on your system using:
wsl -l -v
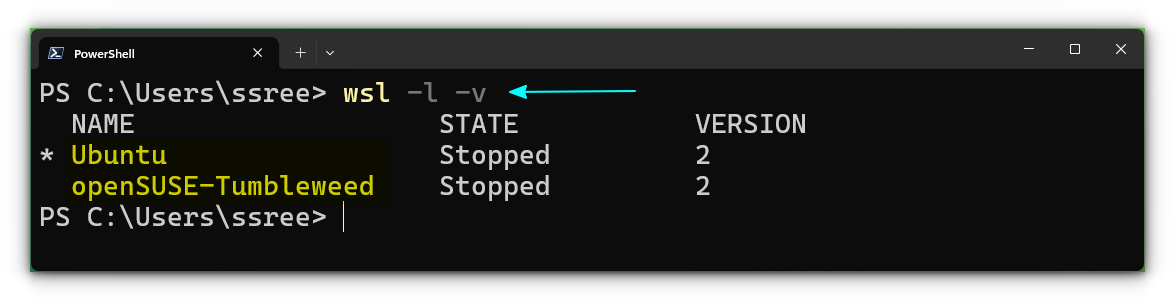
As you can see, I have an Ubuntu distribution installed, Ubuntu. You should note the name of the distribution that you want to export. It should be case-sensitive and exact.
Here, I am going to take a backup of Ubuntu.
Step 1: Create a folder for backups and open a terminal there
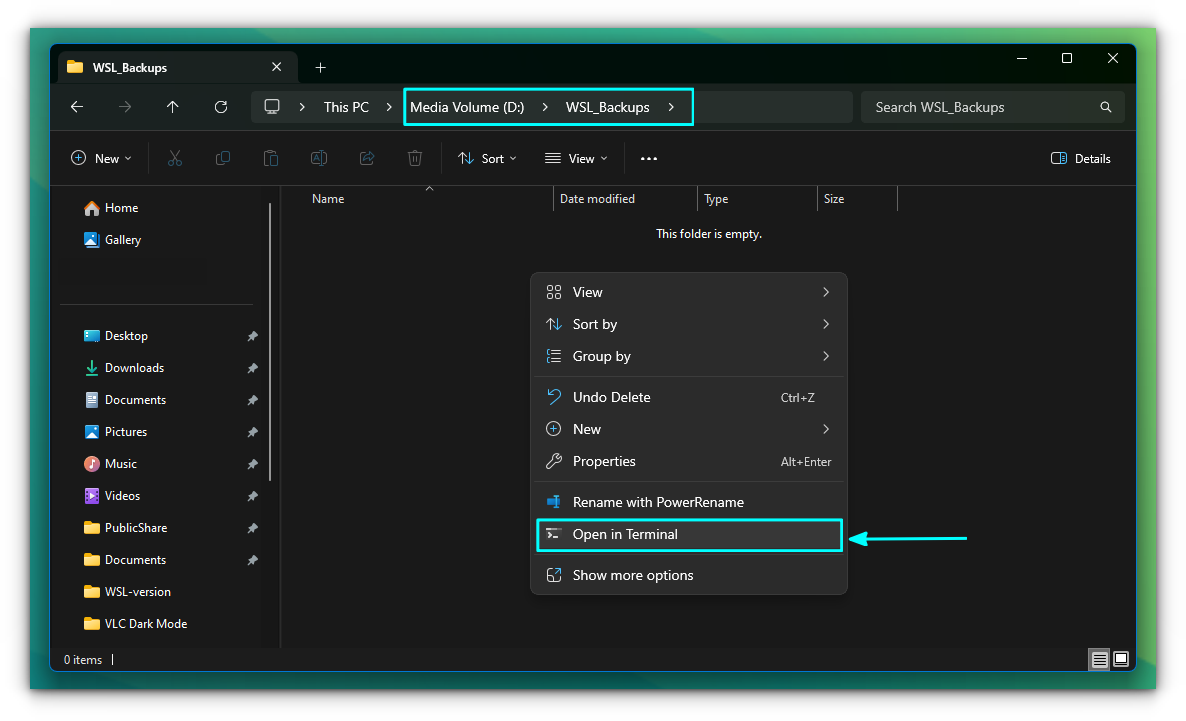
It will be convenient if you have a dedicated folder to save all the backups. It is not necessary, but can be beneficial. I have created a folder on D: called WSL_backups.

Now, go inside that folder and right-click on a blank space. Select “Open in Terminal” to open a terminal on that directory.
Step 2: Create the backup
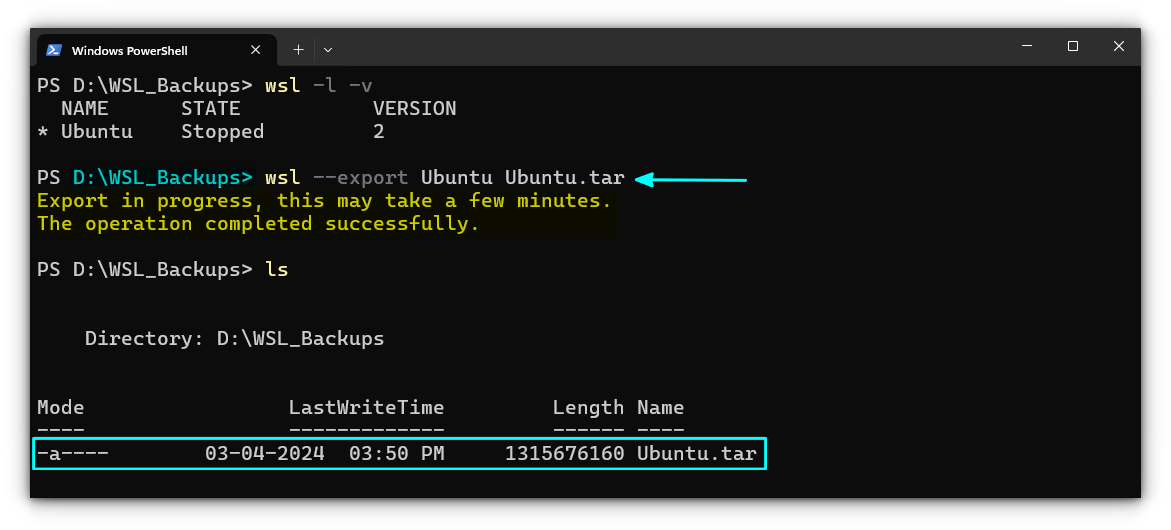
Once you are in a terminal, run the command:
wsl --export Ubuntu Ubuntu.tar
This will create a backup of the specified Linux distribution.
The general syntax is:
wsl --export <distribution_name> <filename.tar>
Where, the distribution_name should be the same as the output of the wsl -l -v command.
If you open that location, you can see that a backup is created, with ~2 GB space.
Import WSL distribution
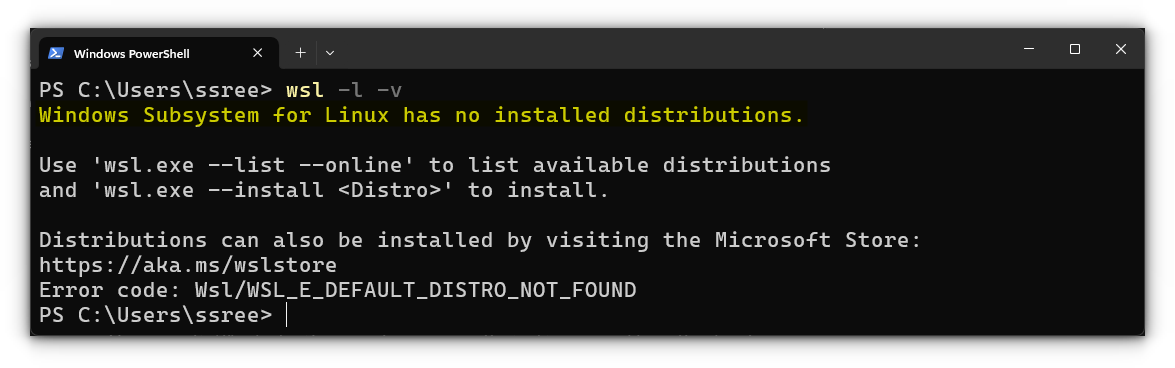
Now, it's time to import the distribution. Before moving to it, you should make sure that the distribution you are trying to import is completely uninstalled from your system. For this, use the command:
wsl -l -v
Step 1: Create an installation folder
Similar to the backup, it is wise to create a proper place for all the imported distributions.
Now, open a terminal in the location where you have created the backup file. In my case, it is the WSL_backups folder.
Step 2: Import the distribution
Inside the terminal, run the command,
wsl --import <Distribution Name> <InstallLocation> <FileName>
In my case, I have created a folder on my D Drive called the D:\wsl-installations\Ubuntu folder. So, the command will be:
wsl --import Ubuntu 'D:\wsl-installations\Ubuntu\' .\Ubuntu.tar
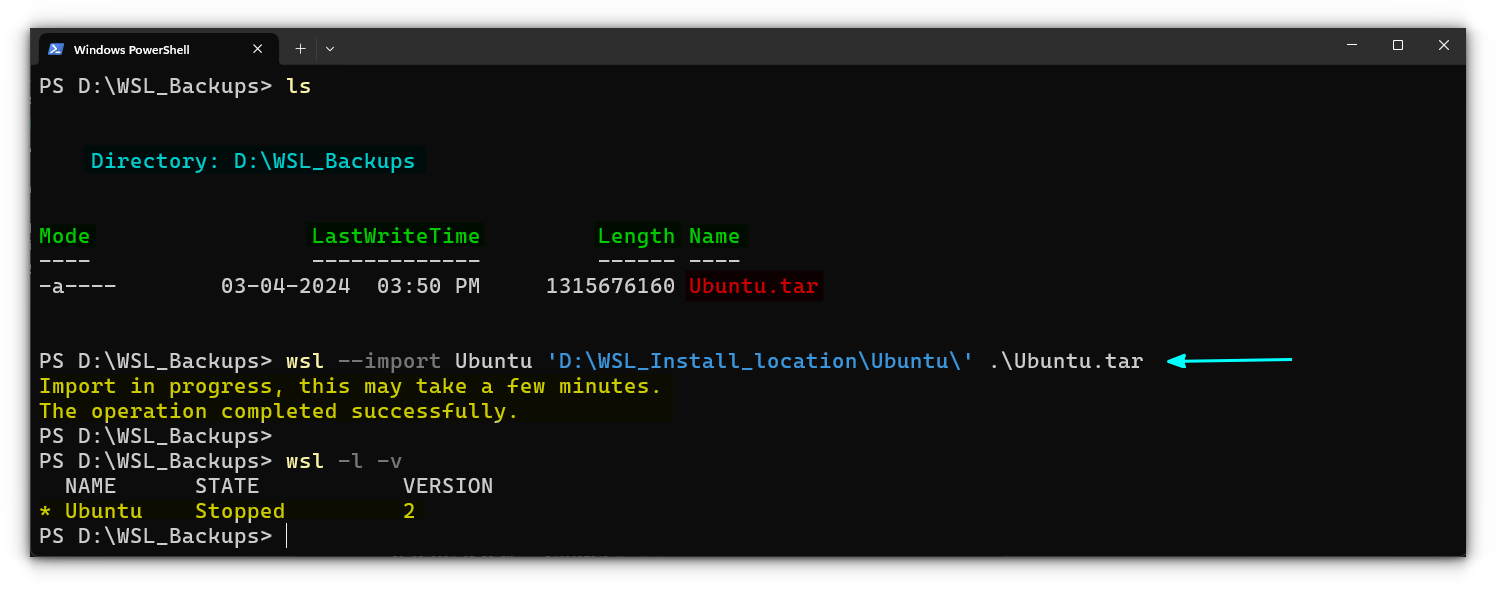
I have used .\Ubuntu.tar as the file name because I am running the wsl command from the directory where the Ubuntu.tar backup file is stored (WSL-backups folder for me).
You have successfully imported the distribution!
To check, use the command wsl -l -v.
Step 3: Open the imported distribution
Once you have imported the distribution, you may not find it in the start menu to open it easily. So, to enter into it open a terminal and use the command:
wsl -d <distribution_name>

OR

wsl -d Ubuntu
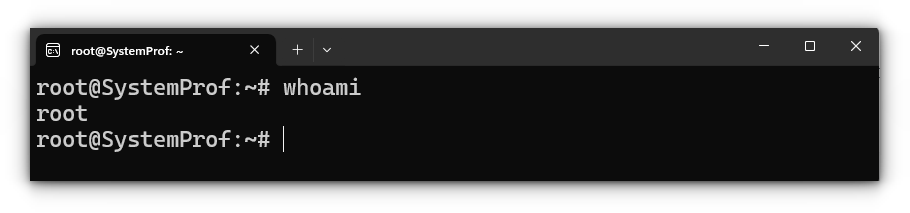
This will open the distribution as root user.
If you want to log in as the default user created during installation, either use the command inside the distribution:
su <username>
Or, open the WSL distribution with specified user:
wsl -d <distribution_name> -u <username>

OR

wsl -d Ubuntu -u team
Step 4: Set default user
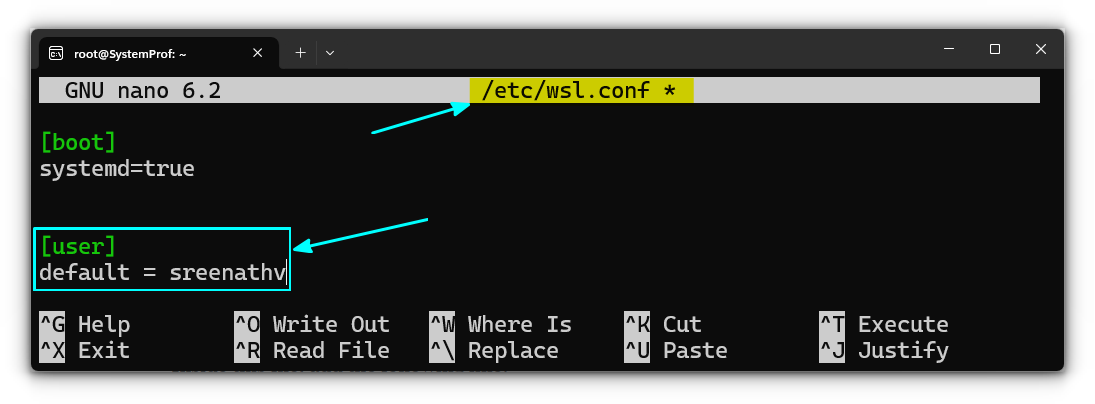
To log in to the default user each time you open the distribution, you need to edit a configuration file. So, inside the distribution, that is logged in as root, edit the /etc/wsl.conf file.
nano /etc/wsl.conf
If you have logged in as a normal user, you need to use sudo to edit the file. i.e.
sudo nano /etc/wsl.conf
Inside this file, add the following line:
[user]
default = <username>
Fill the <username> with the one you have to log in, that is already on that system.
Once edited, save and exit nano by pressing CTRL + x. Confirm using y and press enter. Now, terminate the system. You can do this from a new Windows terminal:
wsl --terminate Ubuntu
Or, from within that distribution:
wsl.exe --terminate Ubuntu
Thereafter, reopen the distribution using:
wsl ~ -d Ubuntu
This will open Ubuntu with the username you have provided.
wsl ~ will open the home directory of the default user, instead of the current Windows directory mounted automatically.Wrapping up
That's it! You have successfully backed up and restored a WSL distribution. As specified in the above article, backup does consume additional space on your disk.
While you may not back up all the systems you have installed, it is advised to take a backup for those that contain critical data.
from It's FOSS https://ift.tt/9P162Fj
via IFTTT
Tidak ada komentar:
Posting Komentar