Senin, 30 Oktober 2023

Install VSCodium on Fedora

Install VSCodium on Fedora

Visual Studio Code (VS Code) is a popular cross-platform text editor developed by Microsoft. It's built on the Electron framework and is widely used by developers for coding and text editing tasks. The core of VS Code, known as "Code - OSS," is open source and distributed under the MIT License. However, Microsoft adds specific customizations and releases its branded version of the editor under a proprietary license.

To address concerns about telemetry and licensing, there's an alternative called "VSCodium," which is a community-driven, telemetry-disabled, and MIT-licensed version of VS Code.

Install VSCodium on Fedora
VSCodium running on Fedora 39.

In this tutorial, I will guide you through the process of installing and running VSCodium on a Fedora Linux system.

There are three ways to do that:

  1. Installing by downloading the rpm file from the release page. But, you need to repeat the process to get the package updated (which can get frustrating).
  2. Adding paulcarroty repo (as mentioned on VSCodium website). So, that when you update your Fedora system VScodium will also get updated (which is quite seamless).
  3. Using the flatpak version which you probably have tried by installing it from Gnome software already (I had a bad experience with the same so mileage may vary).

The first one is very straightforward i.e. downloading and installing the rpm file from the release page. So, let's cut to the chase and follow the other two methods.

Method 1: Installing VSCodium by adding the repository

Open a terminal: You can open a terminal by searching for "Terminal" in the application menu.

Add the GPG key: So that the package manager trusts the packager of the repo.

sudo rpmkeys --import https://gitlab.com/paulcarroty/vscodium-deb-rpm-repo/-/raw/master/pub.gpg

Add the VSCodium repository: The following command will add the repo to your Fedora system.

printf "[gitlab.com_paulcarroty_vscodium_repo]\nname=download.vscodium.com\nbaseurl=https://download.vscodium.com/rpms/\nenabled=1\ngpgcheck=1\nrepo_gpgcheck=1\ngpgkey=https://gitlab.com/paulcarroty/vscodium-deb-rpm-repo/-/raw/master/pub.gpg\nmetadata_expire=1h" | sudo tee -a /etc/yum.repos.d/vscodium.repo

Install VSCodium: Now that you've added the VSCodium repository, you can install it using the following command (ones who love bleeding edge software can replace the package name to codium-insiders for installing the insiders version):

sudo dnf install codium

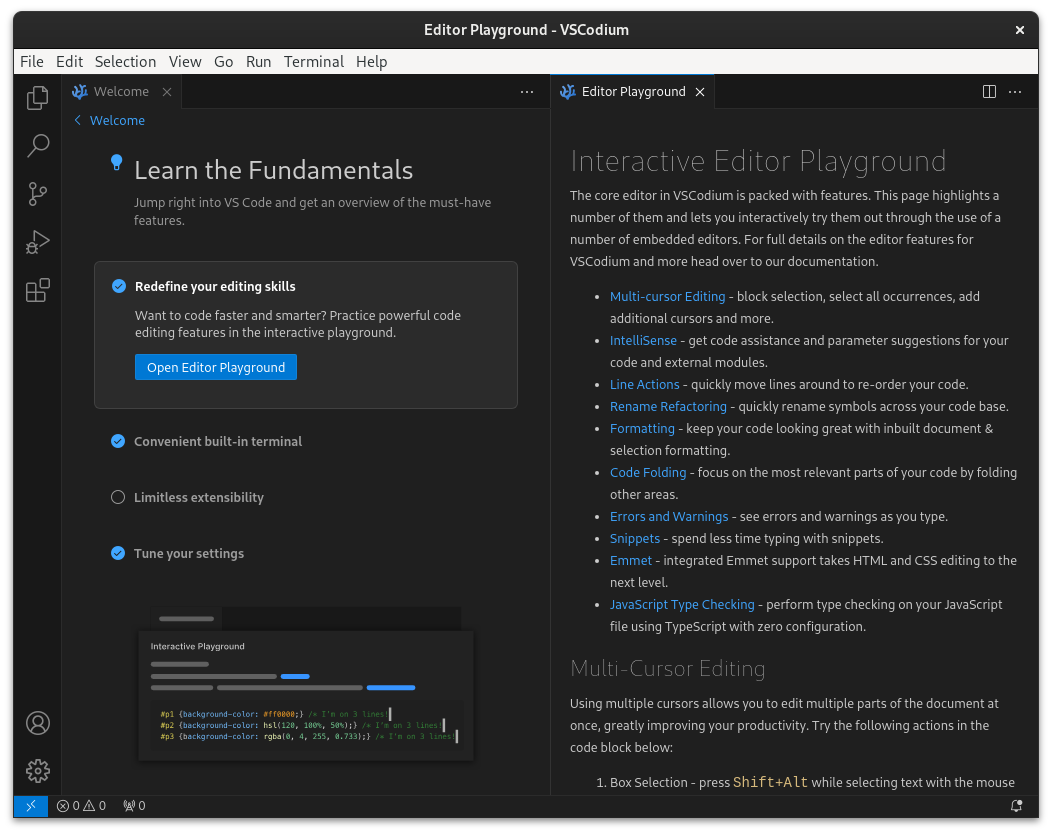
Launch VSCodium: You can now launch VSCodium either from the application menu or by running the following command in the terminal:

codium

Removing VSCodium

If you did not like VSCodium and the fact that it's based on Electron or maybe you switched to Neovim for good. You can remove it using this command:

sudo dnf remove codium

You may keep the repository and signature added to your system or maybe not (why not).
So, let's get rid of that repo:

sudo rm /etc/yum.repos.d/vscodium.repo

Method 2: Install VSCodium using flatpak

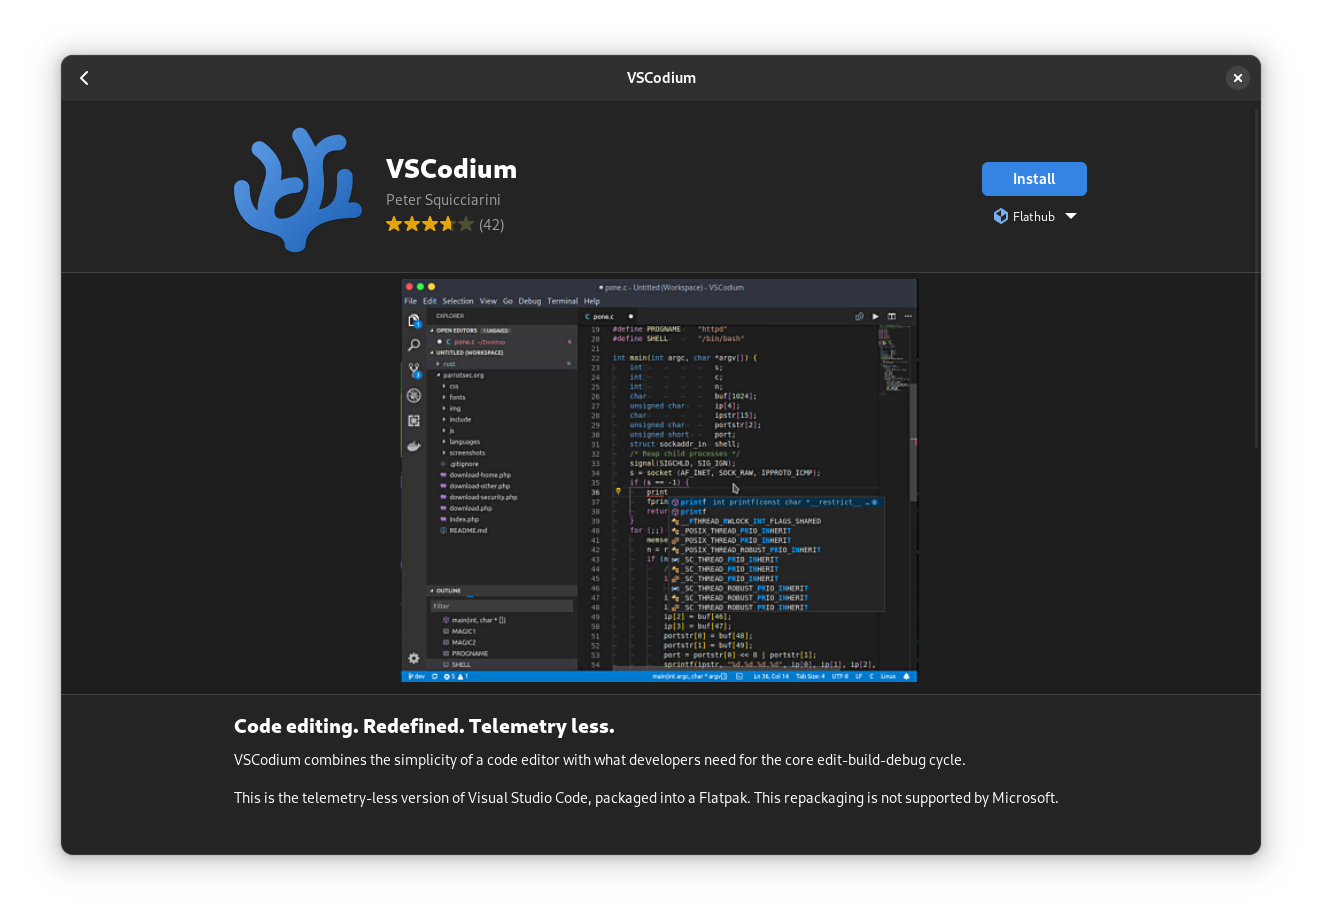
You can install the flatpak also. So, here are the steps to install VSCodium using Flatpak on Fedora:

You can Install it straight away on Fedora by having flathub enabled which is probably enabled if you are using one of the latest iterations and have 3rd party repos enabled for Fedora. Just search for VSCodium in Gnome Software and click Install.

Install VSCodium on Fedora
Installing the flatpak from Gnome Software

But, for the folks running older versions for some reason or they might have a fork with flatpak not enabled can follow suit.

Install Flatpak and enable Flathub: Fedora usually comes with Flatpak pre-installed. If it's not installed, you can install it using the following command:

sudo dnf install flatpak

To enable the Flathub repository, use the following command:

flatpak remote-add --if-not-exists flathub https://flathub.org/repo/flathub.flatpakrepo

Now that you have Flatpak set up, you can install VSCodium using the Flathub repository. Run the following command:

flatpak install flathub com.vscodium.codium

Launch VSCodium: You can launch VSCodium via Flatpak using the following command:

flatpak run com.vscodium.codium

Alternatively, you can also search for "VSCodium" in your application menu and launch it from there.

That's it! You should now have VSCodium installed and running on your Fedora system using Flatpak.

To remove it use the command below:

sudo flatpak uninstall com.vscodium.codium

Here comes the Bottomline

If you have used VS Code then you will not find any difference whatsoever between both the software. It is just for the sake of openness and freedom from the evil telemetry of Microsoft's version.

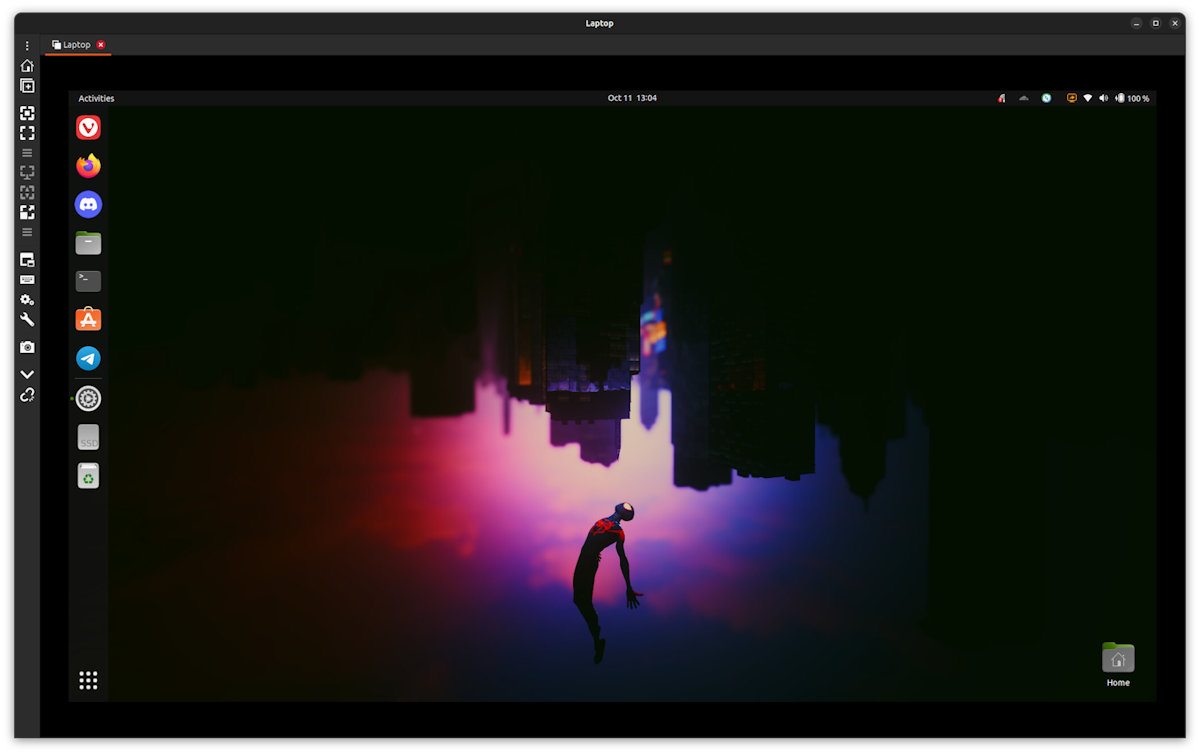
Coming to Fedora I installed the flatpak version first but VSCodium did not show any window decorations in the Wayland session (which is default obviously). Making it difficult to navigate using mouse.

Install VSCodium on Fedora
VSCodium flatpak showing no window decorations.

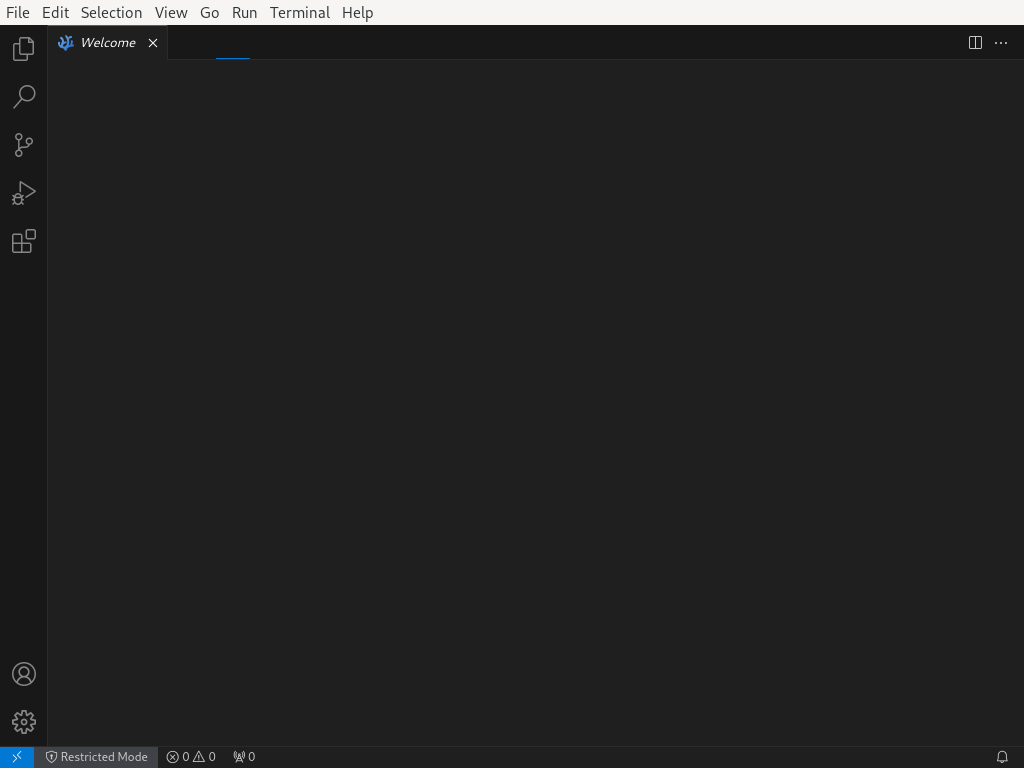
I tried some methods to fix it but had no luck due to flatpak's weird locations for config files. If someone has or can figure out the workaround for above issue can comment down below. But using the rpm version was seamless (Maybe the skeptics were right about alternative package management systems).

Extensions and Plugins were fine for most of the part. You can also follow this tutorial to install on any distro from The Enterprise Linux family e.g. Alma Linux, Rocky Linux etc.


from It's FOSS https://ift.tt/PUodGAp
via IFTTT

Minggu, 29 Oktober 2023

Install Docker on Arch Linux

Install Docker on Arch Linux

Installing Docker on Arch Linux is easy. It is available in the Extra repository and you can simply do the pacman magic:

sudo pacman -S docker

But there are more steps involved here to run Docker on Arch Linux properly.

Making Arch Docker ready

It all comes down to these steps:

  • Install Docker from Arch repository
  • Start the Docker daemon and run it automatically at each boot
  • Add user to docker group to run docker commands without sudo

Let's see the steps in detail.

Step 1: Installing Docker package

Open the terminal and use the following command:

sudo pacman -S docker

Enter the password and press Y when asked for it.

Install Docker on Arch Linux

It may take some time depending on the mirror you are using.

💡
If you see a package not found or 404 error, your sync database is perhaps old. Update the system (it will download a lot of packages and take time) with: sudo pacman -Syu

Step 2: Start docker daemon

Docker is installed but it is not running. You should start the dcoker daemon before running the Docker command for the first time:

sudo systemctl start docker.service

I also suggest enabling the Docker service so that the docker daemon starts automatically when your system boots.

sudo systemctl enable docker.service

This way, you can just start running docker commands. You won't need to manually start the docker service anymore.

Install Docker on Arch Linux

Step 3: Add user to docker group

Docker is installed and the Docker service is running. You are almost ready to run docker commands.

However, by default, you need to use sudo with docker commands. And that's annoying.

To avoid using sudo with each docker command, you can add yourself (or any other user) to the docker group like this:

sudo usermod -aG docker $USER

You must log out (or close the terminal) and log back in for the above change to take effect. If you don't want to do that, use this command:

newgrp docker

Now the stage is set. Let's test it.

Step 4: Verify docker installation

There is a tiny docker image provided by docker itself to test the docker installation. Run it and see if everything works well:

docker run hello-world

You should see output like this for successful docker run:

Install Docker on Arch Linux

Congratulations! You have successfully installed Docker on Arch Linux.

Optional: Install Docker Compose

Docker Compose has become an integral part of Docker. It allows you to manage multiple container applications.

The older classic compose is provided by the docker-compose Python package. Docker has also ported it to Go and provides it with docker compose but this package comes with Docker Desktop.

At this stage, I would suggest going with the classic docker-compose plugin and install it with this command:

sudo pacman -S docker-compose
Install Docker on Arch Linux

Troubleshooting Tips

Here are some common issues you may face and the possible solutions:

Tab completion not working for docker sub commands

If you want to use tab completion for the docker command options (like completing im to images etc), install the bash-completion package:

sudo pacman -S bash-completion

Close the terminal and start a new one. You should be able to use tab completion with Docker commands now.

Cannot connect to the Docker daemon error

If you see the following error:

docker: Cannot connect to the Docker daemon at unix:///var/run/docker.sock. Is the docker daemon running?.
See 'docker run --help'.

That's because the docker daemon is not running. Refer to step 2 and start the docker service, make sure it is running and enable it so that docker daemon runs automatically at each boot.

sudo systemctl start docker.service
sudo systemctl enable docker.service

Permission denied while trying to connect to Docker daemon socket

If you see this error:

docker: permission denied while trying to connect to the Docker daemon socket at unix:///var/run/docker.sock: Post "http://%2Fvar%2Frun%2Fdocker.sock/v1.24/containers/create": dial unix /var/run/docker.sock: connect: permission denied.
See 'docker run --help'.

That's because you need to either run the docker command with sudo or add the user to docker group to run docker commands without sudo.

I hope this quick post helps you run Docker on Arch Linux.


from It's FOSS https://ift.tt/sCT9Kov
via IFTTT

Rabu, 25 Oktober 2023

FOSS Weekly #23.43: New Peppermint Mini Distro, Remmina Guide and More Linux Stuff

FOSS Weekly #23.43: New Peppermint Mini Distro, Remmina Guide and More Linux Stuff

Why do programmers always mix up Halloween and Christmas?

“Because Oct 31 = Dec 25.”

(Octal 31 and Decimal 25 are equivalent, in case you needed more clarification)

I know that was a classic dad joke but since I am father of a 2 year old, I think I am allowed to crack dad jokes from time to time :)

💬 Let's see what you get in this edition of FOSS Weekly:

  • Major releases for Geany and ONLYOFFICE
  • A new streaming app is here that supports multiple platforms.
  • Some interesting tips and tricks.
  • And other Linux news, videos, Puzzles and, of course, memes!

📰 Linux news


🌐 Follow us on Google News

By the way, if you use Google, follow It's FOSS on Google News to get trusted It's FOSS content before other websites in Google search.

It’s FOSS - Google News
Read full articles from It’s FOSS and explore endless topics, magazines and more on your phone or tablet with Google News.
FOSS Weekly #23.43: New Peppermint Mini Distro, Remmina Guide and More Linux Stuff

🧠 What we’re thinking about

LBRY Inc is shutting down owing to several million dollars in debts.

The End of LBRY Inc.
View The End of LBRY Inc. on Odysee
FOSS Weekly #23.43: New Peppermint Mini Distro, Remmina Guide and More Linux Stuff

🧮 Tips and Tutorials

Here's an extensive comparison between two popular password managers.

Bitwarden vs. Proton Pass: What’s The Best Password Manager?
What is your favorite open-source password manager?
FOSS Weekly #23.43: New Peppermint Mini Distro, Remmina Guide and More Linux Stuff

Learn how to set up Remmina on Ubuntu for remote connections. This was a community suggestion by one of our forum members.

Using Remote Desktop Tool Remmina on Ubuntu
Here’s how to use Remmina on Ubuntu to connect to Linux or Windows remote systems.
FOSS Weekly #23.43: New Peppermint Mini Distro, Remmina Guide and More Linux Stuff

A few tools that will help you identify duplicate files on your system.

How to Find Duplicate Files in Linux and Remove Them
Czkawka is a great GUI tool to find duplicate files on Linux and remove them. Rdfind and FDUPES also find the files with the same name on Linux, but in the command line way.
FOSS Weekly #23.43: New Peppermint Mini Distro, Remmina Guide and More Linux Stuff

Here's a non-Snappy way to get the open source Chromium browser on Ubuntu.

Install Chromium Browser in Ubuntu Linux [Deb and Snap]
Learn to install Chromium browser in Ubuntu, both Snap and Deb version methods have been covered.
FOSS Weekly #23.43: New Peppermint Mini Distro, Remmina Guide and More Linux Stuff

📹 What we are watching

A video by The Linux Cast showcasing the power of YaST!


✨ Project highlights

A new Peppermint Mini variant was recently introduced, we tested it out:

Peppermint Mini: A Lightweight Distro With All The Essentials
A mini edition of Peppermint OS.
FOSS Weekly #23.43: New Peppermint Mini Distro, Remmina Guide and More Linux Stuff

🧩 New quizzes

As promised last week, here are more Halloween themed quizzes for you to enjoy 🎃

Halloween Special: Spooky Linux Commands Quiz
Spooky Linux commands. Can you guess them all?
FOSS Weekly #23.43: New Peppermint Mini Distro, Remmina Guide and More Linux Stuff
Linux Halloween Quest
Go on a spooky journey, for the Halloween quest.
FOSS Weekly #23.43: New Peppermint Mini Distro, Remmina Guide and More Linux Stuff

Ubuntu themed puzzle for the Plus members.

Puzzle of the Week: Label This #02: Ubuntu Release Versions
Exercise those ‘little gray cells’ of yours and solve this puzzle.
FOSS Weekly #23.43: New Peppermint Mini Distro, Remmina Guide and More Linux Stuff

💡 Quick handy tip

You can set a keyboard accelerator to select all the content on the current terminal screen on GNOME Terminal.

From the Main Menu, go to Preferences → Shortcuts.

Then set an accelerator for the “Select All” function.

FOSS Weekly #23.43: New Peppermint Mini Distro, Remmina Guide and More Linux Stuff

Now, if you press the key combination that you have assigned, all the contents of the current view will be selected.


🤣 Meme of the week

Checkmate!

FOSS Weekly #23.43: New Peppermint Mini Distro, Remmina Guide and More Linux Stuff

🗓️ Tech Trivia

Windows XP was released on October 25, 2001. One of the most popular Windows version ever. More than a decade later, its discontinuation helped boost the desktop Linux user base.


🧑‍🤝‍🧑 FOSSverse corner

FOSSers are discussing if there are lightweight word processors available.

Lighter weight word processor than LibreOffice?
I’m finding LibreOffice Write to be getting more and more obnoxious to use - mostly because it tries to hard to do everything FOR you, except if what it does isn’t what you want… I do NOT want my word processor to do formatting for me! I especially do NOT want it to CHANGE the format of things I’v…
FOSS Weekly #23.43: New Peppermint Mini Distro, Remmina Guide and More Linux Stuff

❤️ Loving FOSS Weekly?

Share it with your Linux-using friends and encourage them to subscribe (hint: it's here).

Share the articles in Linux Subreddits and community forums.

Become a Pro member and support our work 🙏

Anything else? Please reply to this email :)


from It's FOSS https://ift.tt/XrjUqLW
via IFTTT

Cut, Copy and Paste in Vim

Cut, Copy and Paste in Vim

Cutting, copying, and pasting text is one of the most basic tasks in text editing and we all know Vim has a different way of doing things.

This means until you get a hang of it, you fear it and once you get a grip, it is nothing but a rabbit hole.

While I'll address cut, copy, and paste in detail, here's a basic summary of this tutorial to get things started:

Action Description
yiw Copy the current word.
yy Copy the whole line.
diw Cut the current word.
dd Cut the whole line.
p Paste text.

Don't worry, Vim gives you much more options than what I've mentioned above.

In this tutorial, I will walk you through the following:

  • How to copy text in Vim
  • How to cut text in Vim
  • How to paste text in Vim
  • How to cut and copy text in Vim using Visual mode

So let's start with the first one.

How to copy the text in the Vim editor

While we use the term copy, Vim has a different term called yank so from now on, I will be using Yank instead of copy.

As I mentioned earlier, you get multiple ways to yank text in Vim, and here are some useful ones:

Command Description
nyy or nY Yanks (copies) the current line and the next n-1 lines. For example, 3yy copies the current line and the two lines below it.
yaw Yanks (copies) the current word the cursor is on.
yy or Y Yanks (copies) the entire current line.
y$ Yanks (copies) text from the cursor to the end of the line.
y^ or y0 Yanks (copies) text from the cursor to the beginning of the line.

To yank in Vim, follow 3 simple steps:

  1. Press the Esc key to switch to the normal mode
  2. Navigate to a line or a word that you want to copy
  3. Press the relative command from the above table and your text will be copied

Want to learn the interactive way to copy lines? Skip to the last section of this tutorial.

How to cut text in the Vim editor

In Vim, you don't have any option to delete the text. Instead, you cut the text so you the delete and cut the text are similar things in Vim.

To cut text in Vim, you press the d command. But you never use the d command without any opinions. You always add something to it to get more out of it.

So here are some practical ways you can cut the text using the d command:

Command Description
dd Cuts the entire current line.
d$ Cuts text from the cursor to the end of the line.
d^ or d0 Cuts text from the cursor to the beginning of the line.
ndd or dN Cuts the current line and the next n-1 lines. For example, 3dd cuts the current line and the two lines below it.
daw Cuts the current word the cursor is on.

Let's say I want to cut the first 4 lines from my file, then I need to use 4dd and here's how I did it:

Cut, Copy and Paste in Vim

How to paste text in the Vim editor

After copying or cutting text in Vim, you can simply paste it by pressing the p key.

You can press the p key multiple times to paste text multiple times or use np where the n is the number of how many times you want to paste the text.

For example, here, I pasted lines that I copied previously three times:

Cut, Copy and Paste in Vim

It's that easy!

How to cut and copy text by selecting it

If you are coming from GUI text editors, you must be used to copying and cutting text by selecting it.

So let's start with how you copy text by selecting it in Vim.

Copy the text by selecting it

To copy the text in visual mode, follow 3 simple steps:

  1. Go to the point from where you want to start the selection
  2. Press Ctrl + v to enable the visual mode
  3. Use arrow keys to make a selection
  4. Press the y key to copy the selected text

For example, here, I copied 4 lines using the visual mode:

Cut, Copy and Paste in Vim

If you notice, once I pressed the y key, it showed how many lines were yanked (copied). In my case, 4 lines were yanked.

Cut the text by selecting it in Vim

To cut the text in Vim in visual mode, all you have to do is follow 4 simple steps:

  1. Navigate to a point from where you want to cut lines
  2. Press Ctrl + v to switch to visual mode
  3. Use arrow keys to select the lines you want to cut
  4. Press the d key to cut the selected lines

So let's say I want to cut 4 lines, then, this is how I'd do it:

Cut, Copy and Paste in Vim

Pretty easy. Right?

More on Vim

Did you know that there are multiple modes in Vim? Learn more about different modes in Vim:

What are Vim Modes? How to Change Them?
Vim has three different modes for handling user input and processing them.
Cut, Copy and Paste in Vim

Want to step up your Vim game? Refer to tips and tricks to become a pro-Vim user:

11 Pro Vim Tips to Get Better Editing Experience
You can learn plenty of Vim tips on your own, or you can learn it from others’ experiences.
Cut, Copy and Paste in Vim

I hope you will find this guide helpful.


from It's FOSS https://ift.tt/WxFjq6Z
via IFTTT

Senin, 23 Oktober 2023

Install, Configure and Use Remmina on Ubuntu

Install, Configure and Use Remmina on Ubuntu

Remmina is an open-source desktop client written in GTK that lets you connect to remote computers.

It is a simpler alternative to tools like AnyDesk and TeamViewer. You can connect through various protocols like RDP, VNC, SSH, X2GO, HTTP(S), and more. The feature-set can be extended with the help of available plugins if you need.

Note that Remmina is only available for Linux users. So, if you have a Linux machine and want to connect to any other remote system, Remmina is perfect.

I should also mention that it is one of the best remote desktop tools for Linux.

9 Best Remote Desktop Tools for Linux
Here, we list the best remote desktop tools for Linux along with their pros and cons.
Install, Configure and Use Remmina on Ubuntu

Now that you know about Remmina as a capable remote desktop tool. How do you use it?

Let me tell you more about it:

Get Started by Installing Remmina on Ubuntu

Install, Configure and Use Remmina on Ubuntu

Remmina comes pre-installed in many Linux distributions, including the latest releases of Ubuntu and Fedora.

In either case, you can find it available in the official repositories for most Linux distributions.

If you want to install the latest version, I recommend installing the Flatpak or the Snap package.

For this article, I installed the Snap package from the Ubuntu's Software Center. You can choose to get the Flatpak package from Flathub as well.

📋
The entire setup is tested on and written for systems on the same subnetwork. In simpler terms, your devices should be connected to the same router.

Using Remmina to Connect to a Linux Remote Machine (Ubuntu)

To test this use-case, I tried connecting to my Linux laptop from my Linux desktop computer.

Before connecting, you need to know the IP address of the remote system. In my case, I went to system settings and utilized the graphical user interface Wi-Fi→ Connection settings (gear icon next to the network connected) to check the IP address.

Install, Configure and Use Remmina on Ubuntu

You can also use the terminal and type in the following to get the IP address:

ip a
Install, Configure and Use Remmina on Ubuntu

You might have more things listed here, but the IP address right to "inet" under an Ethernet connection (you can spot that by the text field link/ether) is what we need.

In my case, the IP address is 192.168.1.14

Next, you need two more things before you can connect to the remote machine:

  • Enable remote desktop in the remote system you wish to connect.
  • The username and the password for remote connection.

Enable remote connection on the remote system

To get that, navigate through Settings → Sharing → Remote Desktop.

Install, Configure and Use Remmina on Ubuntu

Here, you need to toggle (enable) Remote Desktop, check "Enable Legacy VNC Protocol", and then Remote Control as shown in the screenshot below.

Install, Configure and Use Remmina on Ubuntu

We utilize the Virtual Network Computing (VNC) protocol to connect, which is the preferred way to connect to Linux computers for most.

As you can notice, you can find the username and the password under the "Authentication" section in the image above.

Once you have the IP, authentication details, and enabled remote sharing, you just need to add a new connection profile and fill up the details.

Install, Configure and Use Remmina on Ubuntu

Here's how that looks like:

Install, Configure and Use Remmina on Ubuntu

You can give it any name, and create a Group (if you need). For instance, I can have a group of home devices from a workplace, and keep it organized separately to identify remote computers easily.

For the protocol, use "Remmina VNC Plugin".

The rest of the settings remain default, and ensure that the Quality is set to good. So, you can have a good user experience without requiring a superfast internet connection.

However, you can choose to change it if you think you have poor network connectivity.

Once you are done with setting the options, hit "Save and Connect".

Of course, if you want to connect to a machine once from a guest computer, and do not want to save the details, you can avoid saving and hit "Connect".

Install, Configure and Use Remmina on Ubuntu

You might be prompted for the connection for the first time. If you do not want this, you can change the authentication technique to "Require a password" in the remote desktop settings:

Install, Configure and Use Remmina on Ubuntu

And, voilà! You are now connected to the remote system.

Install, Configure and Use Remmina on Ubuntu
📋
You should change the quality settings before connecting to a remote system to avoid crashes.

While you are connected to the remote machine, you can take a screenshot, scale the window size, duplicate the connection, and do several more useful things from the left sidebar.

Now, let us move on to a Windows system.

Using Remmina to Connect to a Windows Remote System

Just like a Linux (Ubuntu in our example) system, you have to enable remote desktop sharing before trying to connect to a Windows computer.

💡
For Windows, you can only find the Remote Desktop option in the Pro editions.

So, if you have Windows 10/11 Home edition, you cannot enable Remote Desktop unless you upgrade it to the professional edition.

Considering you have a license to Windows pro edition on your remote system.

Here's how to enable Remote Desktop sharing:

  1. Head to Settings → System → Remote Desktop. Now, enable the option as shown below:
Install, Configure and Use Remmina on Ubuntu

You will get a prompt to confirm the action. Proceed with it.

Install, Configure and Use Remmina on Ubuntu
  1. Next, we need information to connect to this Windows device. For that, you need to your network settings, and hit "Properties" to get network information (IP address).

    In this case, we have a wired connection.
Install, Configure and Use Remmina on Ubuntu

On the next screen, you will have the IP address of your system as shown below:

Install, Configure and Use Remmina on Ubuntu

In case you have a wireless connection, you will have to navigate to "Change adapter options" in the network status screen and then right-click on the Wi-Fi adapter connected to your computer.

Now, check the status of the Wi-Fi network and click on "Details" to get the IP address, as shown in the screenshots below:

For the tutorial, I used the wired connection. So, the IP address for me remains:

192.168.1.3

I created a new remote connection profile with the above IP address and its protocol as RDP (Remote Desktop Protocol).

Install, Configure and Use Remmina on Ubuntu

The username and password are the same as your Windows computer credentials.

For me, it was my Microsoft account credentials linked to my Windows system. If you do not have a Microsoft account linked, it will be your local username and password.

Of course, you can choose to add a new user just for remote desktop if you like.

Considering I accidentally entered the local credentials instead of my microsoft@outlook.com details, it prompted me again for authentication.

Install, Configure and Use Remmina on Ubuntu

Once you are done authenticating, you will get another prompt asking you to verify the certificate where your desktop name will also show up as follows:

Install, Configure and Use Remmina on Ubuntu

Accept the certificate. If you are incredibly cautious about the connection, you can pick to view the installed certificates on your system and verify by following Microsoft's documentation.

Install, Configure and Use Remmina on Ubuntu

And, that is it! You are connected to the Windows remote machine.

One important bit here: you should enable the dynamic resolution update from the sidebar to make the resolution adapt to your screen size.

Install, Configure and Use Remmina on Ubuntu

For the tutorial, I have tested a Linux remote machine and a Windows system, which are the two most popular use-cases.

You need a static IP and IP forwarding to test the SSH connection protocol.

For the rest of the options in the sidebar, you get re-sizing the window, taking a screenshot of the remote machine, duplicating a connection, tweaking the connection quality for slow/fast performance, and more.

Wrapping Up

Remmina works well for simple remote desktop connection, with advanced abilities for users who require it.

You can customize your remote connection with advanced options and SSH connection. However, if you do not know what you are doing, you probably do not need those options.

How else do you use the Remmina app for remote connections? Let me know in the comments below.


from It's FOSS https://ift.tt/BNp8L0M
via IFTTT