If you are someone interested in self-hosting, home automation, or just want to tinker with your Raspberry Pi, you have various options to get started.
But, if you are new, and want something easy to get you up to speed, CasaOS is what you can try.
CasaOS isn't your ordinary operating system. It is more like a conductor, bringing all your favorite self-hosted applications together under one roof.
Built around the Docker ecosystem, it simplifies the process of managing various services, apps, and smart devices from a browser-based dashboard.
Originally developed by the makers of ZimaBoard, CasaOS makes the deployment of tools like Jellyfi, Plex, Immich, PhotoPrism a matter of a few clicks.

Let us find out more and explore how CasaOS can help can transform our simple Raspberry Pi into a powerful personal cloud.
What is CasaOS?
Think of CasaOS (Casa being "home" in Spanish) as a home for your Raspberry Pi or similar device.
It sits on top of your existing operating system, like Ubuntu or Raspberry Pi OS, and transforms it into a self-hosting machine.
CasaOS simplifies the process of installing and managing applications you'd typically run through Docker containers by blending the user-friendliness of docker management platform like Portainer.
It acts as the interface between you and your applications, providing a sleek, user-friendly dashboard that allows you to control everything from one place.
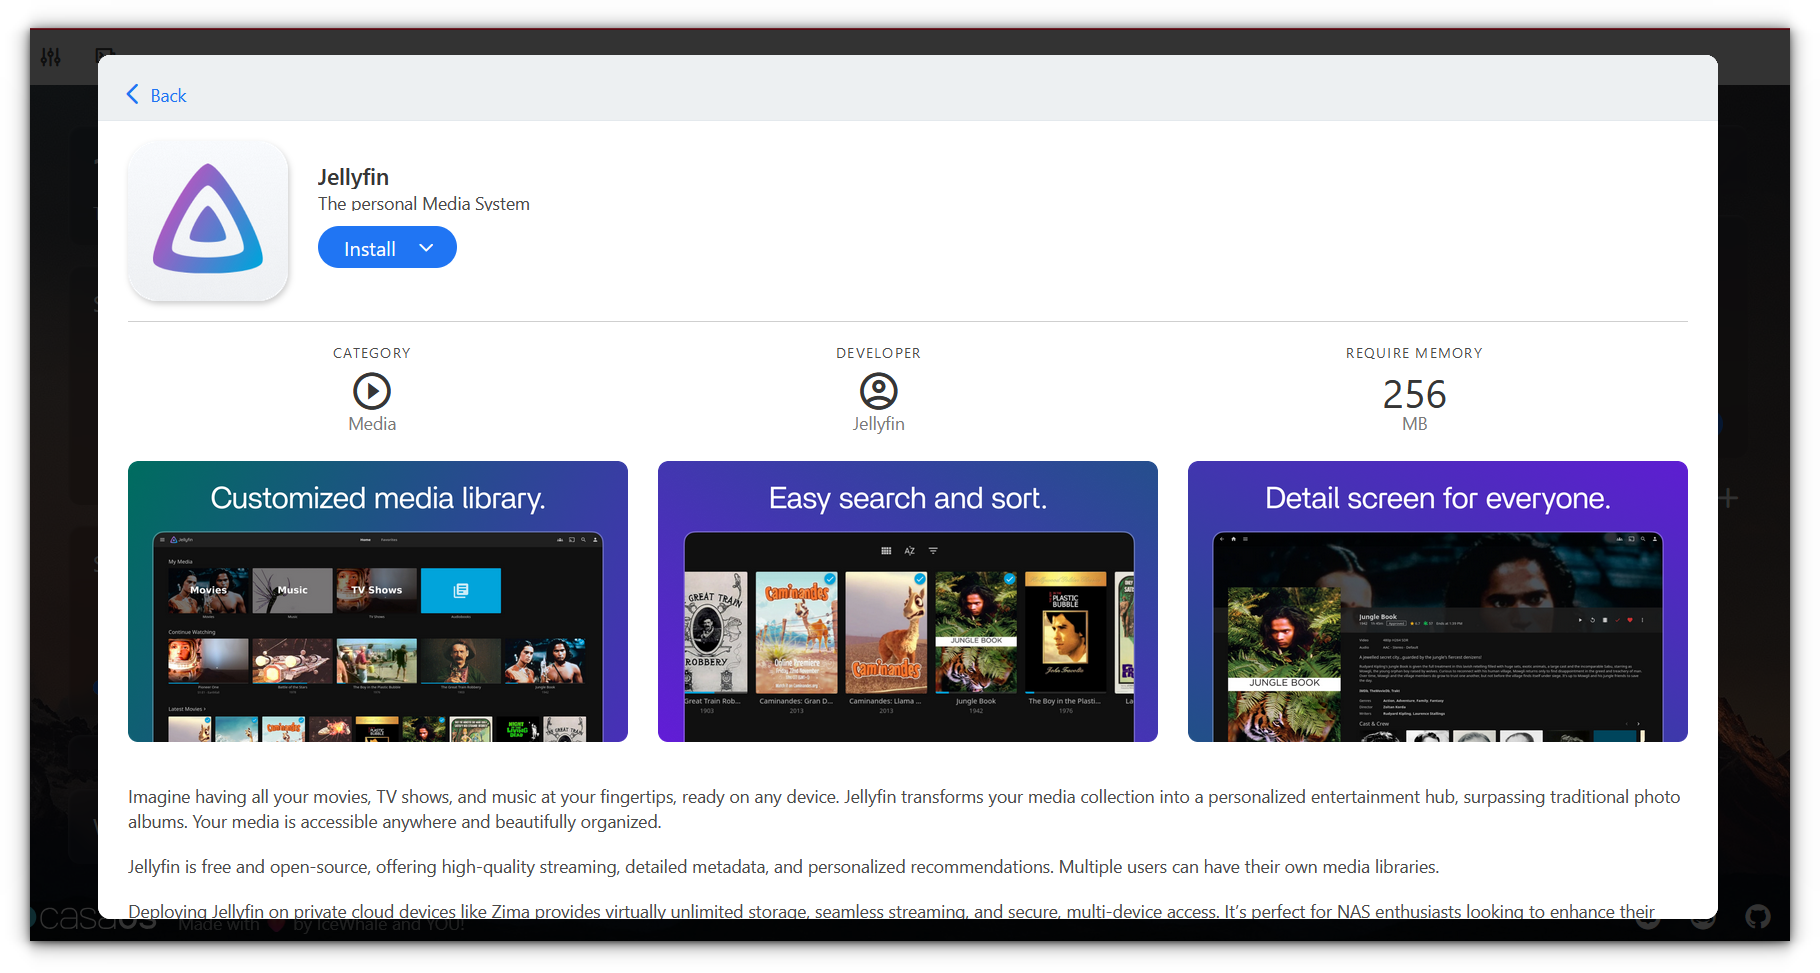
You can deploy various applications, including media servers like Jellyfin or file-sharing platforms like Nextcloud, all through its web-based interface.
Installing CasaOS on Raspberry Pi
Installing CasaOS on a Raspberry Pi is as easy as running a single bash script. But first, let’s make sure your Raspberry Pi is ready:
Ensure your Pi’s operating system is up-to-date by running the following commands:
sudo apt update && sudo apt upgrade -yIf you do not have curl installed already, install it by running:
sudo apt install curl -yNow, grab the installation script from the official website and run it:
curl -fsSL https://get.casaos.io | sudo bash
Access the CasaOS web interface
After the installation completes, you will receive the IP address in the terminal to access CasaOS from your web browser.
Simply type this address into your browser or if you are unsure type hostname -I on the Raspberry Pi to get your IP, and you will be greeted by the CasaOS welcome screen.
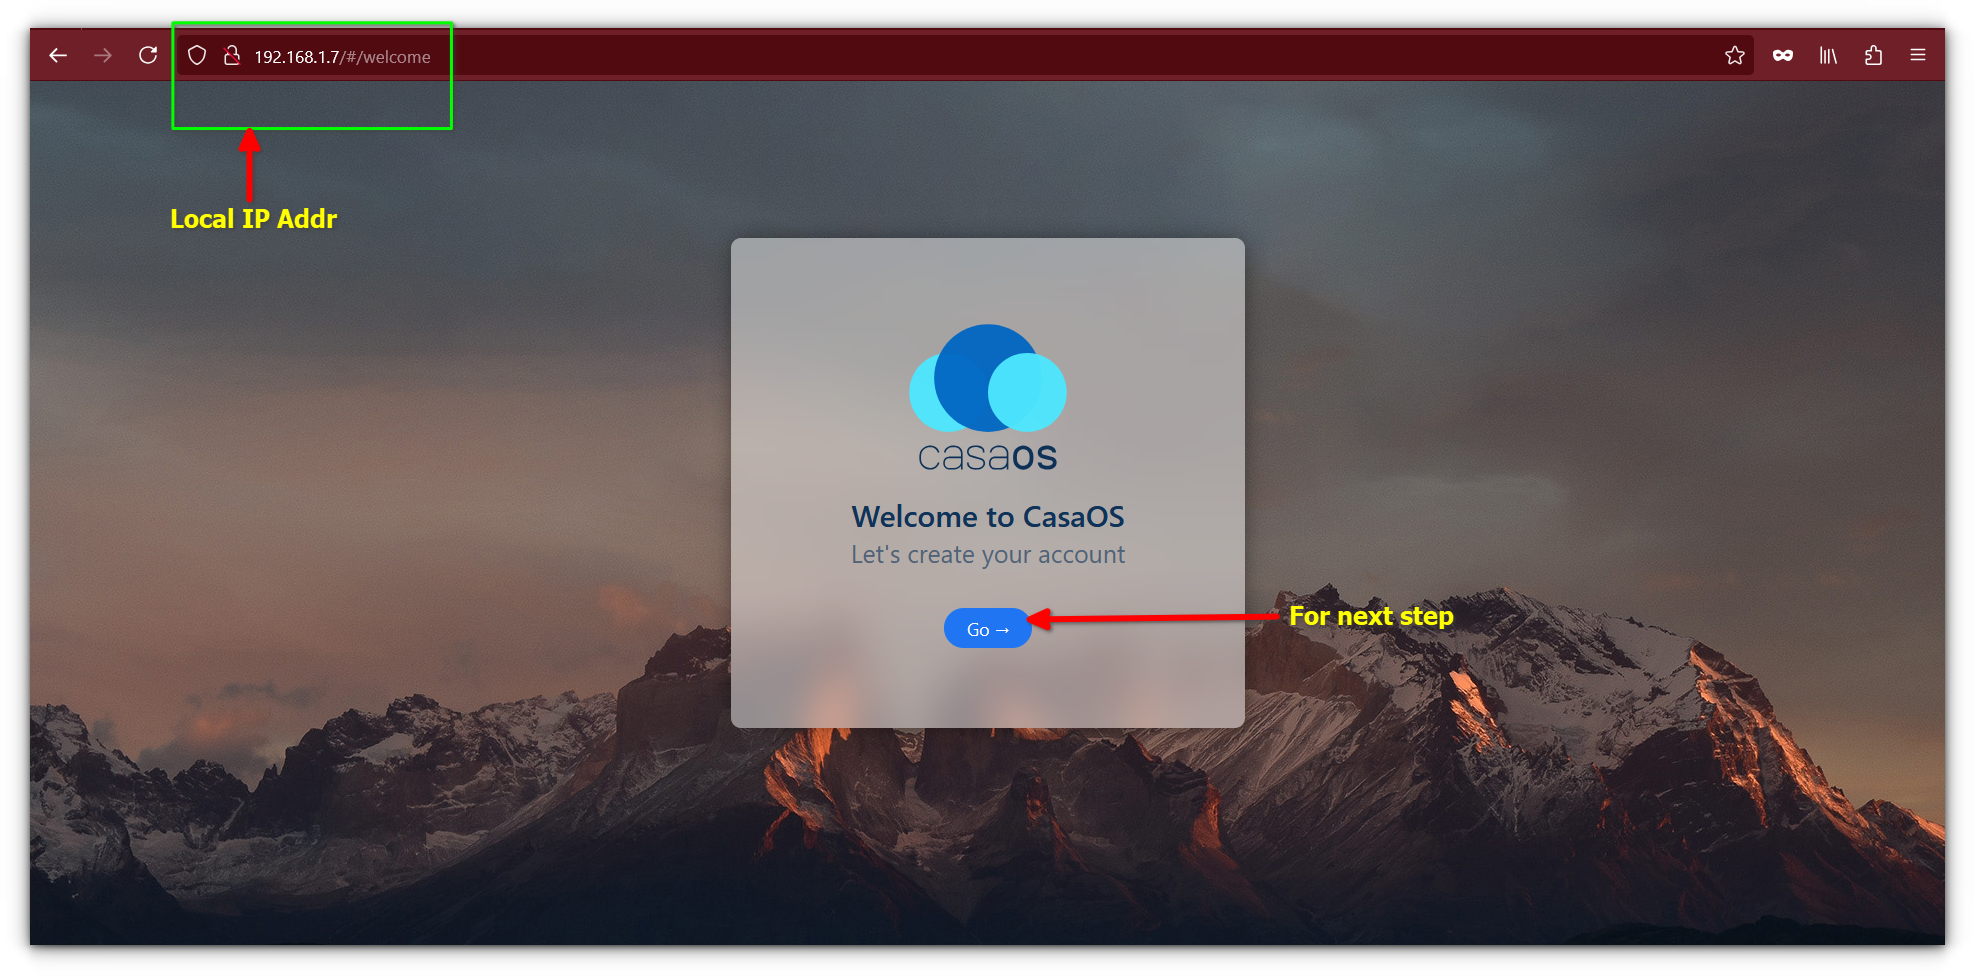
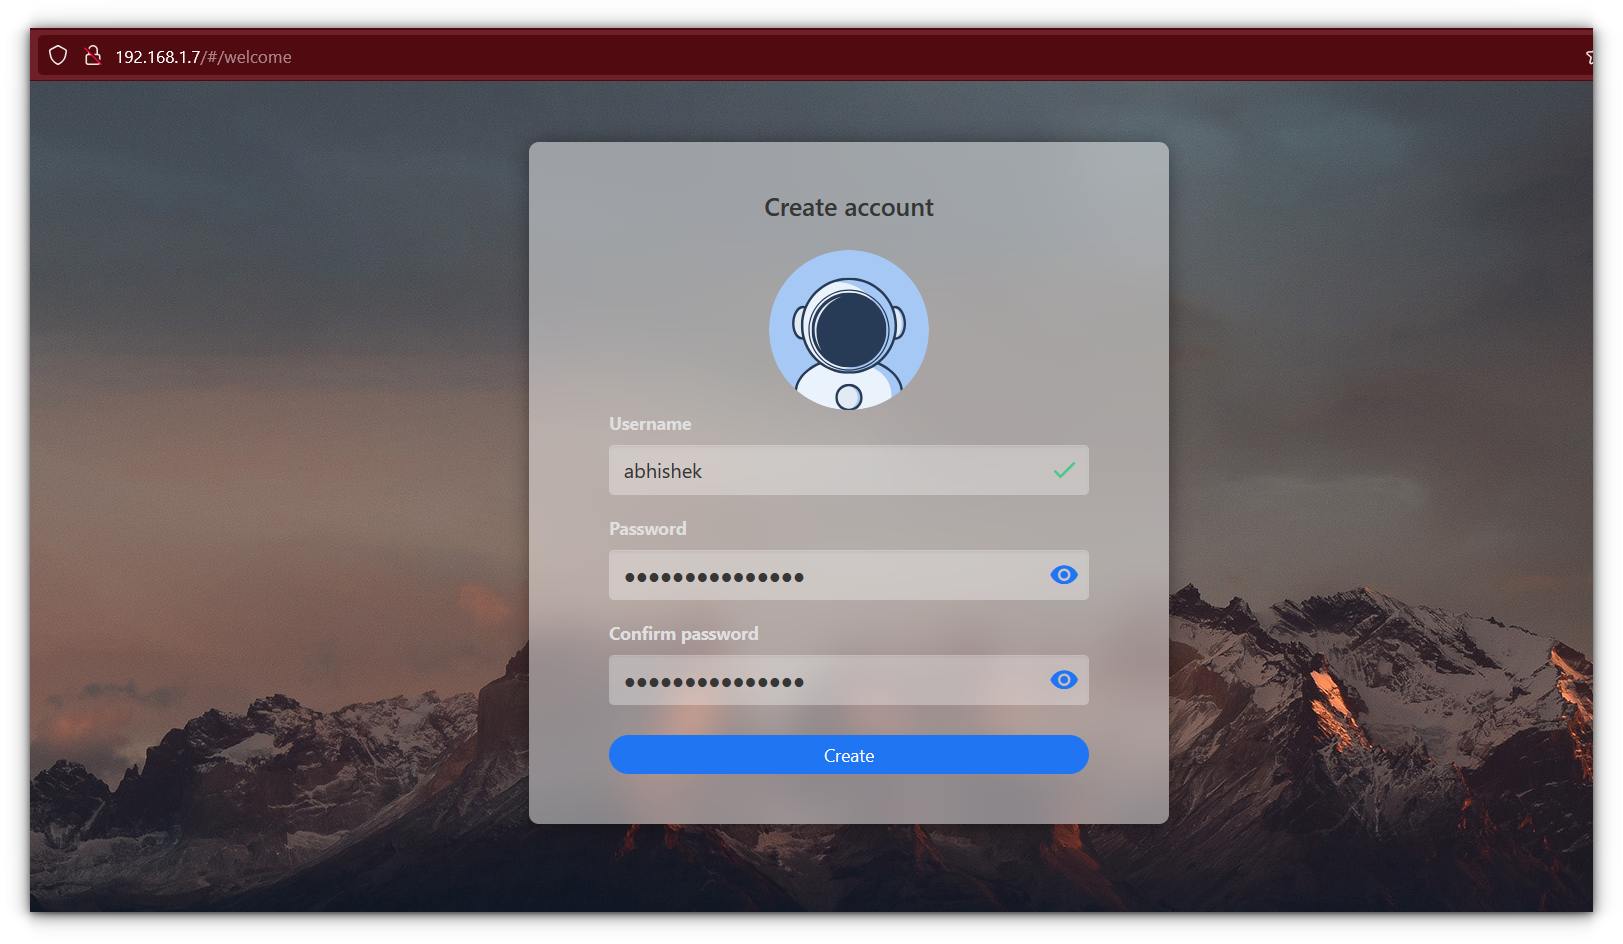
The initial setup process will guide you through creating an account and getting started with your personal cloud.
Getting Started
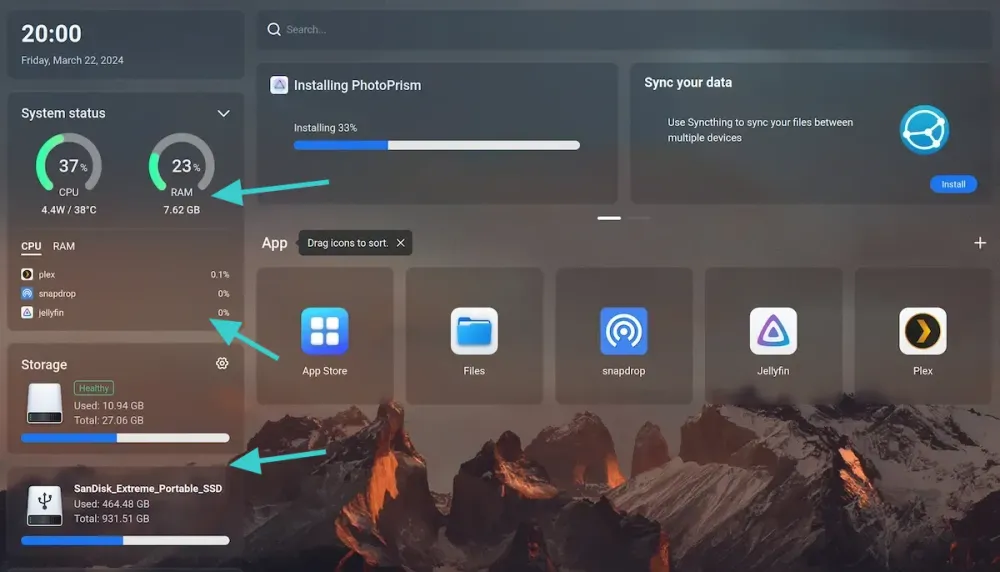
Once inside, CasaOS welcomes you with a clean, modern interface. You’ll see system stats like CPU usage, memory, and disk space upfront in widget-style panels.
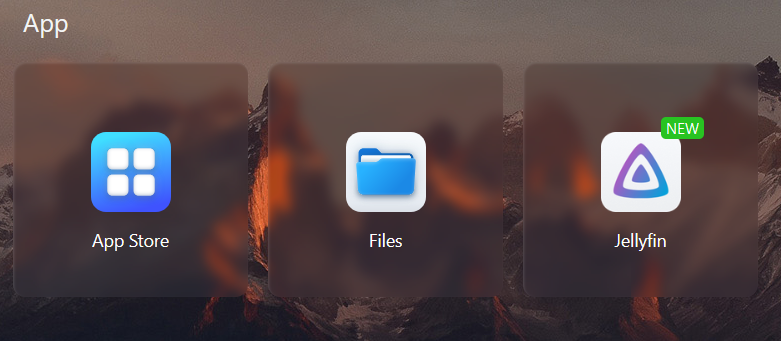
There’s also a search bar for easy navigation, and at the heart of the dashboard lies the app drawer—your gateway to all installed and available applications.
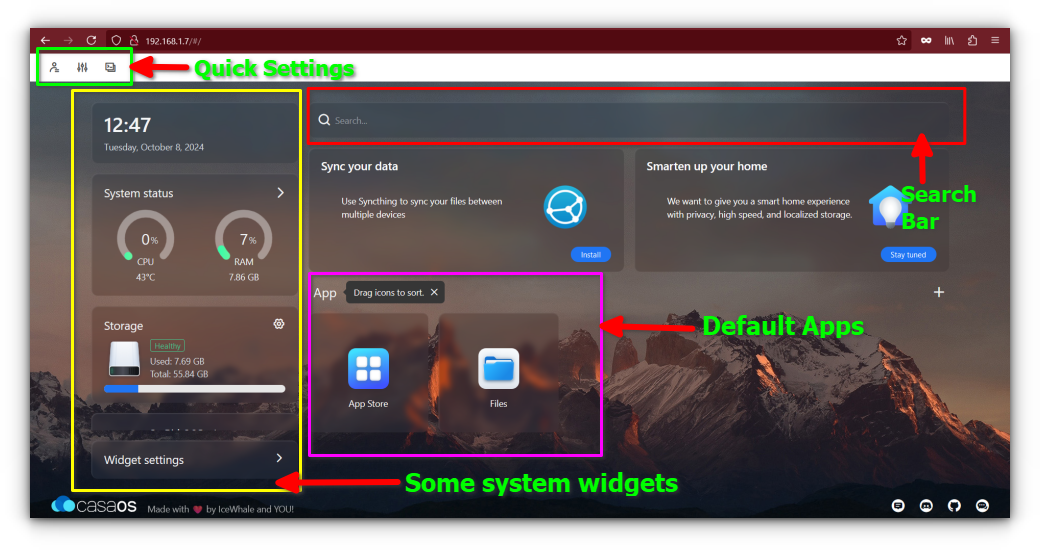
CasaOS comes pre-installed with two main apps: Files and the App Store. While the Files app gives you easy access to local storage on your Raspberry Pi, the App Store is where the magic really happens.
From here, you can install various applications with just a few clicks.
Exploring the magical app store
The App Store is one of the main attractions of CasaOS. It offers a curated selection of applications that can be deployed directly on your Pi with minimal effort.
Here’s how you can install an app:
- Go to the app store
From the dashboard, click on the App Store icon.
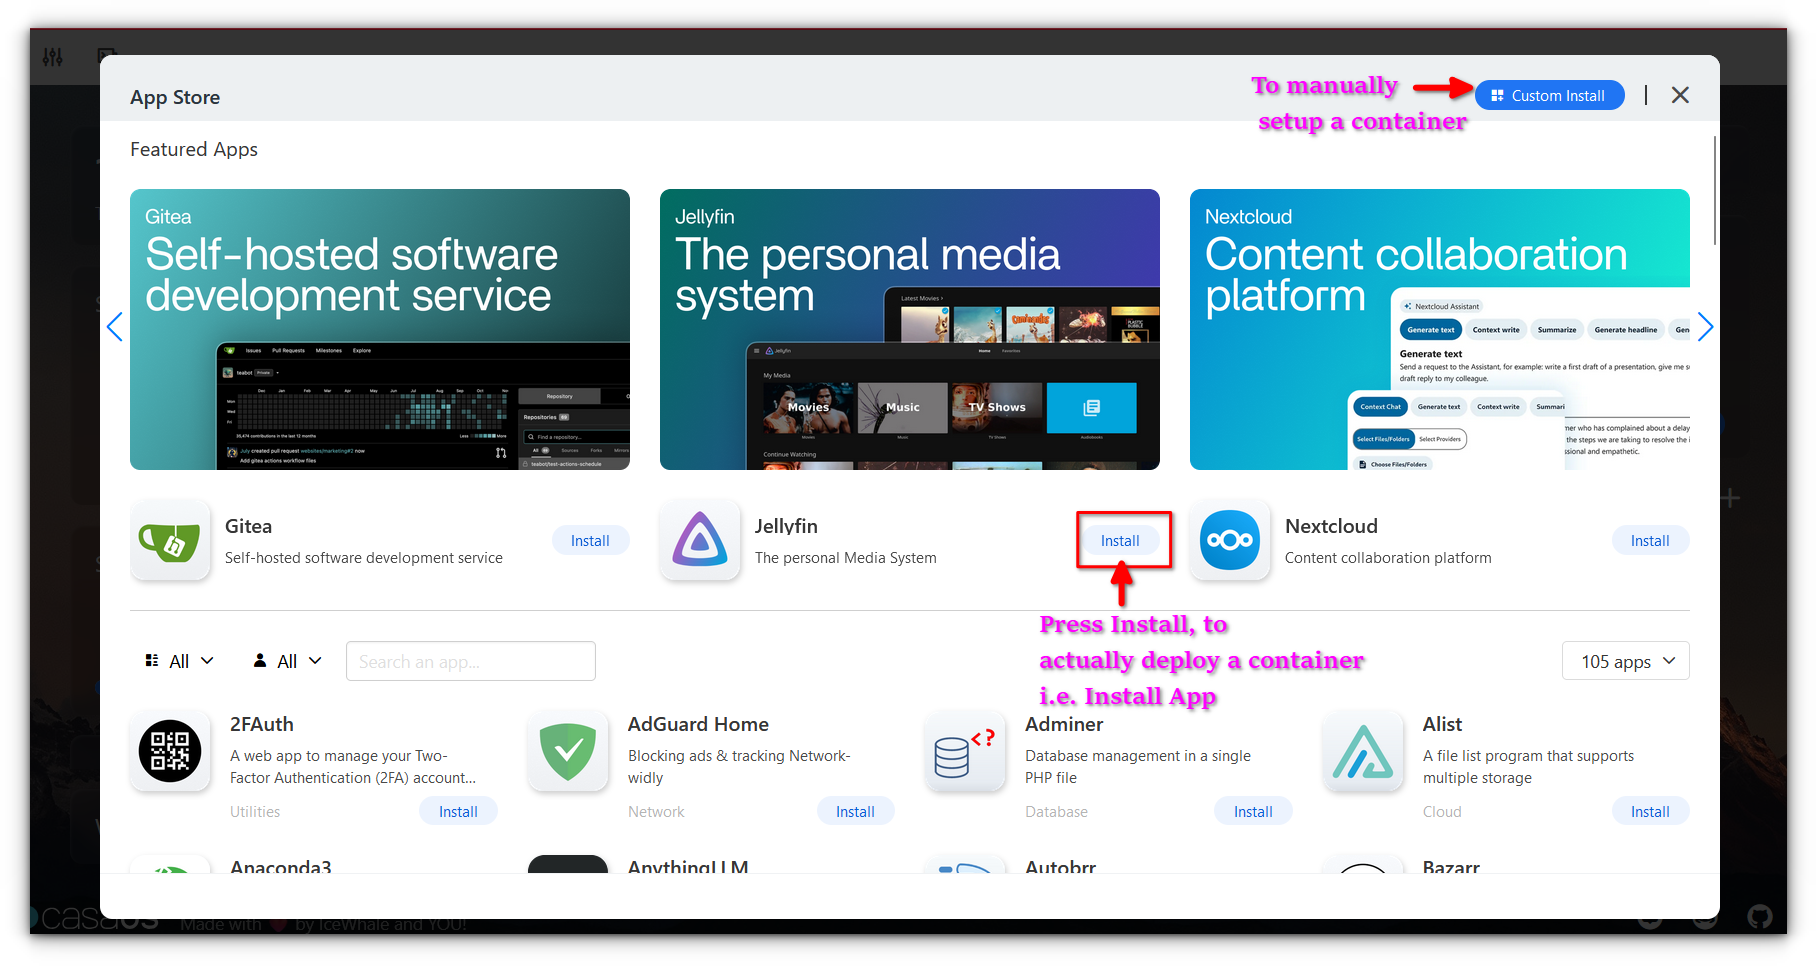
- Browse or search for an app
Scroll through the list of available apps or use the search bar to find what you’re looking for.
- Click install
Once you find the app you want, simply click on the installation button, and CasaOS will handle the rest.
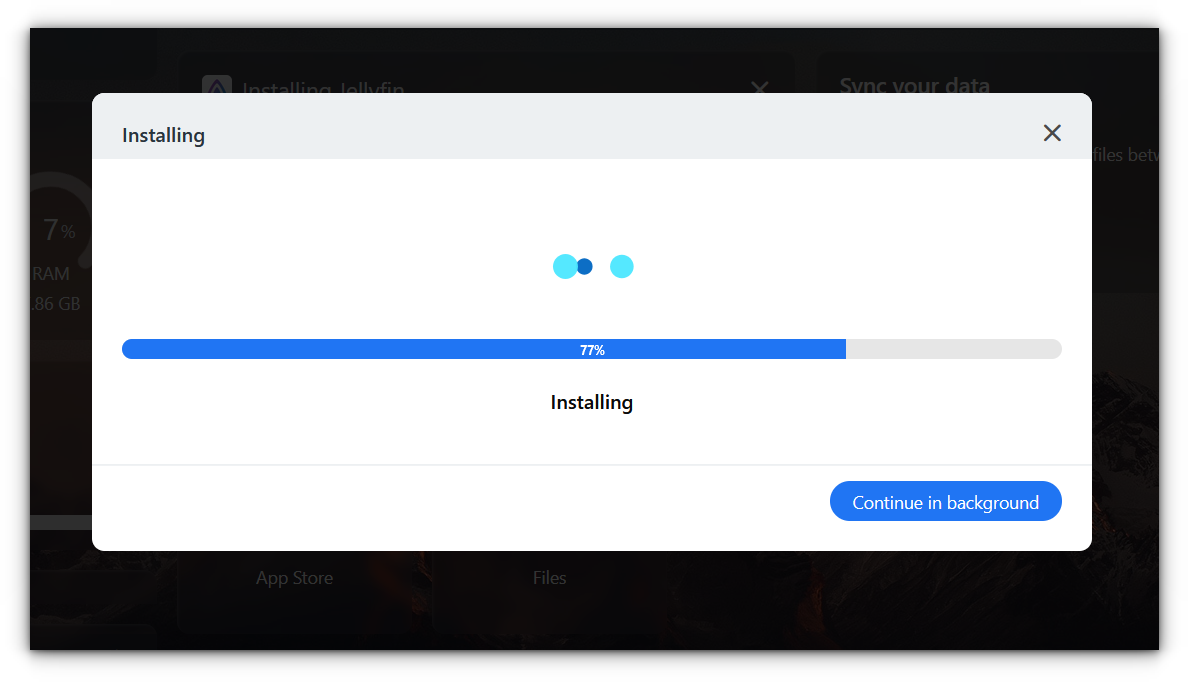
The app will appear in your app drawer once the installation is complete.
It is that simple.
Access
Once you have installed applications in CasaOS, accessing them is straightforward, thanks to its intuitive design.
All you have to do is click on the Jellyfin icon, and it will automatically open up in a new browser window.
Each application you install behaves in a similar way, CasaOS takes care of the back-end configurations to make sure the apps are easily accessible through your browser.
No need to manually input IP addresses or ports, as CasaOS handles that for you.
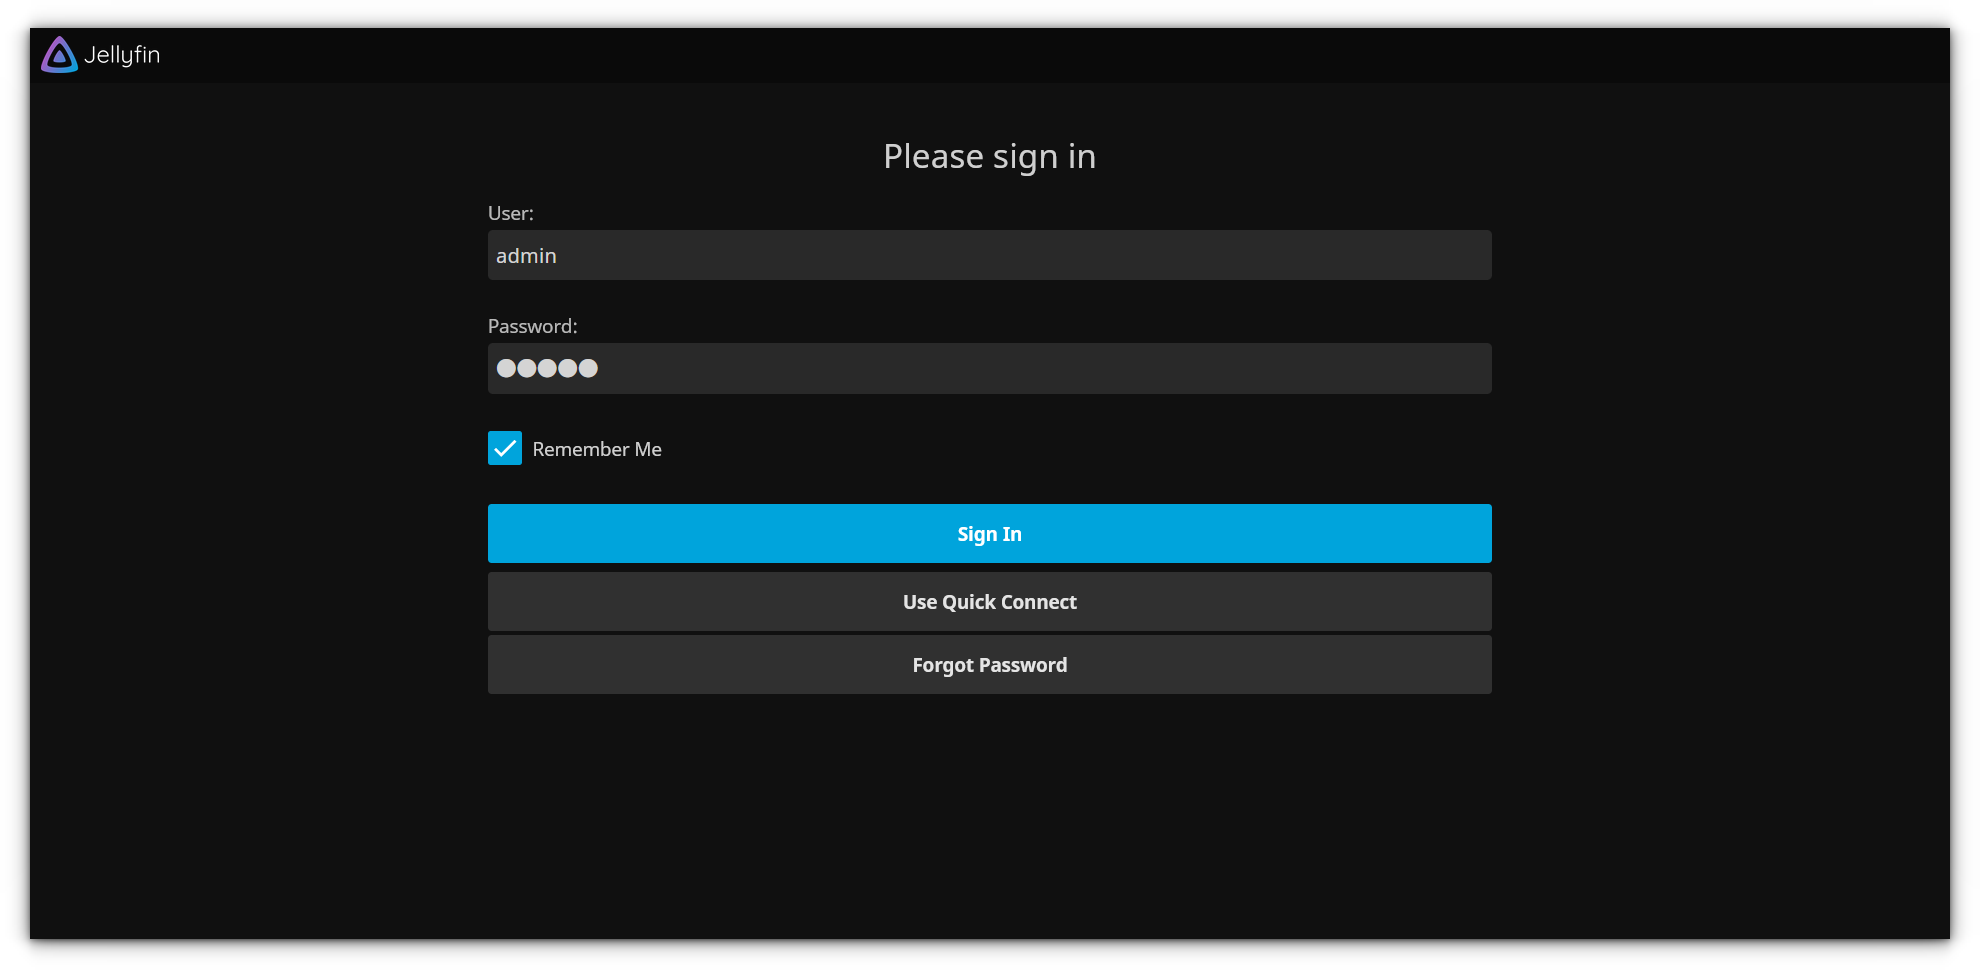
For applications like Jellyfin or any self-hosted service, you will likely need to log in with default credentials (which you can and should change after the first use).
In the case of Jellyfin, the default login credentials were:
- Username:
admin - Password:
admin
Of course, CasaOS allows you to customize these credentials when setting up the app initially, and it's always a good idea to use something more secure.
My experience with CasaOS
For this article, I installed a few applications on CasaOS tailored to my homelab needs:
- A Jellyfin server for media streaming
- Transmission as a torrent client
- File Browser to easily interact with files through the browser
- Cloudflared for tunneling with Cloudflare
- Nextcloud to set up my cloud
- A custom Docker stack for hosting a WordPress site.
I spent a full week testing these services in my daily routine and jotted down some key takeaways, both good and bad.
While CasaOS offers a smooth experience overall, there are some quirks that require you to have Docker knowledge to work with them.
Jellyfin media server: Extra drive mount issue
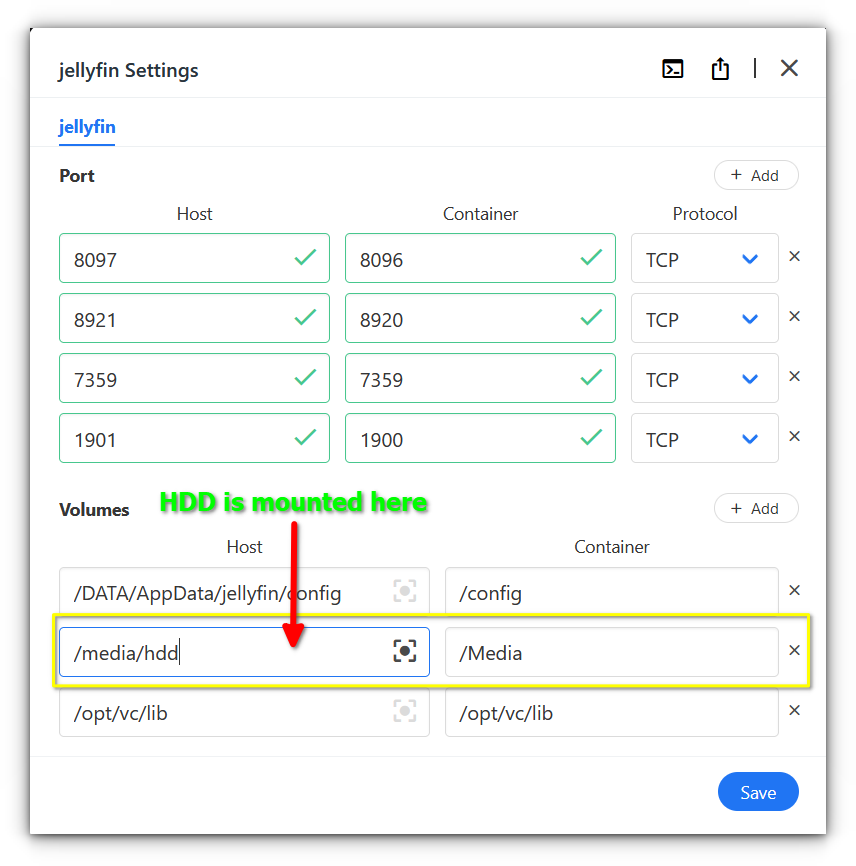
When I first set up Jellyfin on day one, it worked well right out of the box. However, things got tricky once I added an extra drive for my media library.
I spent a good chunk of time managing permissions and binding volumes, which was definitely not beginner-friendly.
For someone new to Docker or CasaOS, the concept of binding volumes can be perplexing. You don’t just plug in the drive and expect it to work, it requires configuring how your media files will link to the Jellyfin container.
fstab file if you want it to mount at the exact same location every timeEven after jumping through those hoops, it wasn’t smooth sailing. One evening, I accidentally turned off the Raspberry Pi.
When it booted back up, the additional drive wasn’t mounted automatically, and I had to go through the whole setup process again ☹️
So while Jellyfin works, managing external drives in CasaOS feels like it could be a headache for new users.
Cloudflared connection drops
I used Cloudflare Tunnel to access the services from outside the home network.
It was a bit of a mixed bag. For the most part, it worked fine, but there were brief periods where the connection was not working even if said that it was connected.
The connection would just drop unexpectedly, and I’d have to fiddle around with it to get things running again.
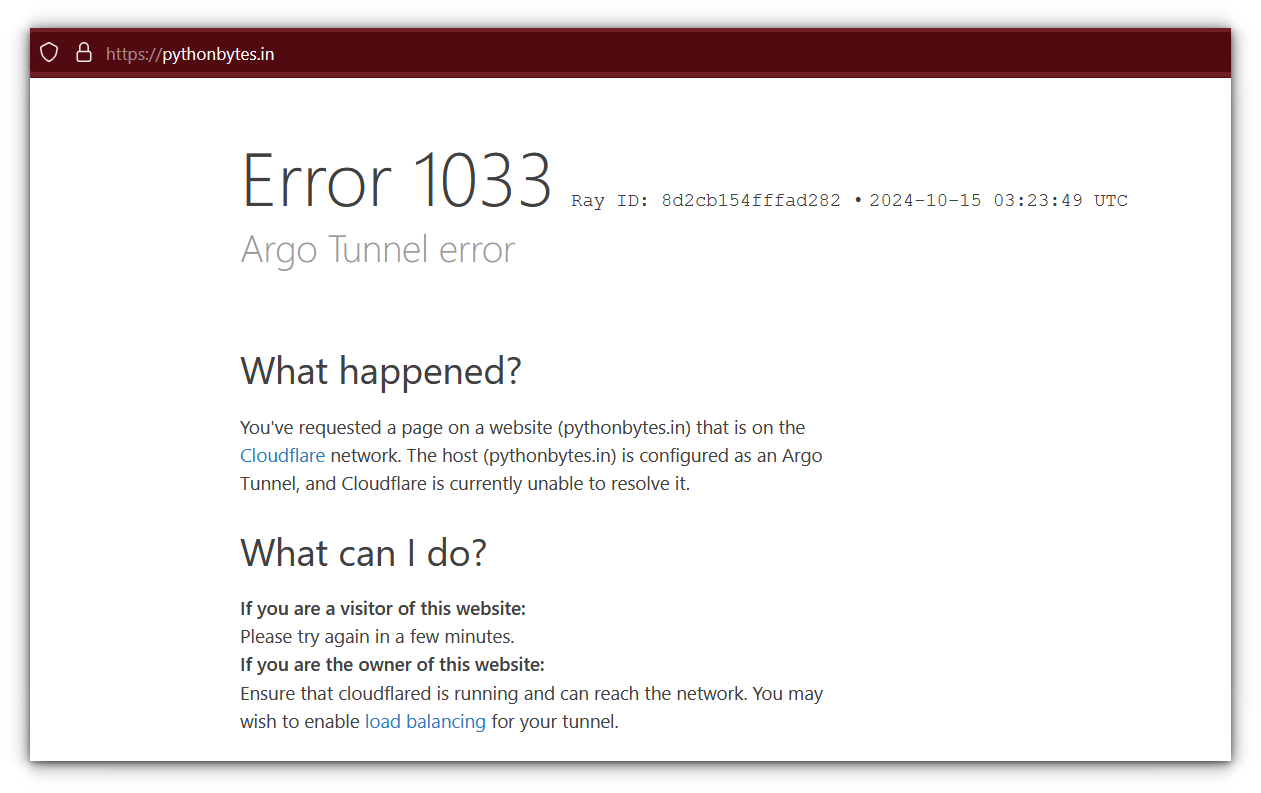
After doing some digging, I found out that the CLI tool for Cloudflare Tunnels had recently been updated, so that might’ve been the root of the issue.
Hopefully, it was a temporary glitch, but it is something to keep in mind if you rely on stable connections.
Transmission torrent Client: Jellyfin's Story Repeats
casaos. The tooltip for some applications contain such information. You can also edit them and add notes for the application.Transmission was solid for saving files locally, but as soon as I tried adding the extra drive to save files on my media library, I hit the same wall as with Jellyfin.
The permissions errors cropped up, and again, the auto-mount issue reared its head.
So, I would say it is fine for local use if you’re sticking to one drive, but if you plan to expand your storage, be ready for some trial and error.
Nextcloud: Good enough but not perfect
Setting up a basic Nextcloud instance in CasaOS was surprisingly easy. It was a matter of clicking the install button, and within a few moments, I had my personal cloud up and running.
However, if you’re like me and care about how your data is organized and stored, there are a few things you’ll want to keep in mind.
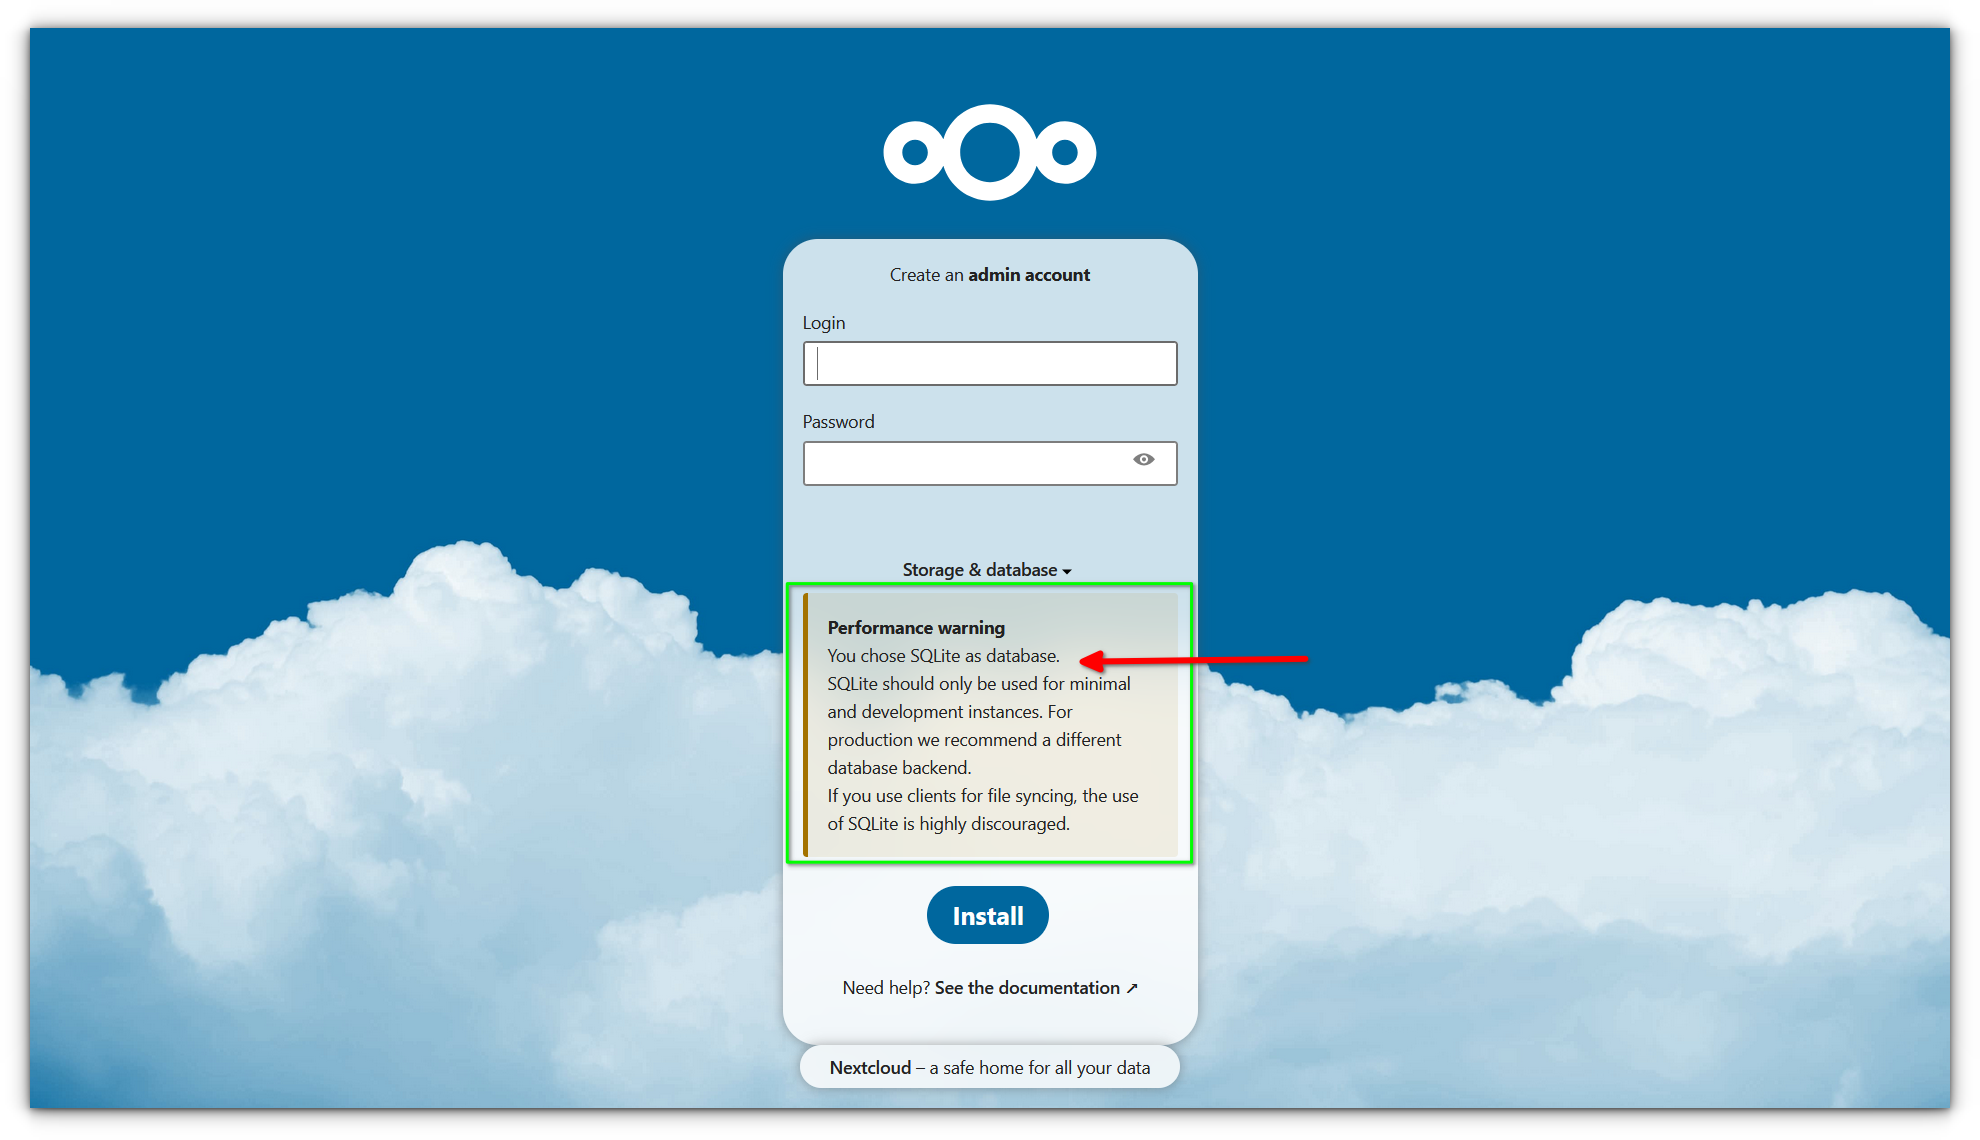
When you first access your Nextcloud instance, it defaults to using SQLite as the database, which is fine for simple, small-scale setups.
But if you’re serious about storing larger files or managing multiple users, you’ll quickly realize that SQLite isn’t the best option. Nextcloud itself warns you that it’s not ideal for handling larger loads, and I would highly recommend setting up a proper MySQL or MariaDB database instead.
Doing so will give you more stability and performance in the long run, especially as your data grows.
Beyond the database choice, I found that even after using the default setup, Nextcloud’s health checks flagged several issues.
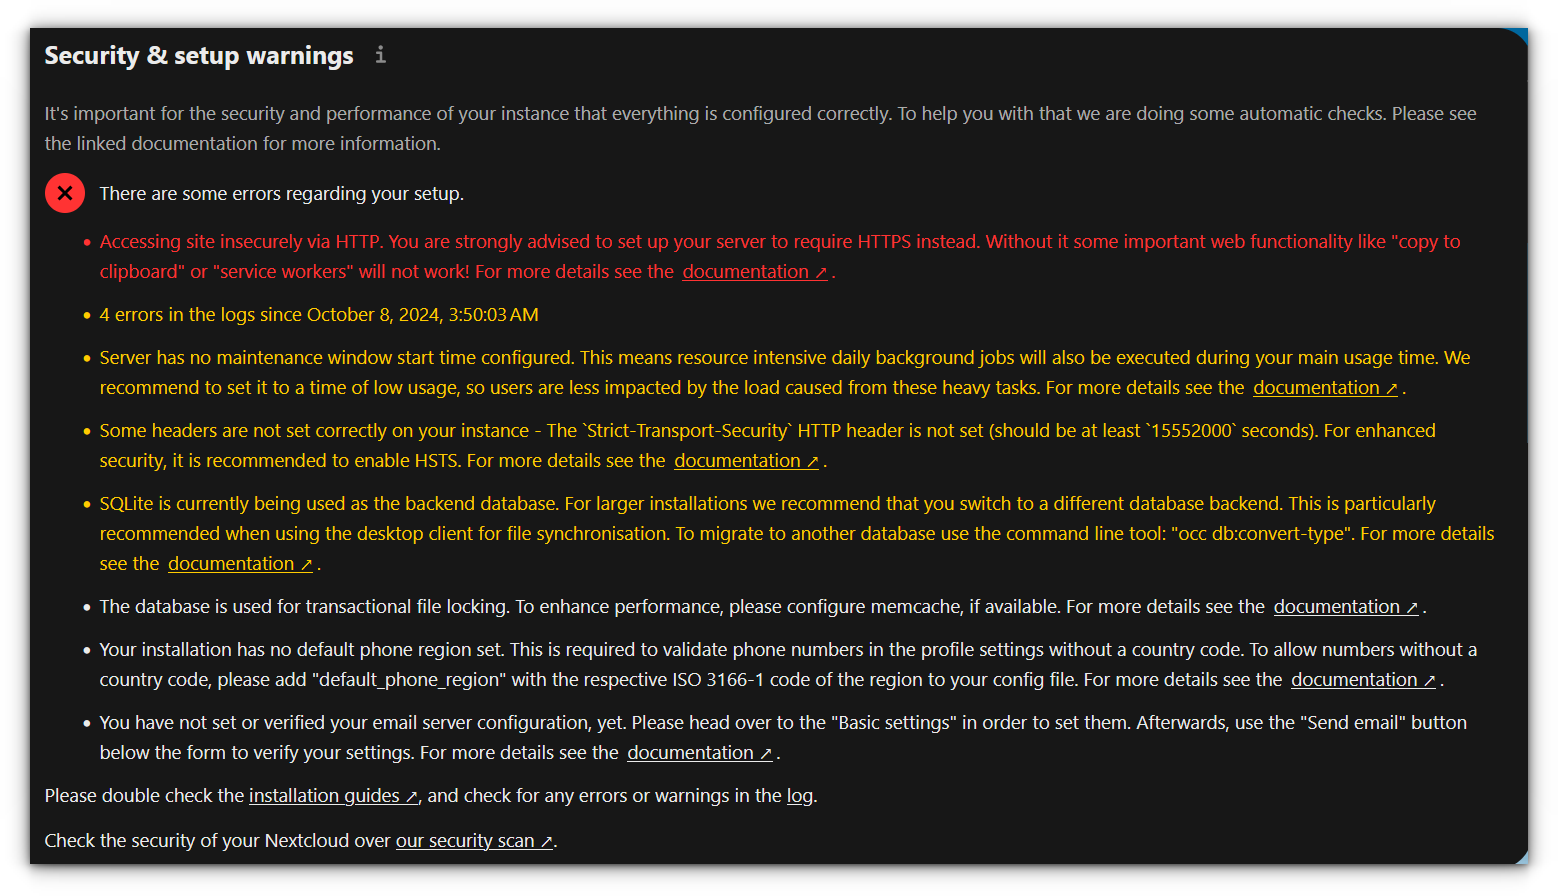
For example, it complained about the lack of an HTTPS connection, which is crucial for secure file transfers.
If you want your Nextcloud instance to be properly configured and secure, you'll need to invest some time to set up things like:
- Setting up secure SSL certificate
- Optimizing your database
- Handling other backend details that aren’t obvious to a new user.
So while Nextcloud is easy to get running initially, fine-tuning it for real-world use takes a bit of extra work, especially if you are focused on data integrity and security.
Custom WordPress stack: Good stuff!
Now, coming to the WordPress stack I manually added, this is where CasaOS pleasantly surprised me.
While I still prefer using Portainer to manage my custom Docker stacks, I have to admit that CasaOS has put in great effort to make the process intuitive.
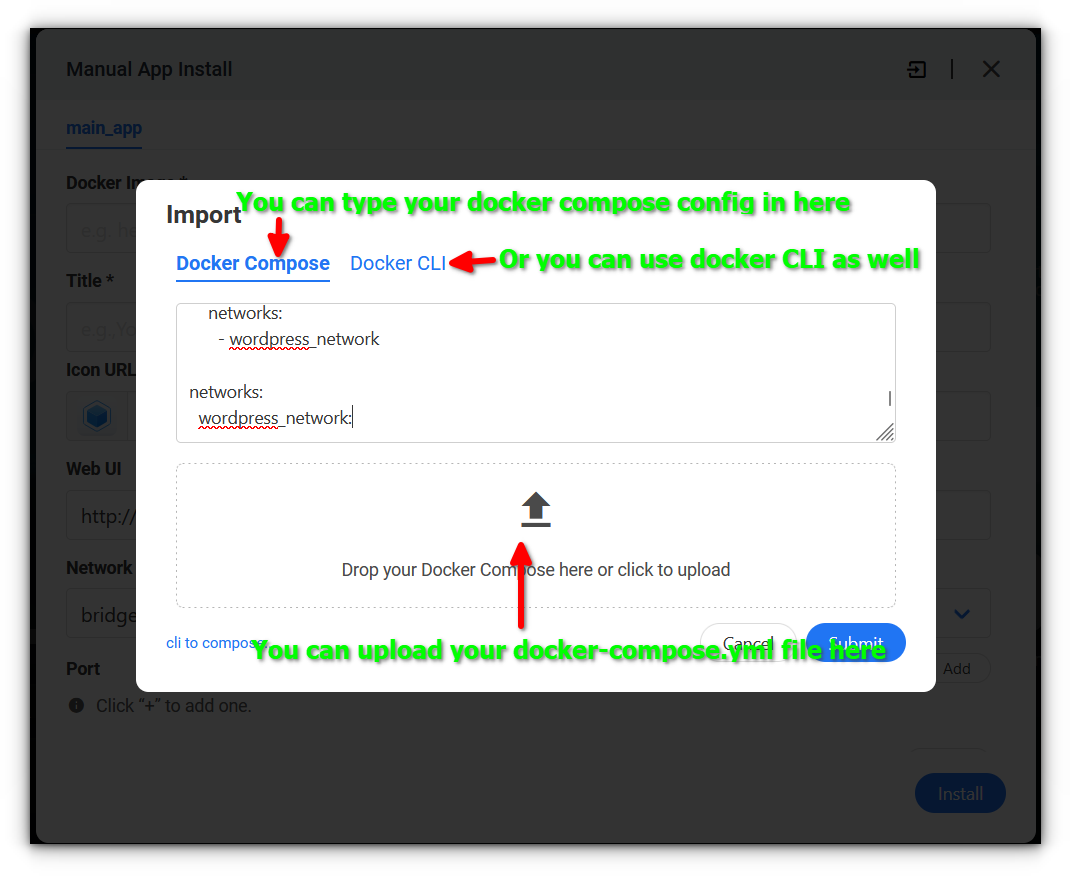
It is clear they’ve thought about users who want to deploy their own stacks using Docker Compose files or Docker commands.
Adding the stack was simple, and the CasaOS interface made it relatively easy to navigate.
Final thoughts
After using CasaOS for several days, I can confidently say it’s a tool with immense potential. The ease of deploying apps like Jellyfin and Nextcloud makes it a breeze for users who want a no-hassle, self-hosted solution.
However, CasaOS is not perfect yet. The app store, while growing, feels limited, and those looking for a more customizable experience may find the lack of advanced Docker controls frustrating at first.
That said, CasaOS succeeds in making Docker and self-hosting more accessible to the masses.
For homelab enthusiasts like me, it is a great middle ground between the complexity of Docker CLI and the bloated nature of full-blown home automation systems.
Whether you are a newcomer or a seasoned tinker, CasaOS is worth checking out, if you are not afraid to deal with a few bumps along the way.
from It's FOSS https://ift.tt/rXqVQTs
via IFTTT
Tidak ada komentar:
Posting Komentar