Whether you live in a large house or just struggle with weak Wi-Fi signals in certain rooms, you may have thought — “How can I extend my Wi-Fi range without breaking the bank?”
Well, that was certainly the case with me when I visited my parents’ house during a recent vacation. They have only one router set up on the ground floor, and my room is up on the first floor.
Faced with spotty coverage, I had an idea: why not put my old Raspberry Pi 3B+ to good use as a Wi-Fi extender?
Yes, it is possible to do that 🤯
Let me show you how to use Raspberry Pi as a Wi-Fi extender in this tutorial.
Here's what you require
- Raspberry Pi – I used my Pi 3B+, but you can use any model with built-in Wi-Fi.
- USB Wi-Fi dongle – While the built-in Wi-Fi module will work for newer models, you will still need an additional USB Wi-Fi adapter to set up as a hotspot. It needs to have support for Access Point mode as well.
- Raspberry Pi OS – I recommend installing the latest version, as it has Network Manager, which simplifies the setup.
I SSH'd into my Pi, but you can definitely use a monitor & keyboard.
Setting up the Raspberry Pi
It is essential that Pi connects to your main Wi-Fi network and then broadcasts that connection to extend coverage.
Preparing the Raspberry Pi
- Make sure that your Raspberry Pi is up-to-date. Connect it to your main network and update it using the following commands:
sudo apt update
sudo apt upgrade- These commands will fetch the latest package lists and upgrade any out-of-date packages, ensuring your Pi is ready for the task.
- After updating, check if you’re connected to the Wi-Fi you wish to extend. If not, go to the Raspberry Pi’s Wi-Fi settings and connect to it.
Getting the Wi-Fi interface name
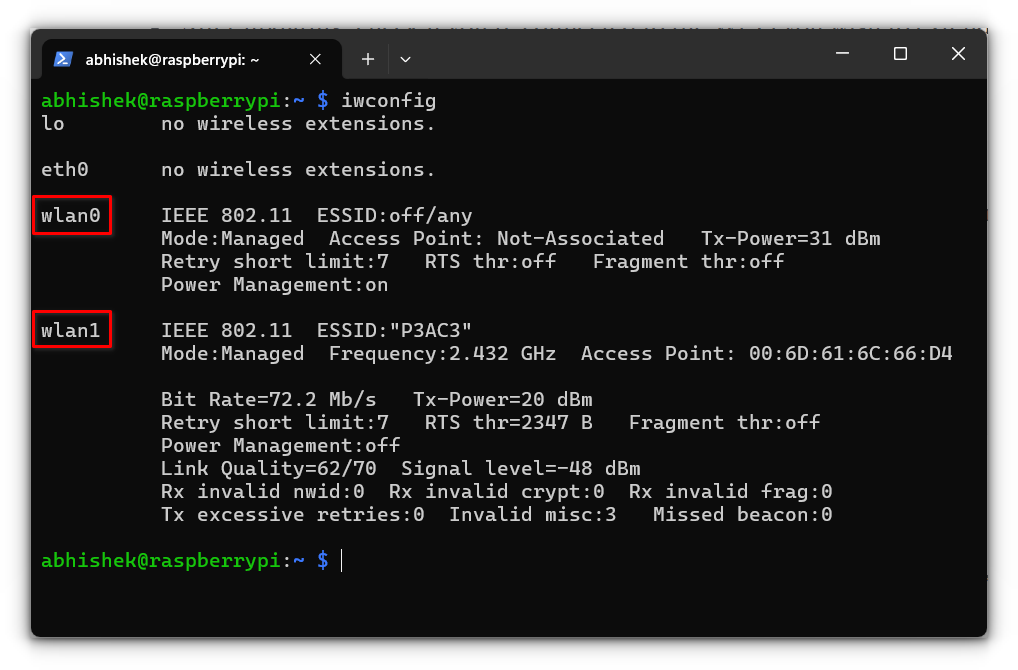
Now, you’ll need to identify the names of your Wi-Fi interfaces so we can configure them correctly.
- Run the command below to see a list of network devices:
iwconfigLook for two Wi-Fi devices, typically labeled wlan0 and wlan1.
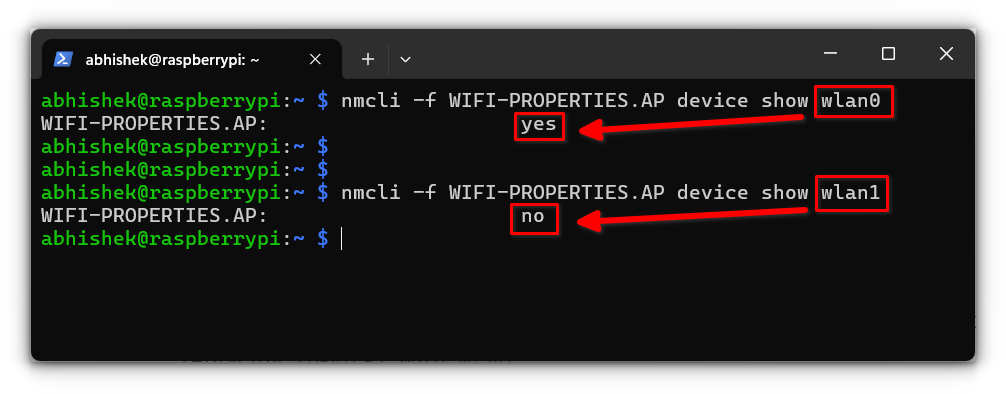
- To check if the WiFi card/ dongle can act as an access point, use the following command, replacing
<DEVICE>with the respective interface likewlan1:
nmcli -f WIFI-PROPERTIES.AP device show <DEVICE>If you see WIFI-PROPERTIES.AP: yes, you’re all set. Otherwise, you may need a different Wi-Fi dongle that supports AP mode.
Configuring the Raspberry Pi as a Wi-Fi Extender
Using Network Manager, it is surprisingly straightforward to set up the Pi as an extender.
Execute the following command:
sudo nmcli d wifi hotspot ifname <DEVICE> ssid <SSID> password <PASSWORD>Replace the following:
<DEVICE>with the interface that supports AP mode in my casewlan0<SSID>with the network name you want for your extended Wi-Fi, and<PASSWORD>with your chosen password.
This command places the Pi’s first Wi-Fi adapter into hotspot mode, which effectively extends your Wi-Fi network.

To verify that the hotspot is up and running, run:
nmcli con showLook for a connection labeled “Hotspot” associated with your second Wi-Fi adapter (wlan0).

You should now see your Raspberry Pi broadcasting a new Wi-Fi network!
Testing your Wi-Fi Extender
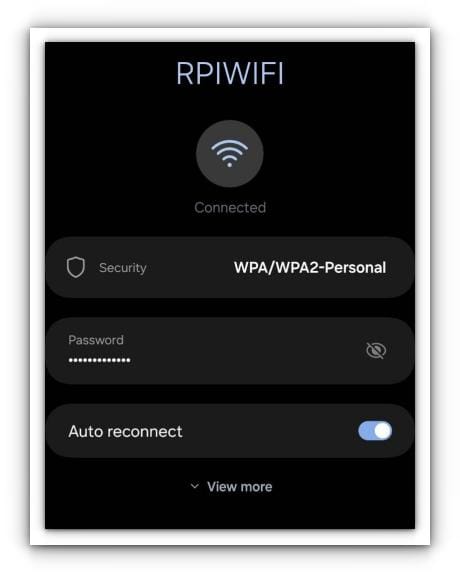
After setting everything up, it’s time to test. Connect a device to the extended Wi-Fi network you just created (phone, laptop, etc.) .
Check if it provides consistent internet access and if the range now reaches the previously weak areas. This will help verify that your extender is working correctly.
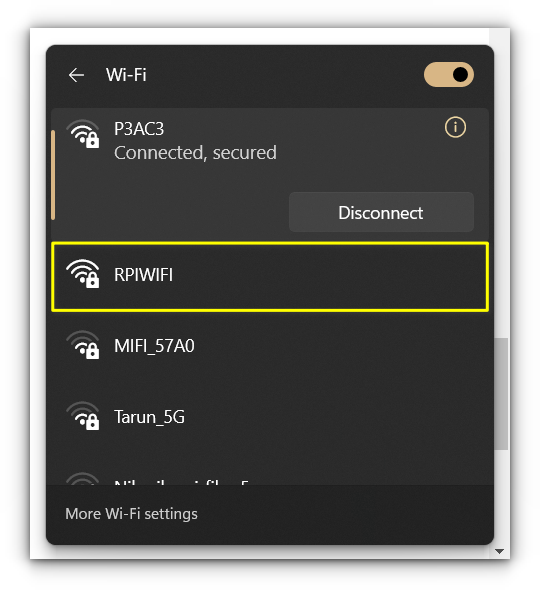
I have also connected my phone with it:
Troubleshooting Common Issues
- Cannot Connect to the Extended Network: If you’re unable to connect to the new network, the issue may lie with Protected Management Frames (PMF), a security feature some adapters don’t fully support. Disable it with the following command:
sudo nmcli con modify Hotspot wifi-sec.pmf disable- Slow Internet Speeds: Remember, you may notice some drop in speed. This is because data travels to your Pi over Wi-Fi, and then gets retransmitted, effectively halving the available bandwidth.
Conclusion
Transforming my old Raspberry Pi into a Wi-Fi extender was a rewarding project. After moving into my parents’ home temporarily (don't judge me, it's common in my country), it quickly solved the issue of spotty Wi-Fi upstairs.
The best part? This project gives a new purpose to older tech. Not only does it expand your Wi-Fi range without costly hardware, but it is also a fun DIY task that deepens your understanding of networking basics.
Although I did notice some speed reduction, I found it worth it for reliable coverage in a previously unreachable area.
Speaking of putting older tech to some good use, let me share another fun project I did to transform my old Wi-Fi dongle into a wireless traffic capture device.

💭 Share your thoughts about my experiment in the comments below!
from It's FOSS https://ift.tt/Zv5e4B8
via IFTTT

Tidak ada komentar:
Posting Komentar