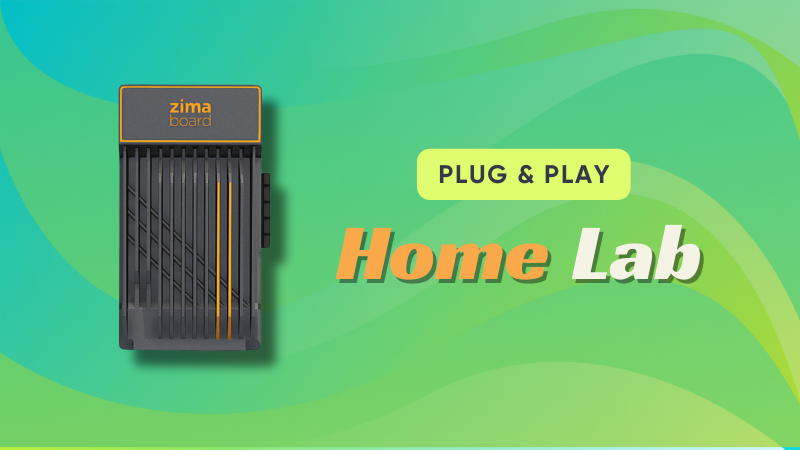
The concept of homelab is getting popular among tinkerers and hobbyists. From personal cloud to media server to home automation, homelab gives you the freedom of owning your data by self-hosting open source software on your hardware.
Some people use new hardware, while some build their homelab with older computers and servers. Reddit's homelab subreddit is full of such examples.
Now, building a homelab could be fun but it could also be time taking or frustrating.
And this is where ZimaBoard comes into the picture. It aims to give you an out-of-the-box homelab experience and it succeeds in that purpose.
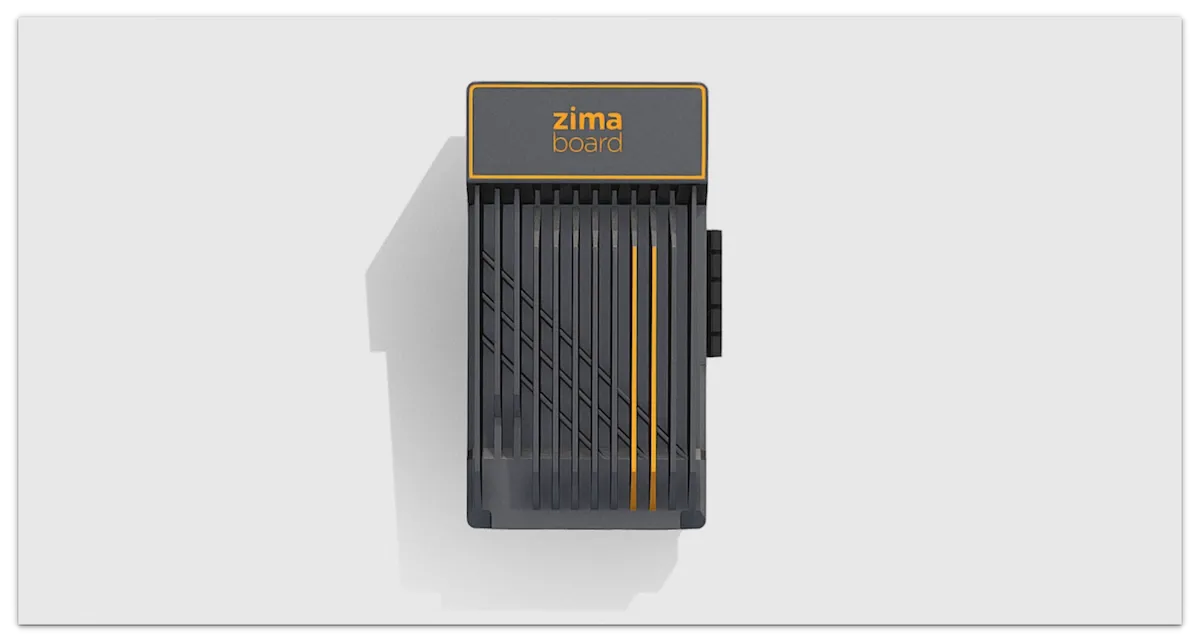
✅ Out of the box homelab experience
✅ Easy deployment of various applications through CasaOS web interface
✅ Great looking device in a small form factor
✅ Does not heat up even under heavy load
✅ Intel x86 processor instead of ARM (allows running most distros)
✅ Reasonably priced
❎ The documentation could be improved
If that sounds exciting, read on to learn my experience and views in detail.
ZimaBoard specifications
There are three variants of ZimaBoard; ZimaBoard 232/432/832. They are primarily categorized based on RAM configuration and the processor used.
- CPU: Intel Celeron N3350 Dual Core 1.1-2.4GHz (232 Model), or Intel Celeron N3450 Quad Core 1.1-2.2GHz (432 & 832 Model)
- RAM: 2G (232 Model), 4G (432 Model) and 8G (832 Model) LPDDR4
- Onboard Storage: 32 GB eMMC
- HDD/SSD: 2x SATA 6.0 Gb/s Ports
- LAN: 2x GbE LAN Ports
- USB: 2x USB 3.0
- PCle: 1x PCle 2.0 4x
- Display port: 1x Mini-DisplayPort 1.2 4k@60Hz
- TDP: 6W (yes, it doesn't take much power)
- Dimensions: 138.7 W x 81.4 D x 34.9 H mm
- Weight: 278g
- Passive Cooling
- Intel VT-d, VT-x, AES-NI
- Supports 4K video transcoding for H.264 (AVC), H.265 (HEVC), MPEG-2, VC-1
- Pre-installed OS: CasaOS (Based on Debian)
- Compatible OS: Linux, Windows, OpenWrt, pfSense, Android, Libreelec
ZimaBoard is priced at $119.9 for 2 GB variant, $159.9 for 4 GB variant and $199.9 for the 8 GB variant.
I am using the 8 GB variant for this review.
Hardware highlights
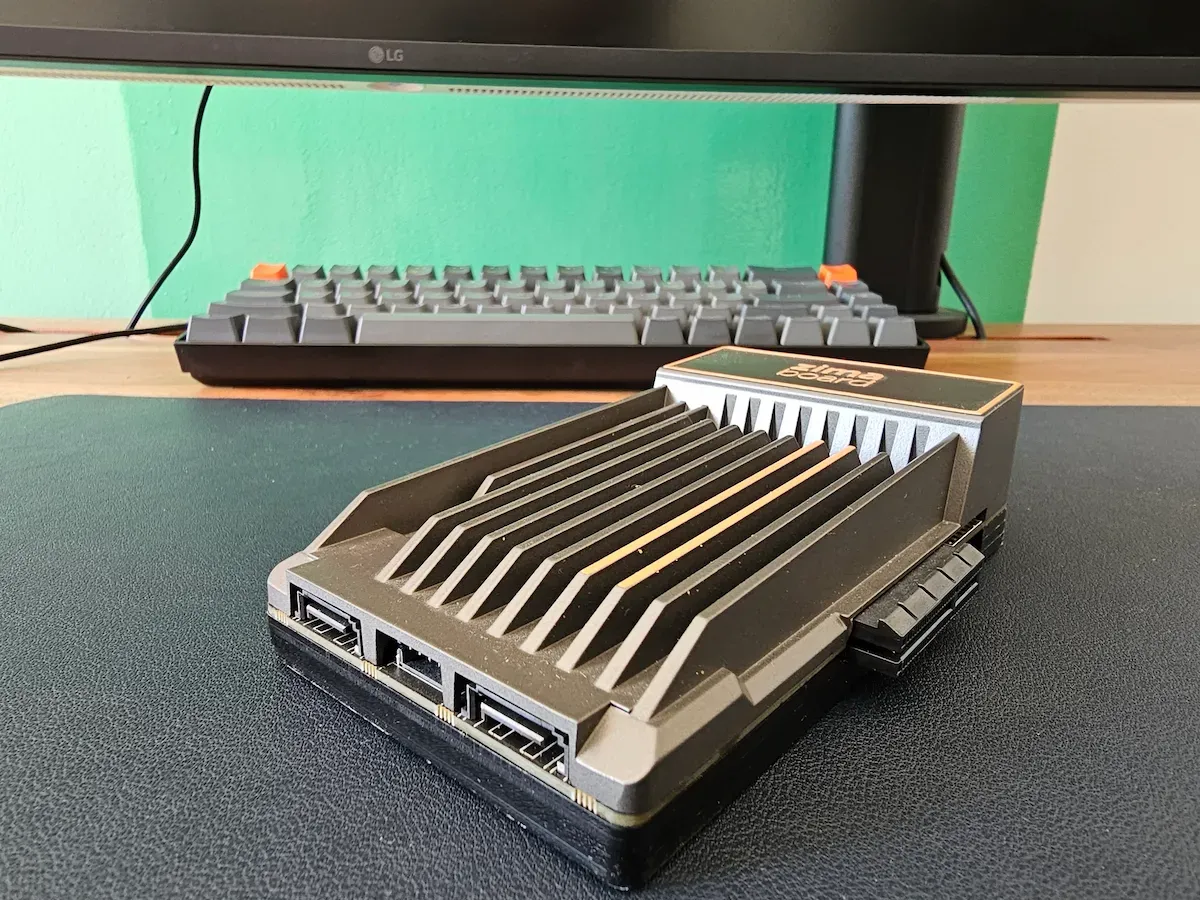
There are two Gigabit Ethernet ports to allow you to use ZimaBoard as a router or firewall.
There are also two dedicated SATA ports to connect your HDDs for backups, NAS and more. The PCle port gives you the option to add additional hardware.
There is no WiFi adapter in-built here. It is supposed to be connected via Ethernet. Moreover, it has Intel N3450 processor which was released some years ago, although it works superb.
What can you do with ZimaBoard?
A lot but in small form factor and ideally in a home setup.
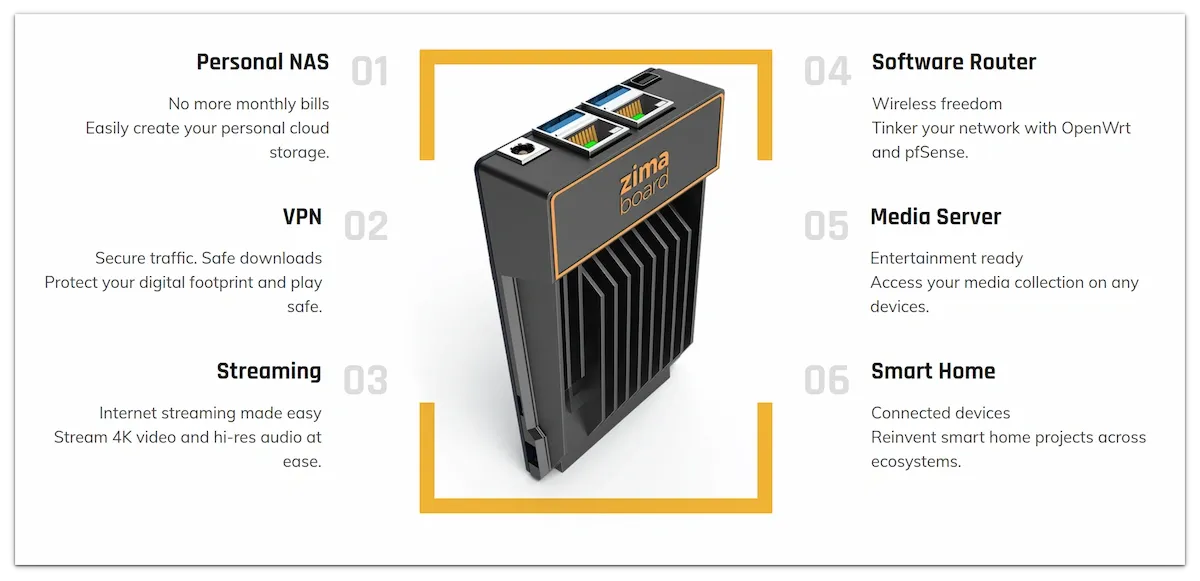
You can use it as a media server with software like Jellyfin, Plex and Emby. You can even connect it your TV for media streaming.
You can also use it as a router with openWrt or as a firewall with pfSense or secure your network with VPN. It can also be used for build a smart home system with Home Assistant.
You can attach up to 32 TB of storage thanks to its two SATA ports and a PCle port. Did someone say NAS? Yes, that's possible too.
Use it for your personal cloud storage thanks to tools like PhotoPrism and Nextcloud.
The device consumed only 6W of power and it hardly heats up. Making it ideal for 24x7 operation.
The open source software deployment and managing your ZimaBoard is done through its Debian-based distro CasaOS. Which I am going to discuss in the next section.
CasaOS makes ZimaBoard a Plug and Play Homelab device
ZimaBoard comes with its own operating system CasaOS preinstalled.
The thing about CasaOS is that you can access it via a web browser from your regular computer. Yes, you don't need to connect ZimaBoard to a dedicated screen or SSH into it to use it (you can do that, though).
So, the first time you use ZimaBoard, you connect it to the Ethernet port of your router and turn it on. After a minute or so, you can access the CasaOS interface in your web browser by typing http://casaos.local.
At the first run, it asks you to create a user account and password. This adds a security layer otherwise anyone on your sub network could access CasaOS and modify its configuration.
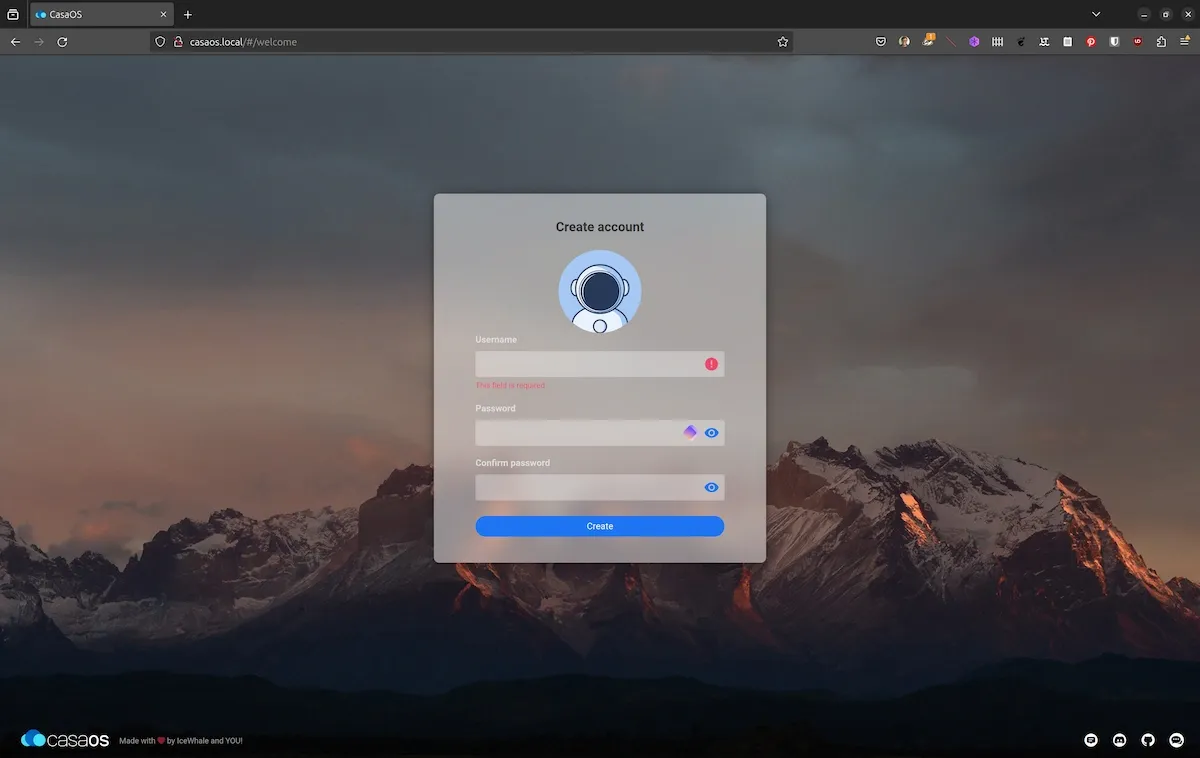
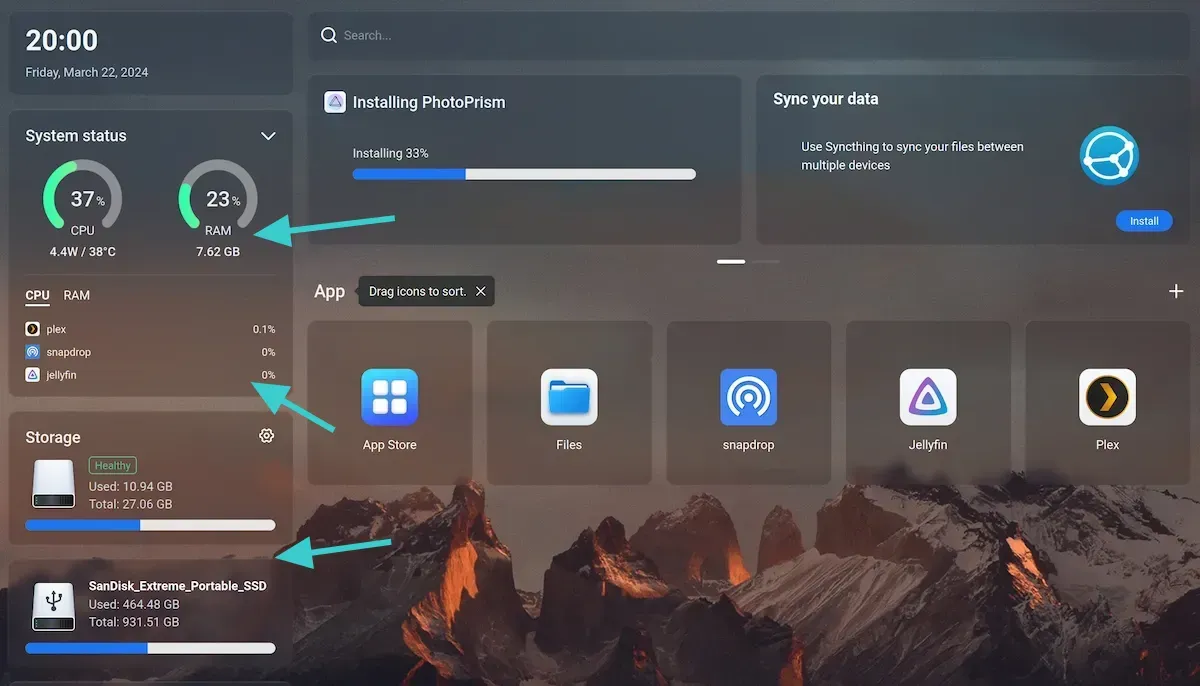
The CasaOS web interface is quite simple. It shows the current system usage, disk storage and currently installed applications. Not only that, you can also see the current CPU temperature and power usage.
It also lets you access an App store and deploy new open source software easily within minutes.
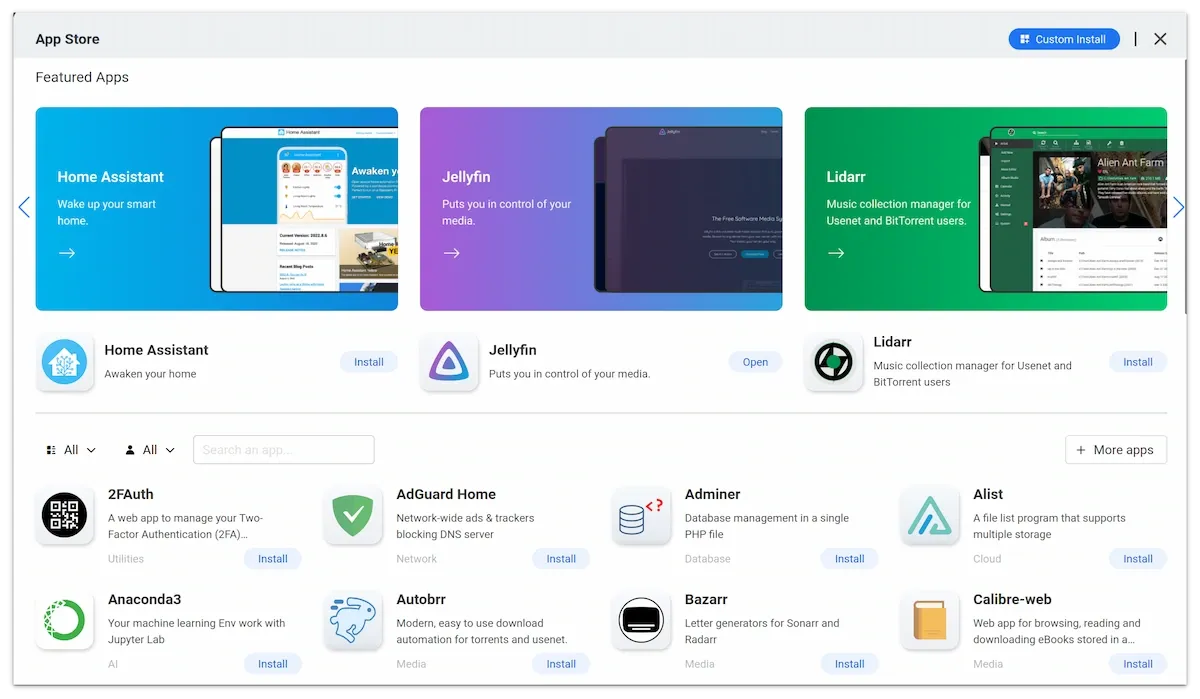
How does that happen? Well, the applications actually run in Docker containers. When you install a software from this App Store, you are fetching a preconfigured docker image and run a container.
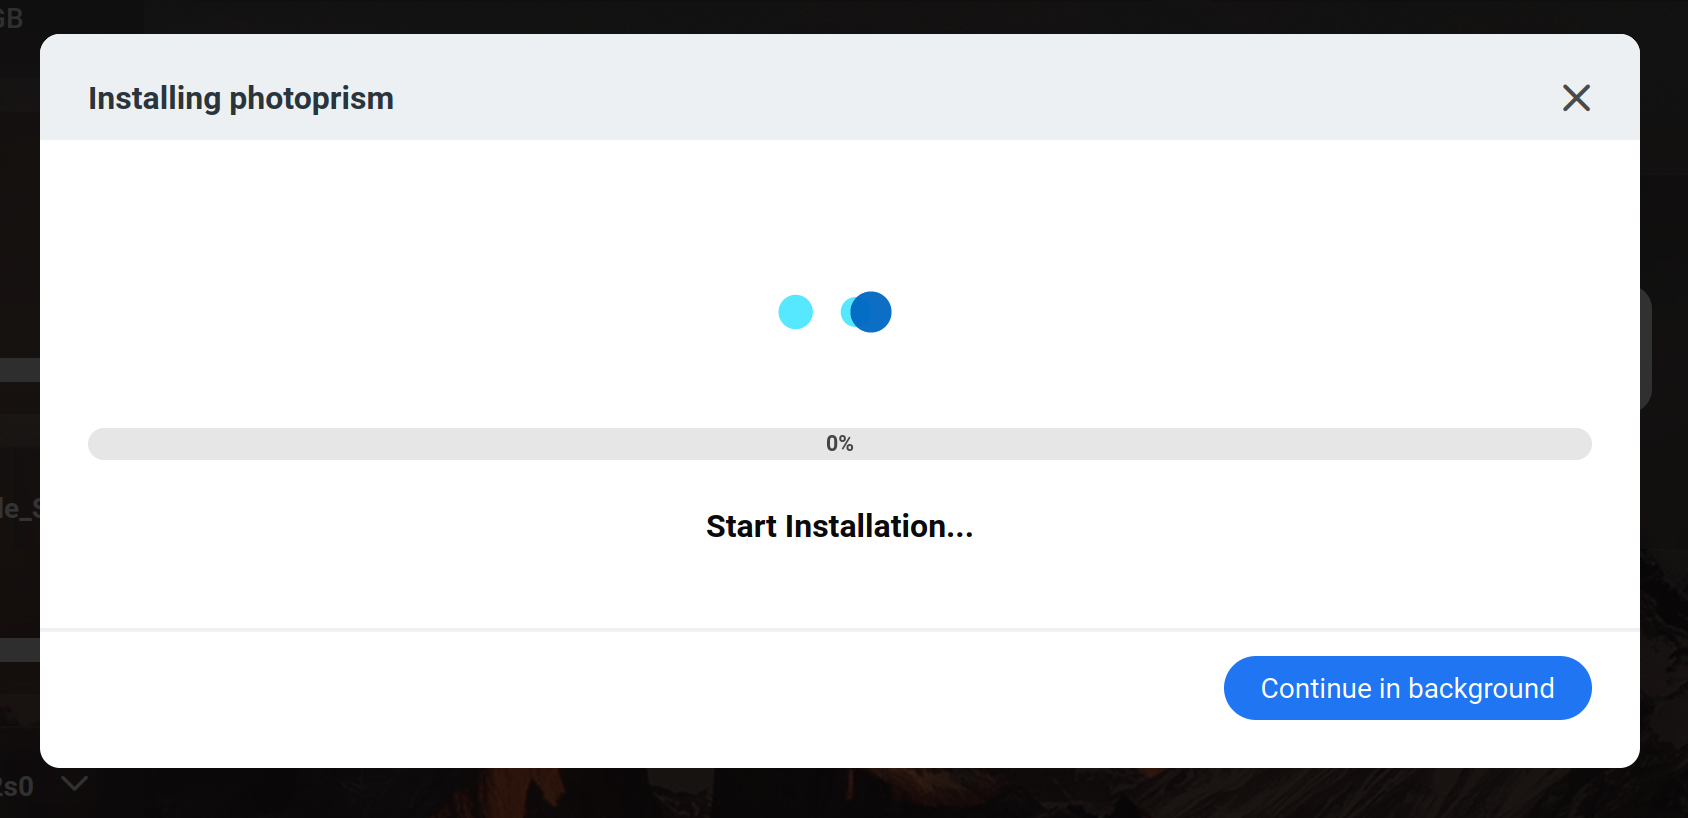
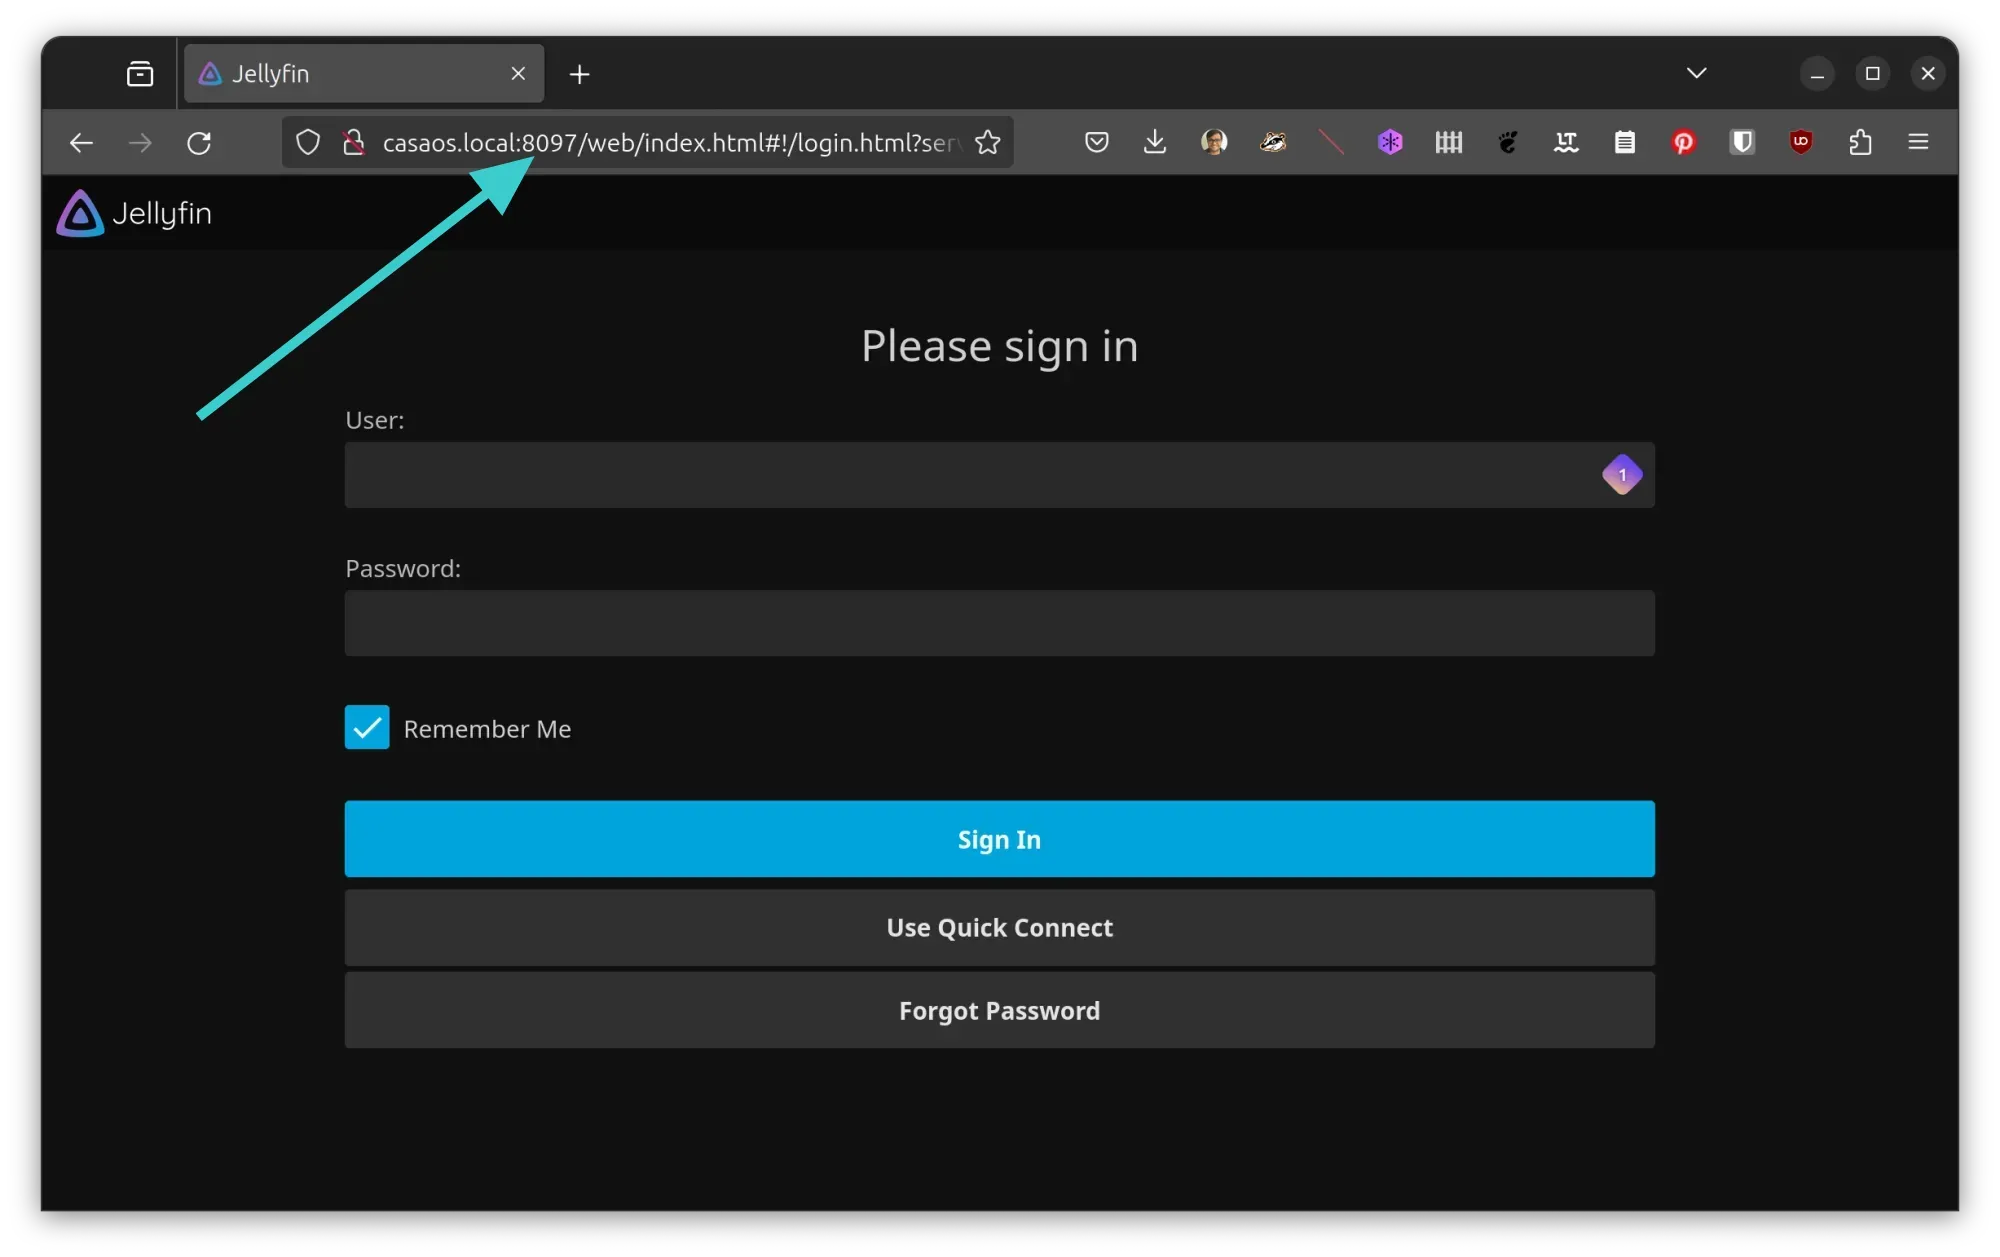
You can access the running software on the same IP as your ZimaBoard but on different ports. For example, the Jellyfin server runs on port 8097 and PhotoPrism runs on port 2342 in my case.
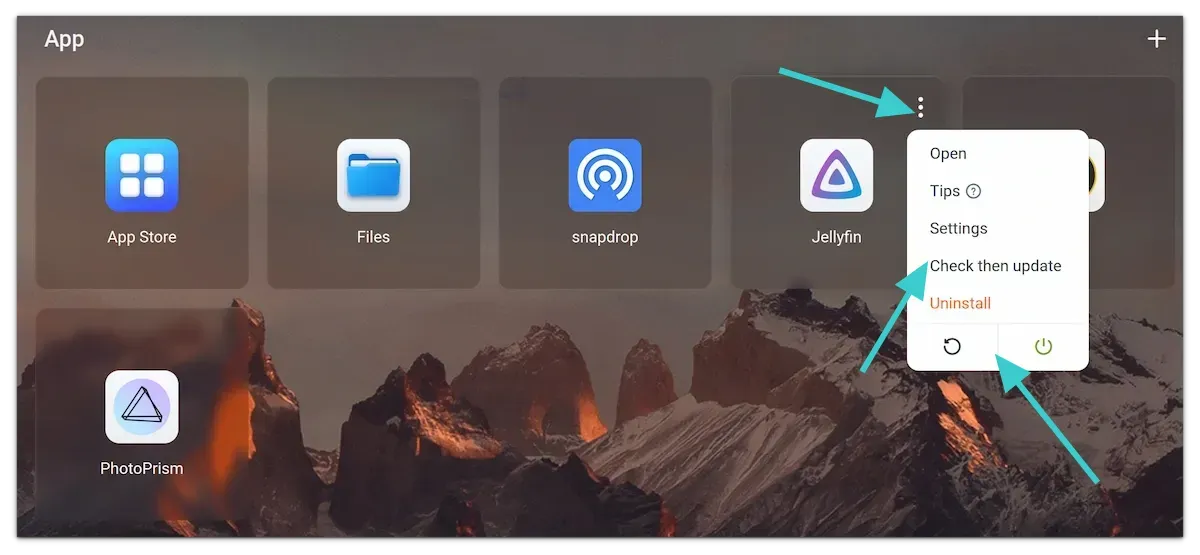
Updating and removing applications is also quite easy. On the dashboard, click the three dots on the installed application and it presents you with the option to check and update, remove it, restart it or just stop the application. Of course, you also get the option to access the settings of the docker container running the application.
Overall, this is an easy-to-use interface for any kind of user. It makes using ZimaBoard an ease. Install the available open source software from the store, set it up a little for the first run and access it from the devices on your sub-network.
It's not all smooth ride, though. I did noticed a few things that should be improved. Let me share them.
Hiccups I encountered
The issues I came across were not dealbreakers but I wanted to let you know that like any gadget and operating system, you may stumble upon a few problems.
For example, I feel that it takes 2 minutes or so after powering on to access ZimaBoard via casaos.local in the browser.
I discovered kind of a bug in the UI while shutting down the OS from the web browser. It showed 'Now shutting down' message and it just kept on going like that. It was unclear if CasaOS was shutdown or not so I refreshed the browser and it shows 'failed to load apps, please refresh later'.
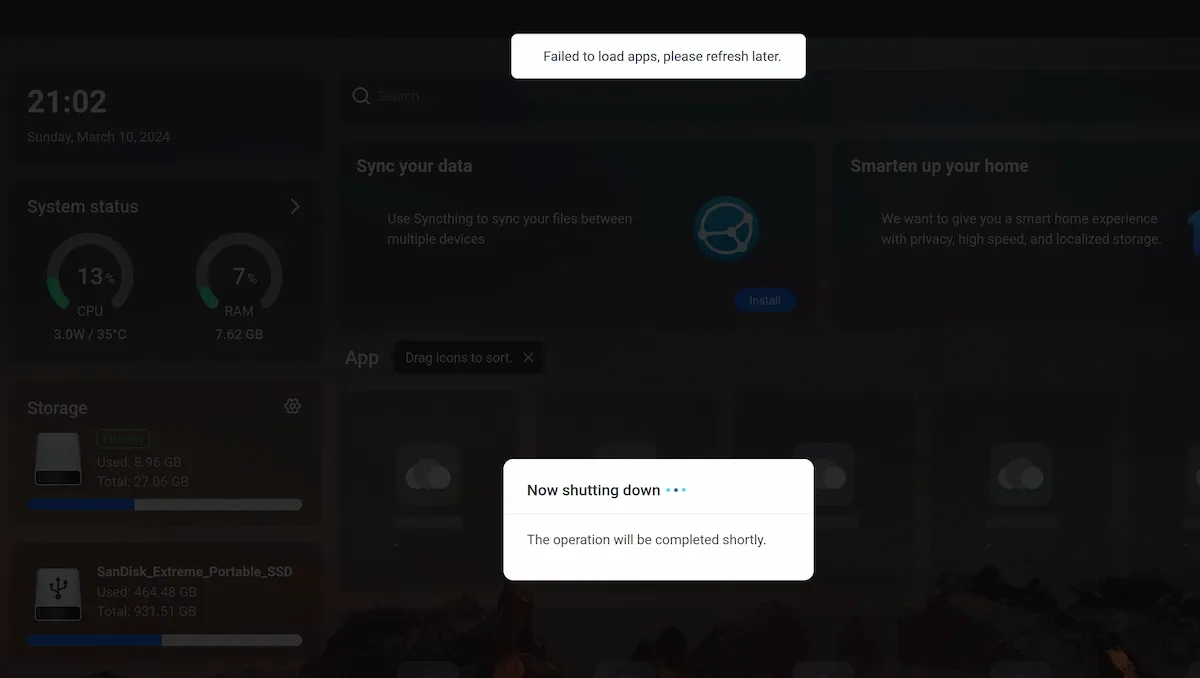
It's a tiny thing but I think this could have been handled a little better so that a user would know if the shutdown is complete.
Even restarting apps (running in Docker containers) takes a lot more time than what it would be if it was forced stopped via docker commands. Restarting or stopping apps shows action in progress but needs a manual refresh of the CasaOS in the browser.
Another hiccup was accessing CasaOS via SSH. Remember, I told you that I had to create a user account on the first run? I thought the same details will be used for SSH access. But no, CasaOS has SSH access enabled with username casaos and password casaos. I don't like default username and passwords for SSH. It's a security risk. SSH should be accessed via the user account created at first login.
Achilles heel: documentation and support platform
It's there but it's not obvious to find it.
ZimaBoard should improve the documentation for the apps a bit for new users. For example, I had trouble adding the USB to my Jellyfin server. Every app runs in a container and so it needed to be added to the Jellyfin setting at container level. This kind of information could be added through the tooltip that takes the documentation of the app.
Currently, things are scattered and not properly communicated to the end user. IceWhale is the parent company of ZimaBoard and CasaOS is the open source operating system created for ZimaBoard but can be used on other devices.
Now, there is a wiki for CasaOS but it is incomplete and has not been updated recently. The wiki mentions a Discord channel for support but I prefer a forum for community led support. This way, instead of asking, the end users can search for the problems that might have been faced by others in the past. Saves the redundancy.
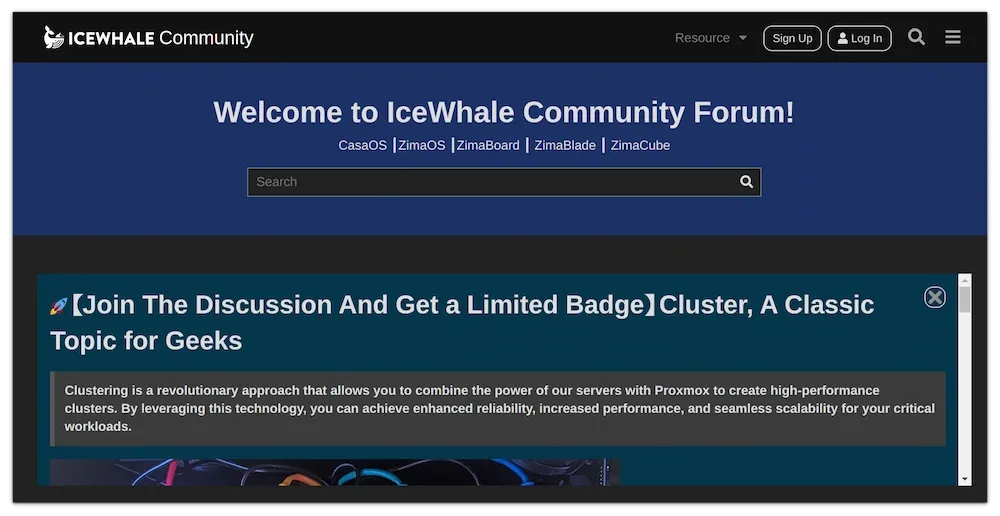
There is a community forum under IceWhale brand and it supposedly serves ZimaBoard, CasaOS, ZimaBlade and other Zima devices. Why it is not highlighted via ZimaBoard or CasaOS website or interface is beyond my understanding.
That's not it. CasaOS has a YouTube channel that has good instructional videos. But this YouTube channel is also not promoted to the end user.
There is also a dedicated subreddit but not sure if the ZimaBoard support answers here.
You see, there are various documentation and support channels available but not properly promoted to the end user. It may leave some end users frustrated owing to a lack of support when there is plenty.
What I like in ZimaBoard
Pretty much all of it.
It's a good-looking device. Unlike most single board computers out there, ZimaBoard doesn't show the naked board. It's covered in a well-designed case which looks super cool with that big heatsink and the gray, orange and black color combinations enhances its looks.
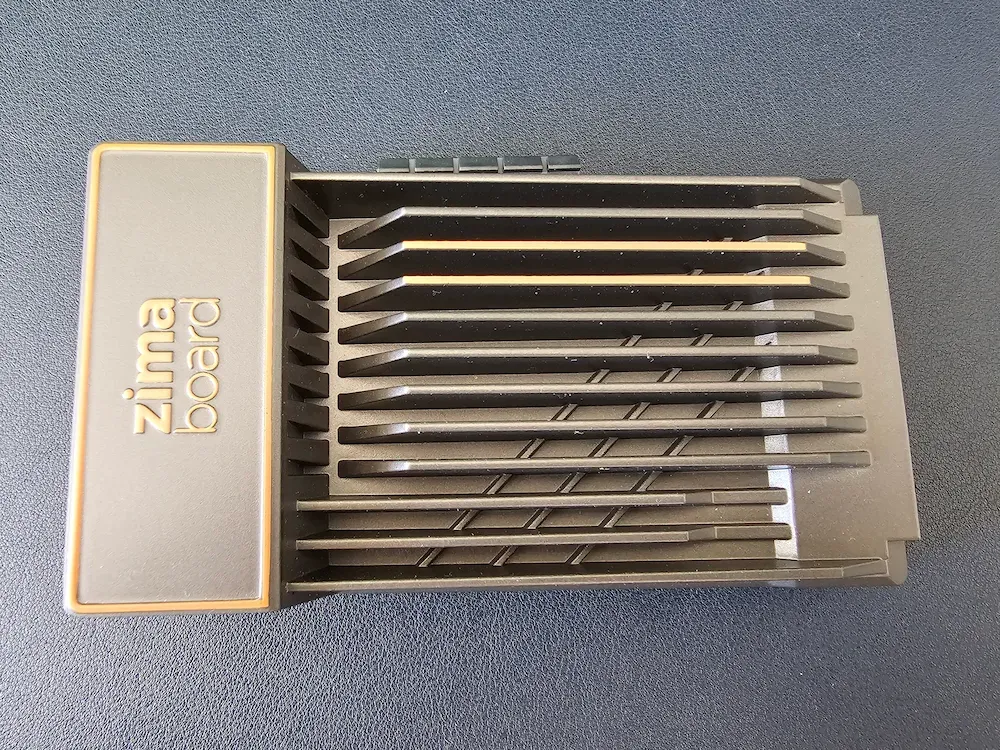
Perhaps it's the heatsink or the device capability but it doesn't heat up easily, certainly not like Raspberry Pi. I kept it powered on for a few days continuously and the device was still not heating. I ran a few applications with Jellyfin server streaming on the TV and the device temperature stayed in the 40s.
Another thing I like it that it doesn't consume much power, just 6W at the most. This is important if you plan to keep the device plugged in 24×7.
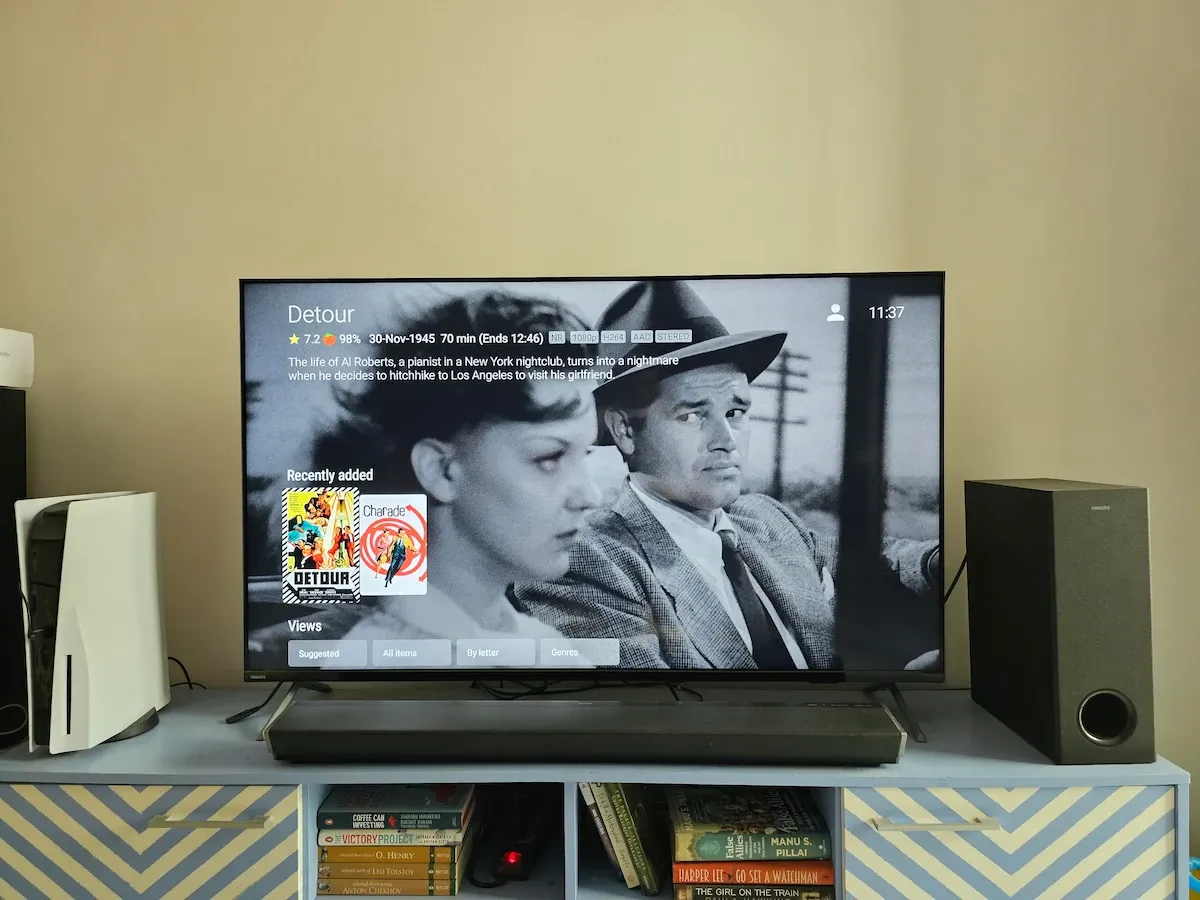
The docker based approach makes it easier to install and use open source software. Just a few clicks and you have the software running on your home server without worrying about configuration and networking etc.
There is a good collection of officially provided applications. If you need more, there are third party app stores that can be utilized.
Since it's an Intel board, you can also run Windows on it. Not that you and I are going to do that.
Conclusion
I have been thinking of building my homelab for more than a year. I own a Raspberry Pi and a couple of more single board computers. But being a father to a toddler means I don't get enough spare time for these hobbies anymore.
Thanks to ZimaBoard, the desire to own a homelab is fulfilled. It's a plug and play device that lets you set things up pretty easily.
Of course, if you have free time and some technical skill, you can achieve the same by installing CasaOS on a spare computer.
But not everyone would want that. If you can afford to spend $150-$200, you get a dedicated Homelab device with a lot less effort. It's somewhat like owning a device like Apple TV or Roku.
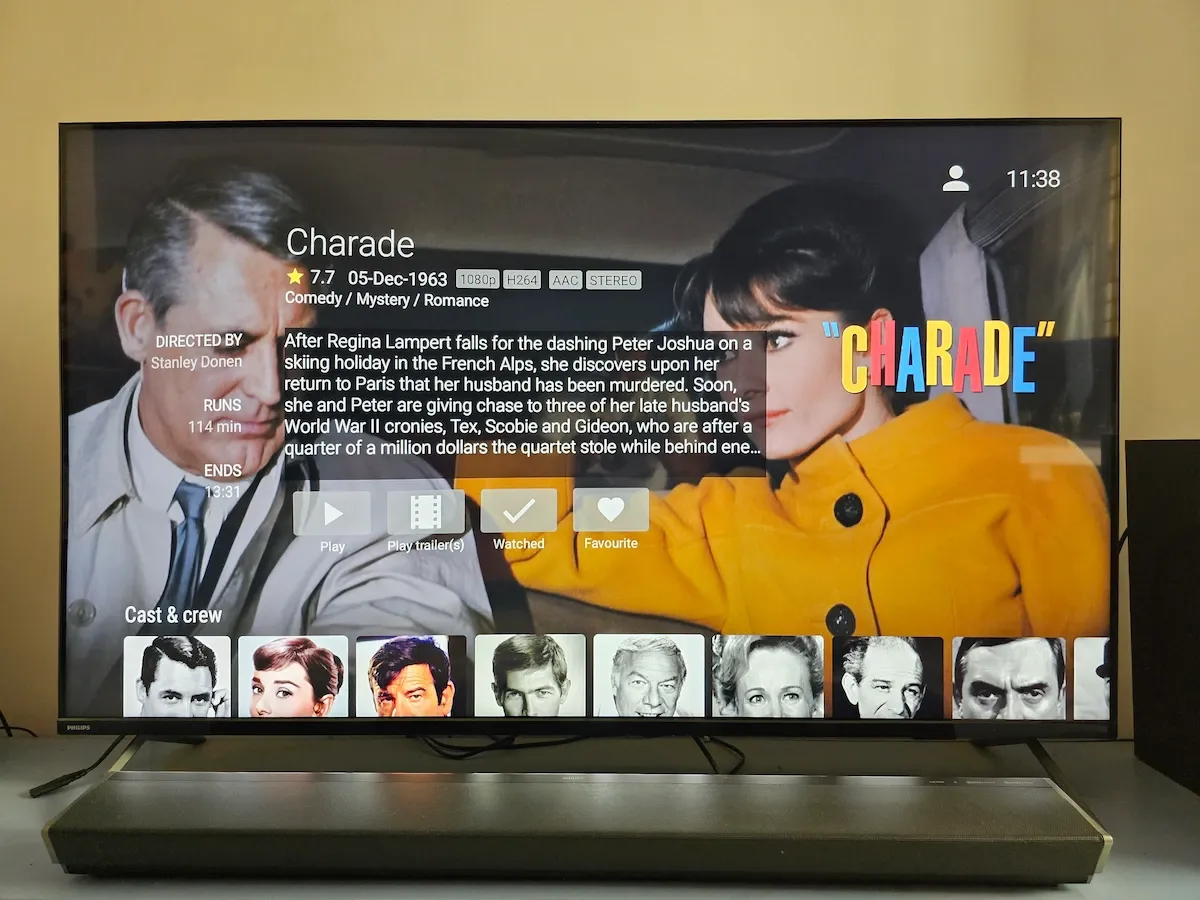
For now, I am using ZimaBoard for Jellyfin media server, Snapdrop for wireless file transfer and PhotoPrism for photo library and I am loving it.
It's an excellent device that would surely benefit from better documentation and support forum.
🗨️ Do you own a ZimaBoard or plan to own one? What do you like the most about it?
from It's FOSS https://ift.tt/HbnMA5t
via IFTTT
Tidak ada komentar:
Posting Komentar