During a weekend of tidying up - you know, the kind of chore where you’re knee-deep in old boxes before you realize it. Digging through the dusty cables and old, outdated user manuals, I found something that I had long forgotten: an old Plan9 distribution. Judging by the faded ink and slight warping of the disk sleeve, it had to be from around 1994 or 1995.
I couldn’t help but wonder: why had I kept this? Back then, I was curious about Plan9. It was a forward-thinking OS that never quite reached full potential. Holding that disk, however, it felt more like a time capsule, a real reminder of computing’s advancements and adventurous spirit in the 1990s.
What Made Plan9 So Intriguing Back Then?
In the 1990s, Bell Labs carried an almost mythical reputation for me. I was a C programmer and Unix system administrator and the people at Bell Labs were the minds behind Unix and C, after all. When Plan9 was announced, it felt like the next big thing. Plan9 was an operating system that promised to rethink Unix, not just patch it up. The nerd in me couldn’t resist playing with it.
A Peek Inside the Distro
Booting up Plan9 wasn’t like loading any other OS. From the minimalist Rio interface to the “everything is a file” philosophy taken to its extreme, it was clear this was something different.
Some standout features that left an impression:
9P Protocol: I didn’t grasp its full potential back then, but the idea of treating every resource as part of a unified namespace was extraordinary.
Custom Namespaces: The concept of every user having their own view of the system wasn’t just revolutionary; it was downright empowering.
Simplicity and Elegance: Even as a die-hard Unix user, I admired Plan9's ability to strip away the cruft without losing functionality.
Looking at Plan9 Today
Curiosity got the better of me, and I decided to see if the disk still worked. Spoiler: it didn’t.
But thanks to projects like 9front, Plan9 is far from dead. I was able to download and image and fire it up in a VM. The interface hasn't aged well compared to modern GUIs, but its philosophy and design still feels ahead of its time.
As a seasoned (read: older) developer, I’ve come to appreciate things I might have overlooked in the 1990s:
Efficiency over bloat: In today’s world of resource-hungry systems, Plan9’s lightweight design is like a breath of fresh air.
Academic appeal: Its clarity and modularity makes Plan9 and outstanding teaching tool for operating system concepts.
Timeless innovations: Ideas like distributed computing and namespace customization feels even more pertinent in this era of cloud computing.
Why didn’t Plan9 take off?
Plan9 was ahead of its time, which often spells doom for innovative tech. Its radical departure from Unix made it incompatible with existing software. And let’s face it - developers were (and still are) reluctant to ditch well-established ecosystems.
Moreover, by the 1990s, Unix clones, such as Linux, were gaining traction. Open-source communities rallied around Linux, leaving Plan9 with a smaller, academic-focused user base. It just didn't have the commercial/user backup.
Plan9’s place in the retro-computing scene
I admit it: I can get sappy and nostalgic over tech history. Plan9 is more than a relic; it’s a reminder of a time when operating systems dared to dream big. It never achieved the widespread adoption of Unix or Linux, but it still has a strong following among retro-computing enthusiasts.
Here’s why it continues to matter:
For Developers: It’s a masterclass in clean, efficient design.
For Historians: It’s a snapshot of what computing could have been.
For Hobbyists: It’s a fun, low-resource system to tinker with.
Check out the 9front project. It’s a maintained fork that modernizes Plan9 while staying true to its roots. Plan9 can run on modern hardware. It is lightweight enough to run on old machines, but I suggest using a VM; it is the easiest route.
Lessons from years past
How a person uses Plan9 is up to them, naturally, but I don't think that Plan9 is practical for everyday use. Plan9, I believe, is better suited as an experimental or educational platform rather than a daily driver. However, that doesn't mean that it wasn't special.
Finding that old Plan9 disk wasn’t just a trip down memory lane; it was a reminder of why I was so drawn to computing. Plan9’s ambition and elegance is still inspiring to me, even decades later.
So, whether you’re a retro-computing nerd, like me, or just curious about alternative OS designs, give Plan9 a run. Who knows? You might find a little magic in its simplicity, just like I did.
I host nearly all the services I use on a bunch of Raspberry Pis and other hardware scattered across my little network.
From media servers to automation tools, it's all there. But let me tell you, the more services you run, the more chaotic it gets. Trying to remember which server is running what, and keeping tabs on their status, can quickly turn into a nightmare.
That's where dashboards come to the rescue. They're not just eye candy; they're sanity savers.
These handy tools bring everything together in one neat interface, so you know what's running, where, and how it's doing.
If you’re in the same boat, here’s a curated list of some excellent dashboards that can be the control center of your homelab.
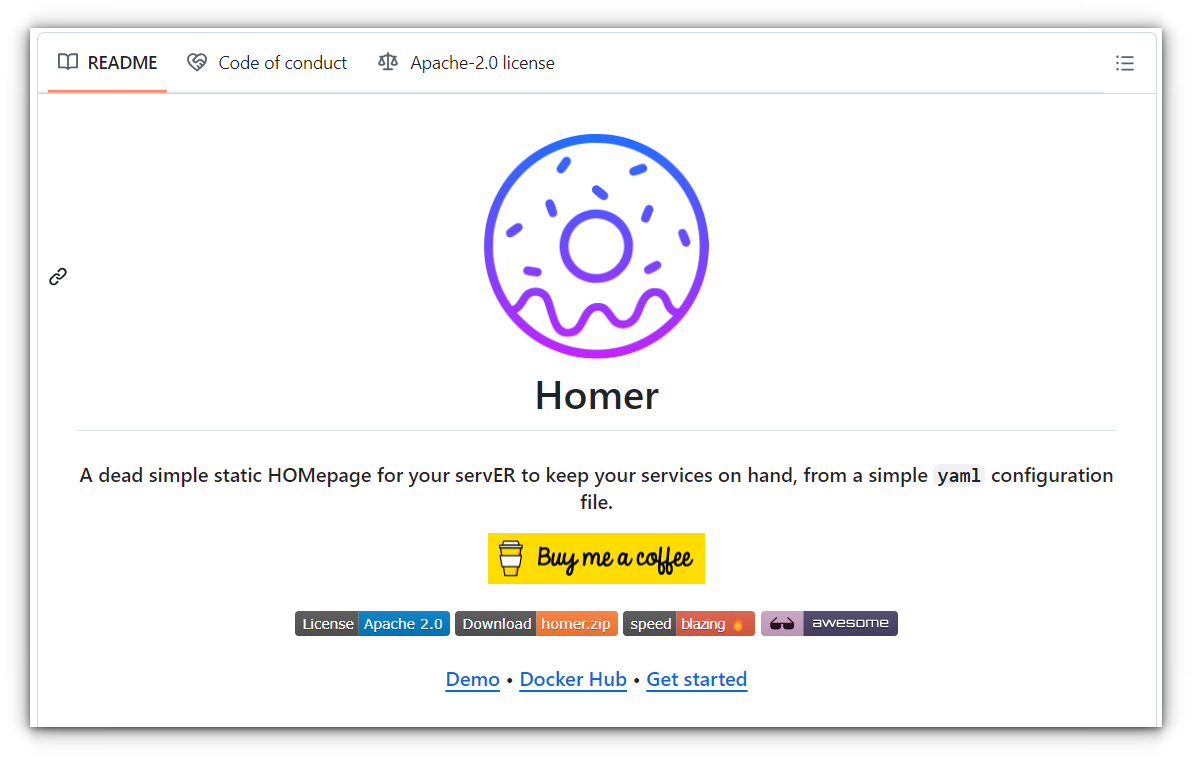
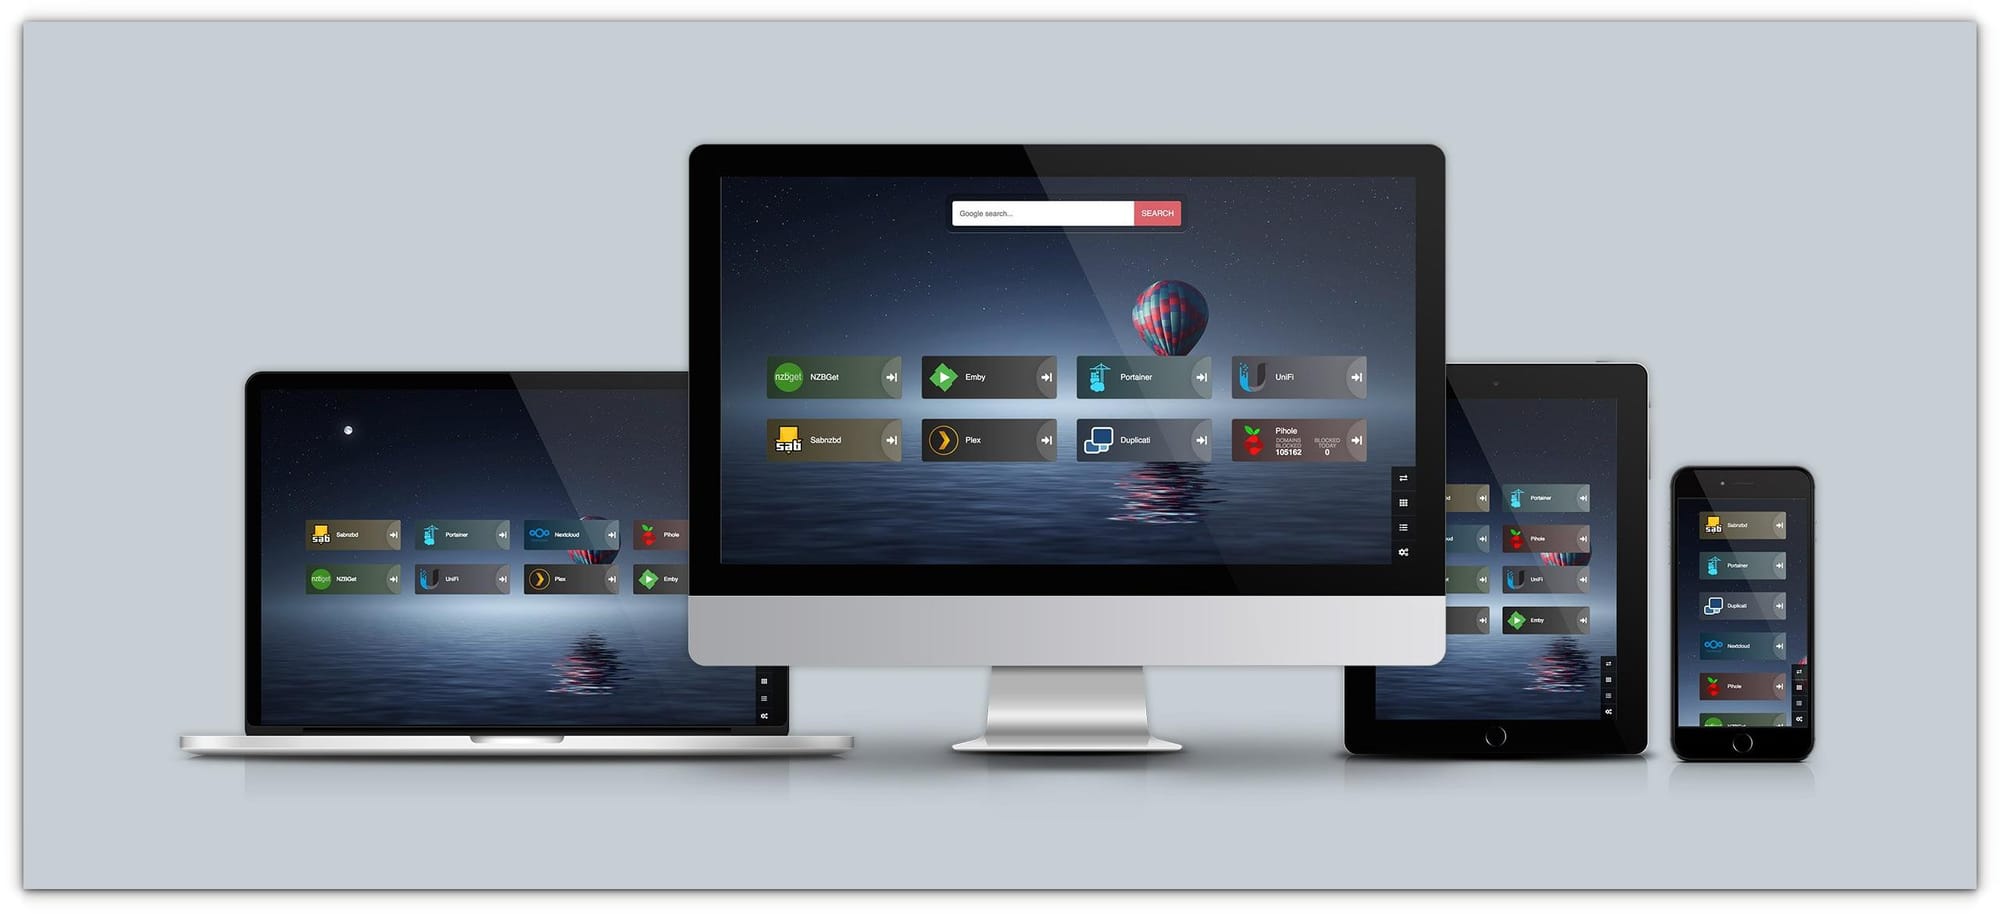
1. Homer
It’s essentially a static homepage that uses a simple YAML file for configuration. It’s lightweight, fast, and great for organizing bookmarks to your services.
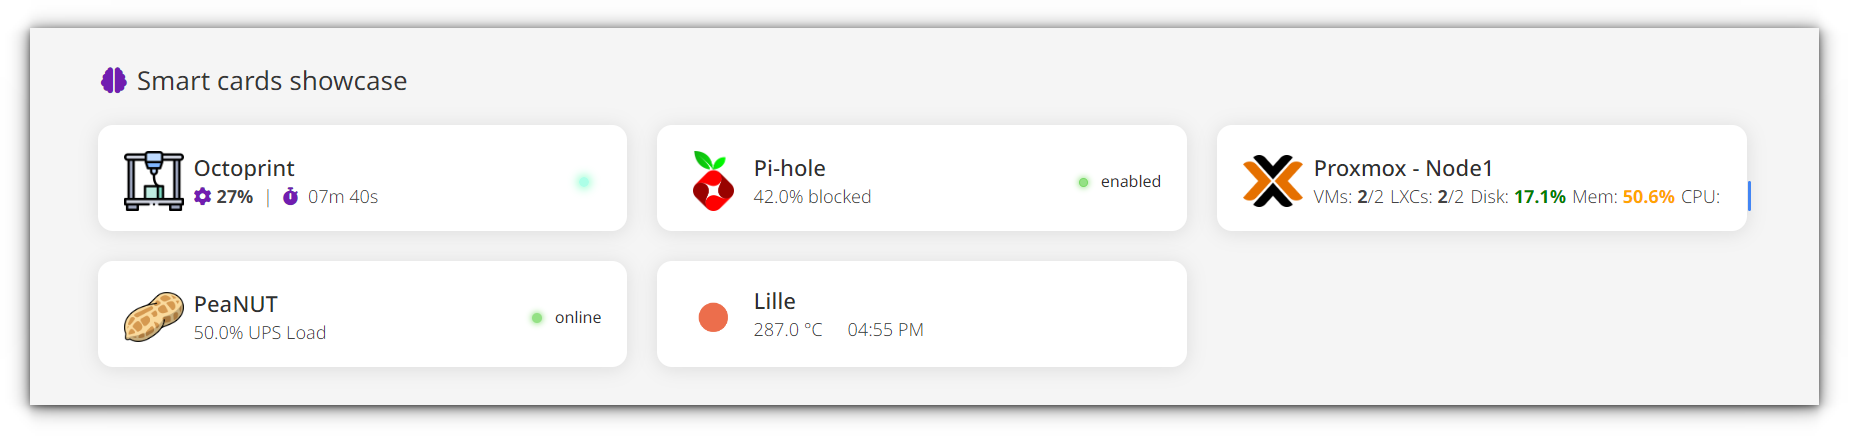
Customizing Homer is a breeze, with options for grouping services, applying themes, and even offline health checks. You can check out the demo yourself:
While it’s not as feature-rich as some of the other dashboards here, that’s part of its charm, it’s easy to set up and doesn’t bog you down with unnecessary complexity.
Deploy it using Docker, or just serve it from any web server. The downside? It’s too basic for those who want features like real-time monitoring or authentication.
✅ Easy YAML-based configuration, ideal for beginners.
✅ Lightweight and fast, with offline health checks for services.
✅ Supports theme customization and keyboard shortcuts.
❌ Limited to static links—lacks advanced monitoring or dynamic widgets.
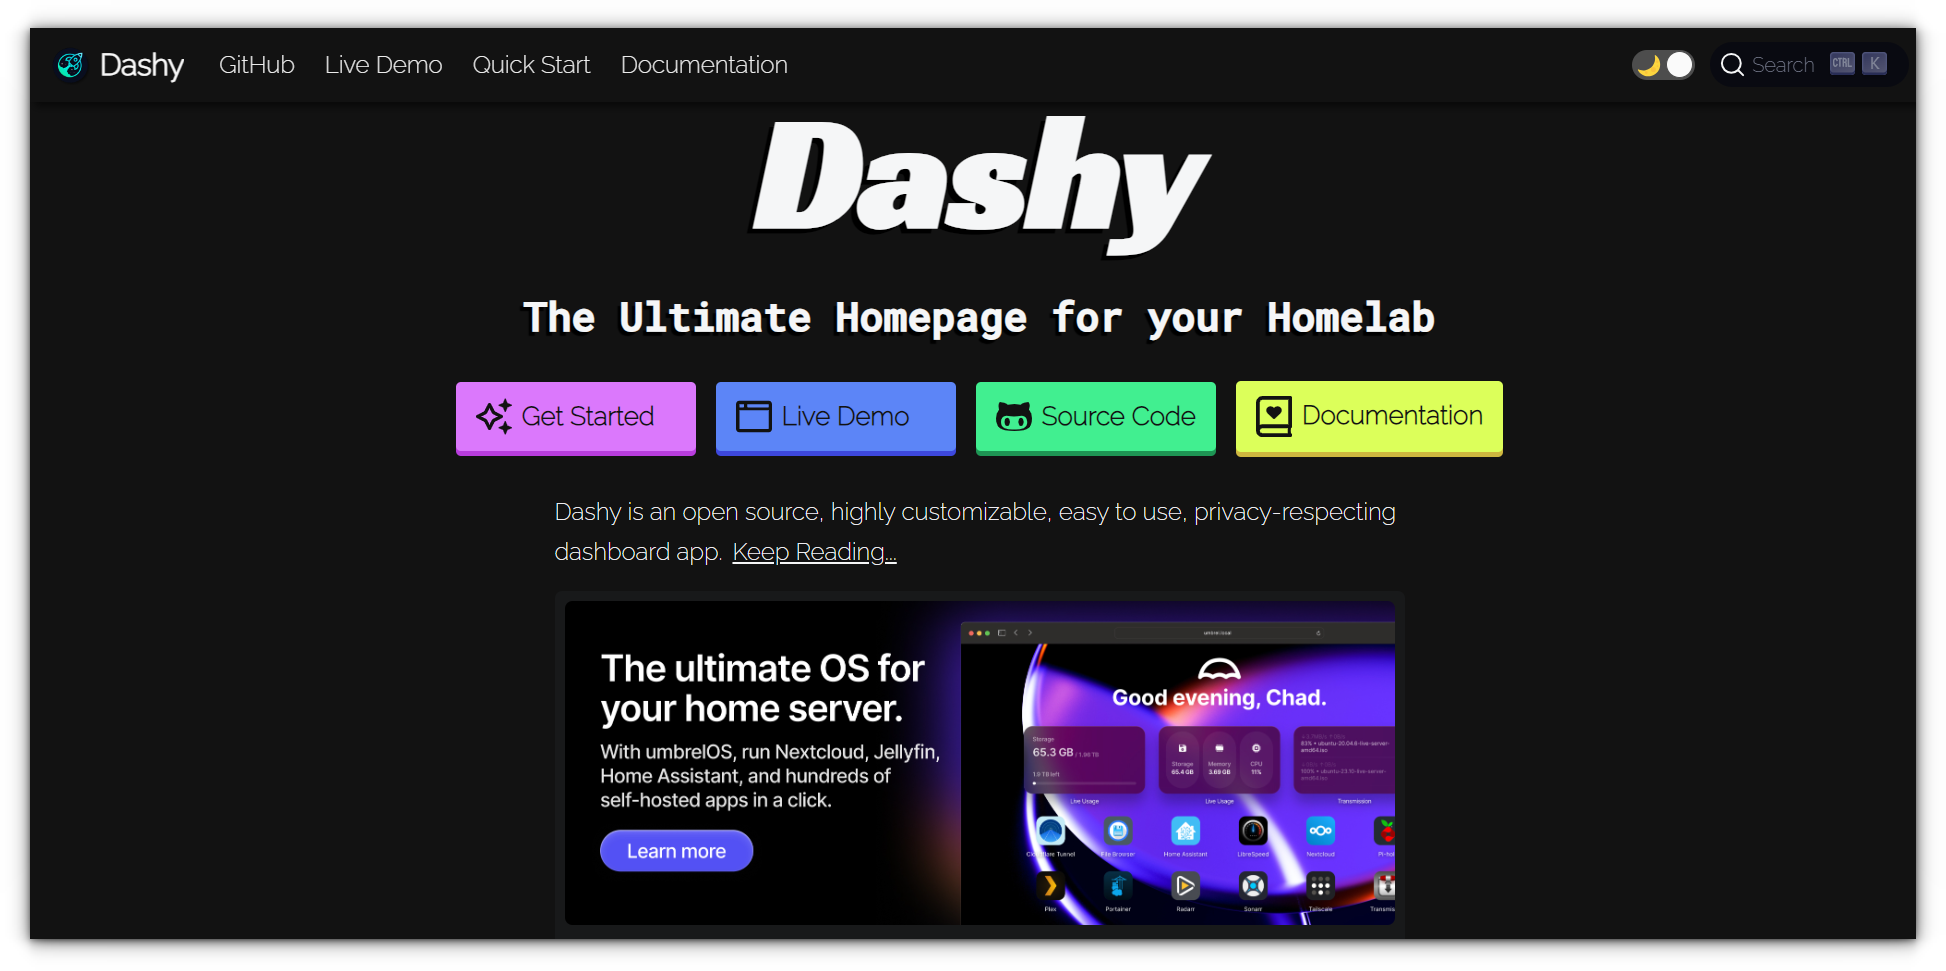
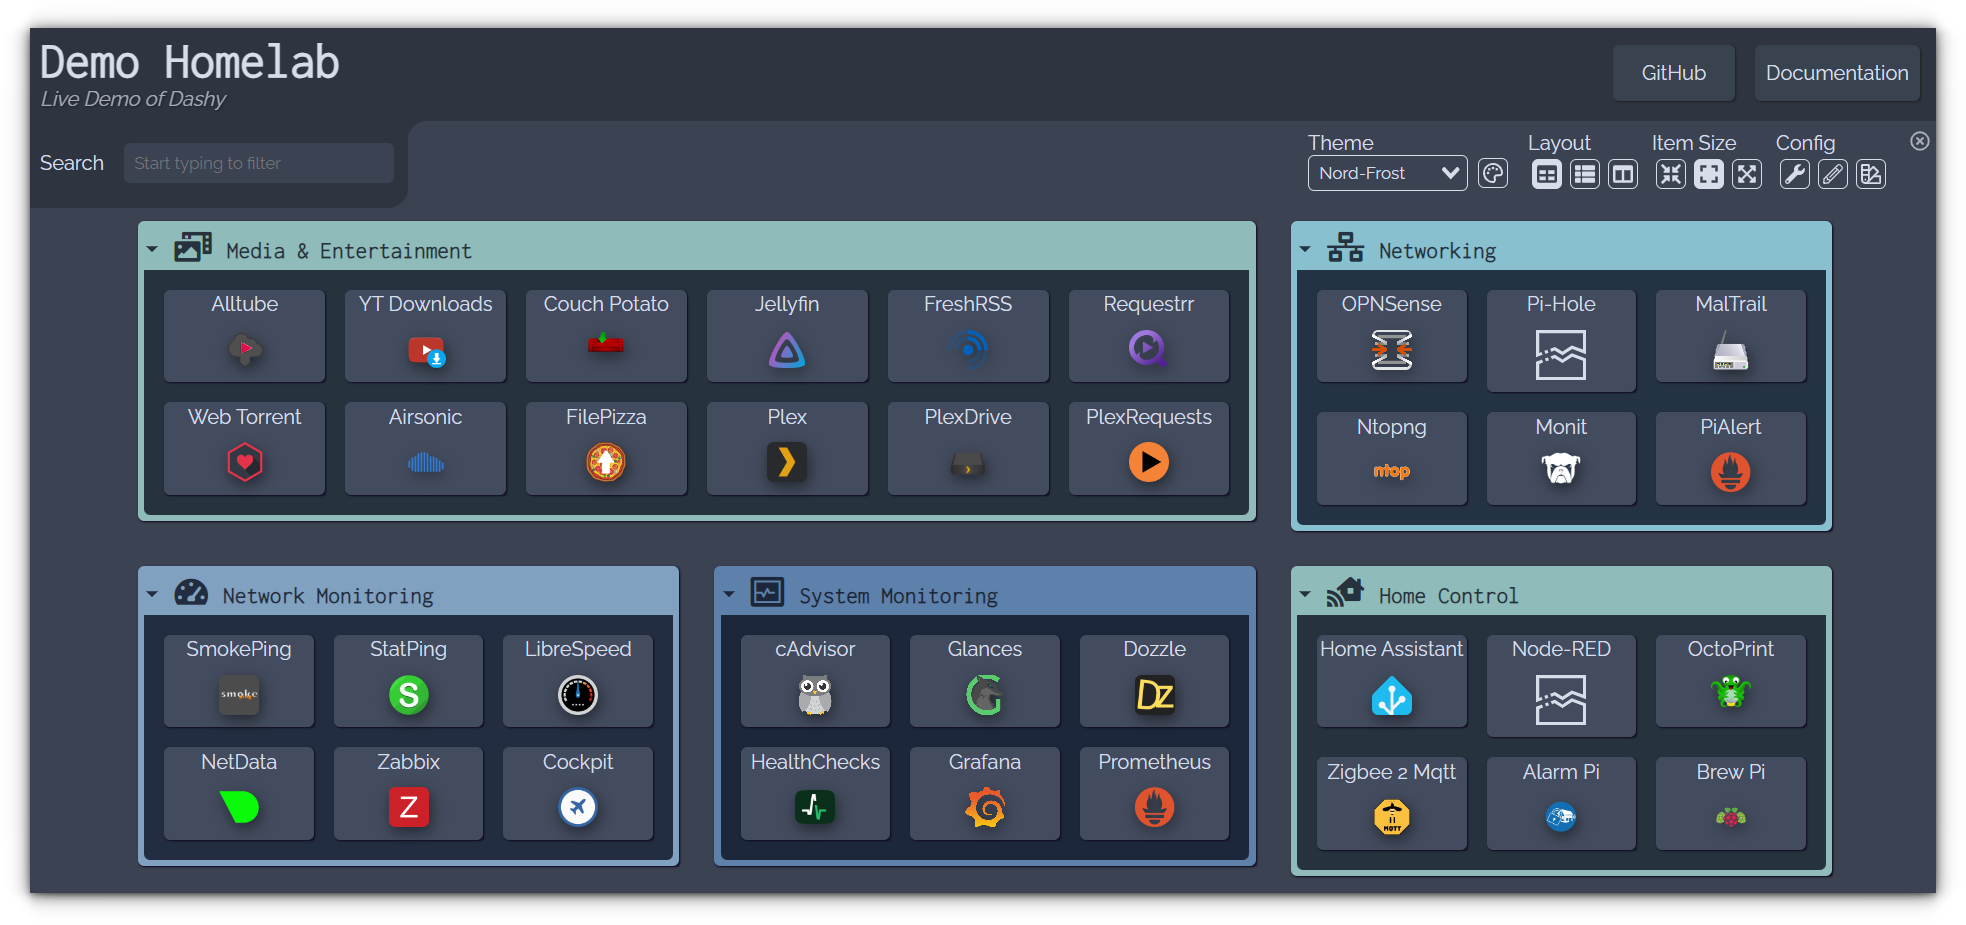
If you’re the kind of person who loves tinkering with every detail, Dashy will feel like a playground.
Its highly customizable interface lets you organize services, monitor their status, and even integrate widgets for extra functionality. Dashy supports multiple themes, custom icons, and dynamic content from your other tools.
You can check out the live demo of Dashy yourself:
However, its extensive customization options can be overwhelming at first. It’s also more resource-intensive than simpler dashboards, but the trade-off is worth it for the sheer flexibility it offers. Install Dashy with Docker, or go bare metal if you’re feeling adventurous.
✅ Highly customizable with themes, layouts, and UI elements.
✅ Supports status monitoring and dynamic widgets for real-time updates.
✅ Easy setup via Docker, with YAML or GUI configuration options.
❌ Feature-heavy, which may feel overwhelming for users seeking simplicity.
❌ Can be resource-intensive on low-powered hardware.
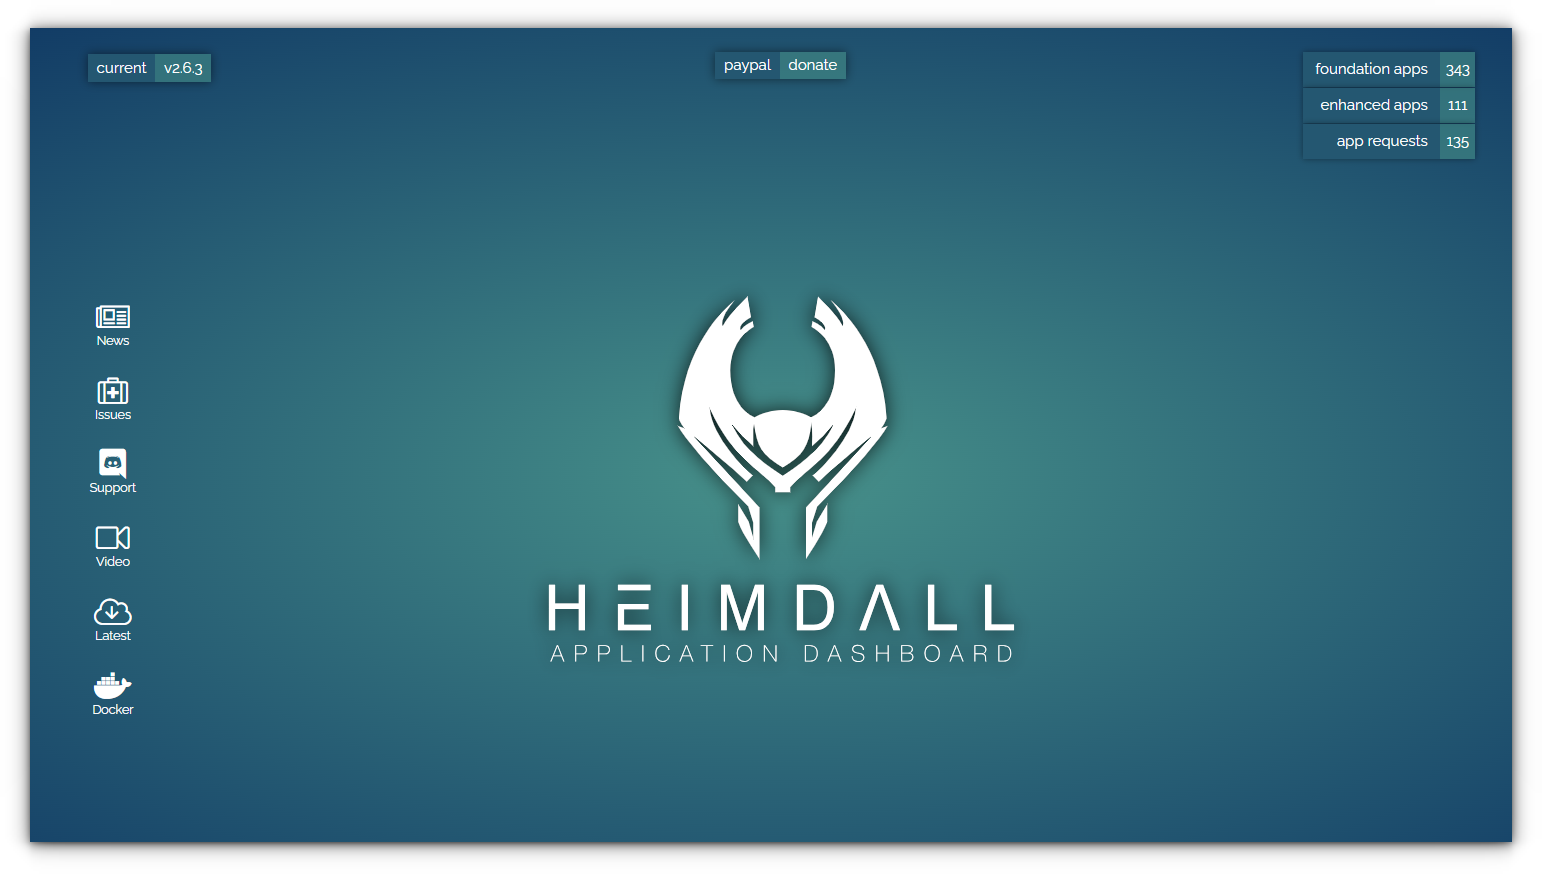
Heimdall keeps things clean and simple while offering a touch of intelligence. You can add services with optional API integrations, enabling Heimdall to display real-time information like server stats or media progress.
It doesn’t try to do everything, which makes it an excellent choice for those who just want an app launcher that works. It’s quick to set up, runs on Docker, and doesn’t demand much in terms of resources.
That said, the lack of advanced features like widgets or multi-user support might feel limiting for some.
✅ Clean and intuitive interface with support for dynamic API-based widgets.
✅ Straightforward installation via Docker or bare-metal setup.
✅ Highly extensible, with the ability to add links to non-application services.
❌ Limited customization compared to Dashy or Organizr.
❌ No built-in user authentication or multi-user support.
Organizr is like a Swiss Army knife for homelab enthusiasts. It’s more than a dashboard, it’s a full-fledged service organizer that lets you manage multiple applications within a single web interface.
Tabs are the core of Organizr, allowing you to categorize and access services with ease. You can experiment yourself with their demo website.
It also supports multi-user environments, guest access, and integration with tools like Plex or Emby.
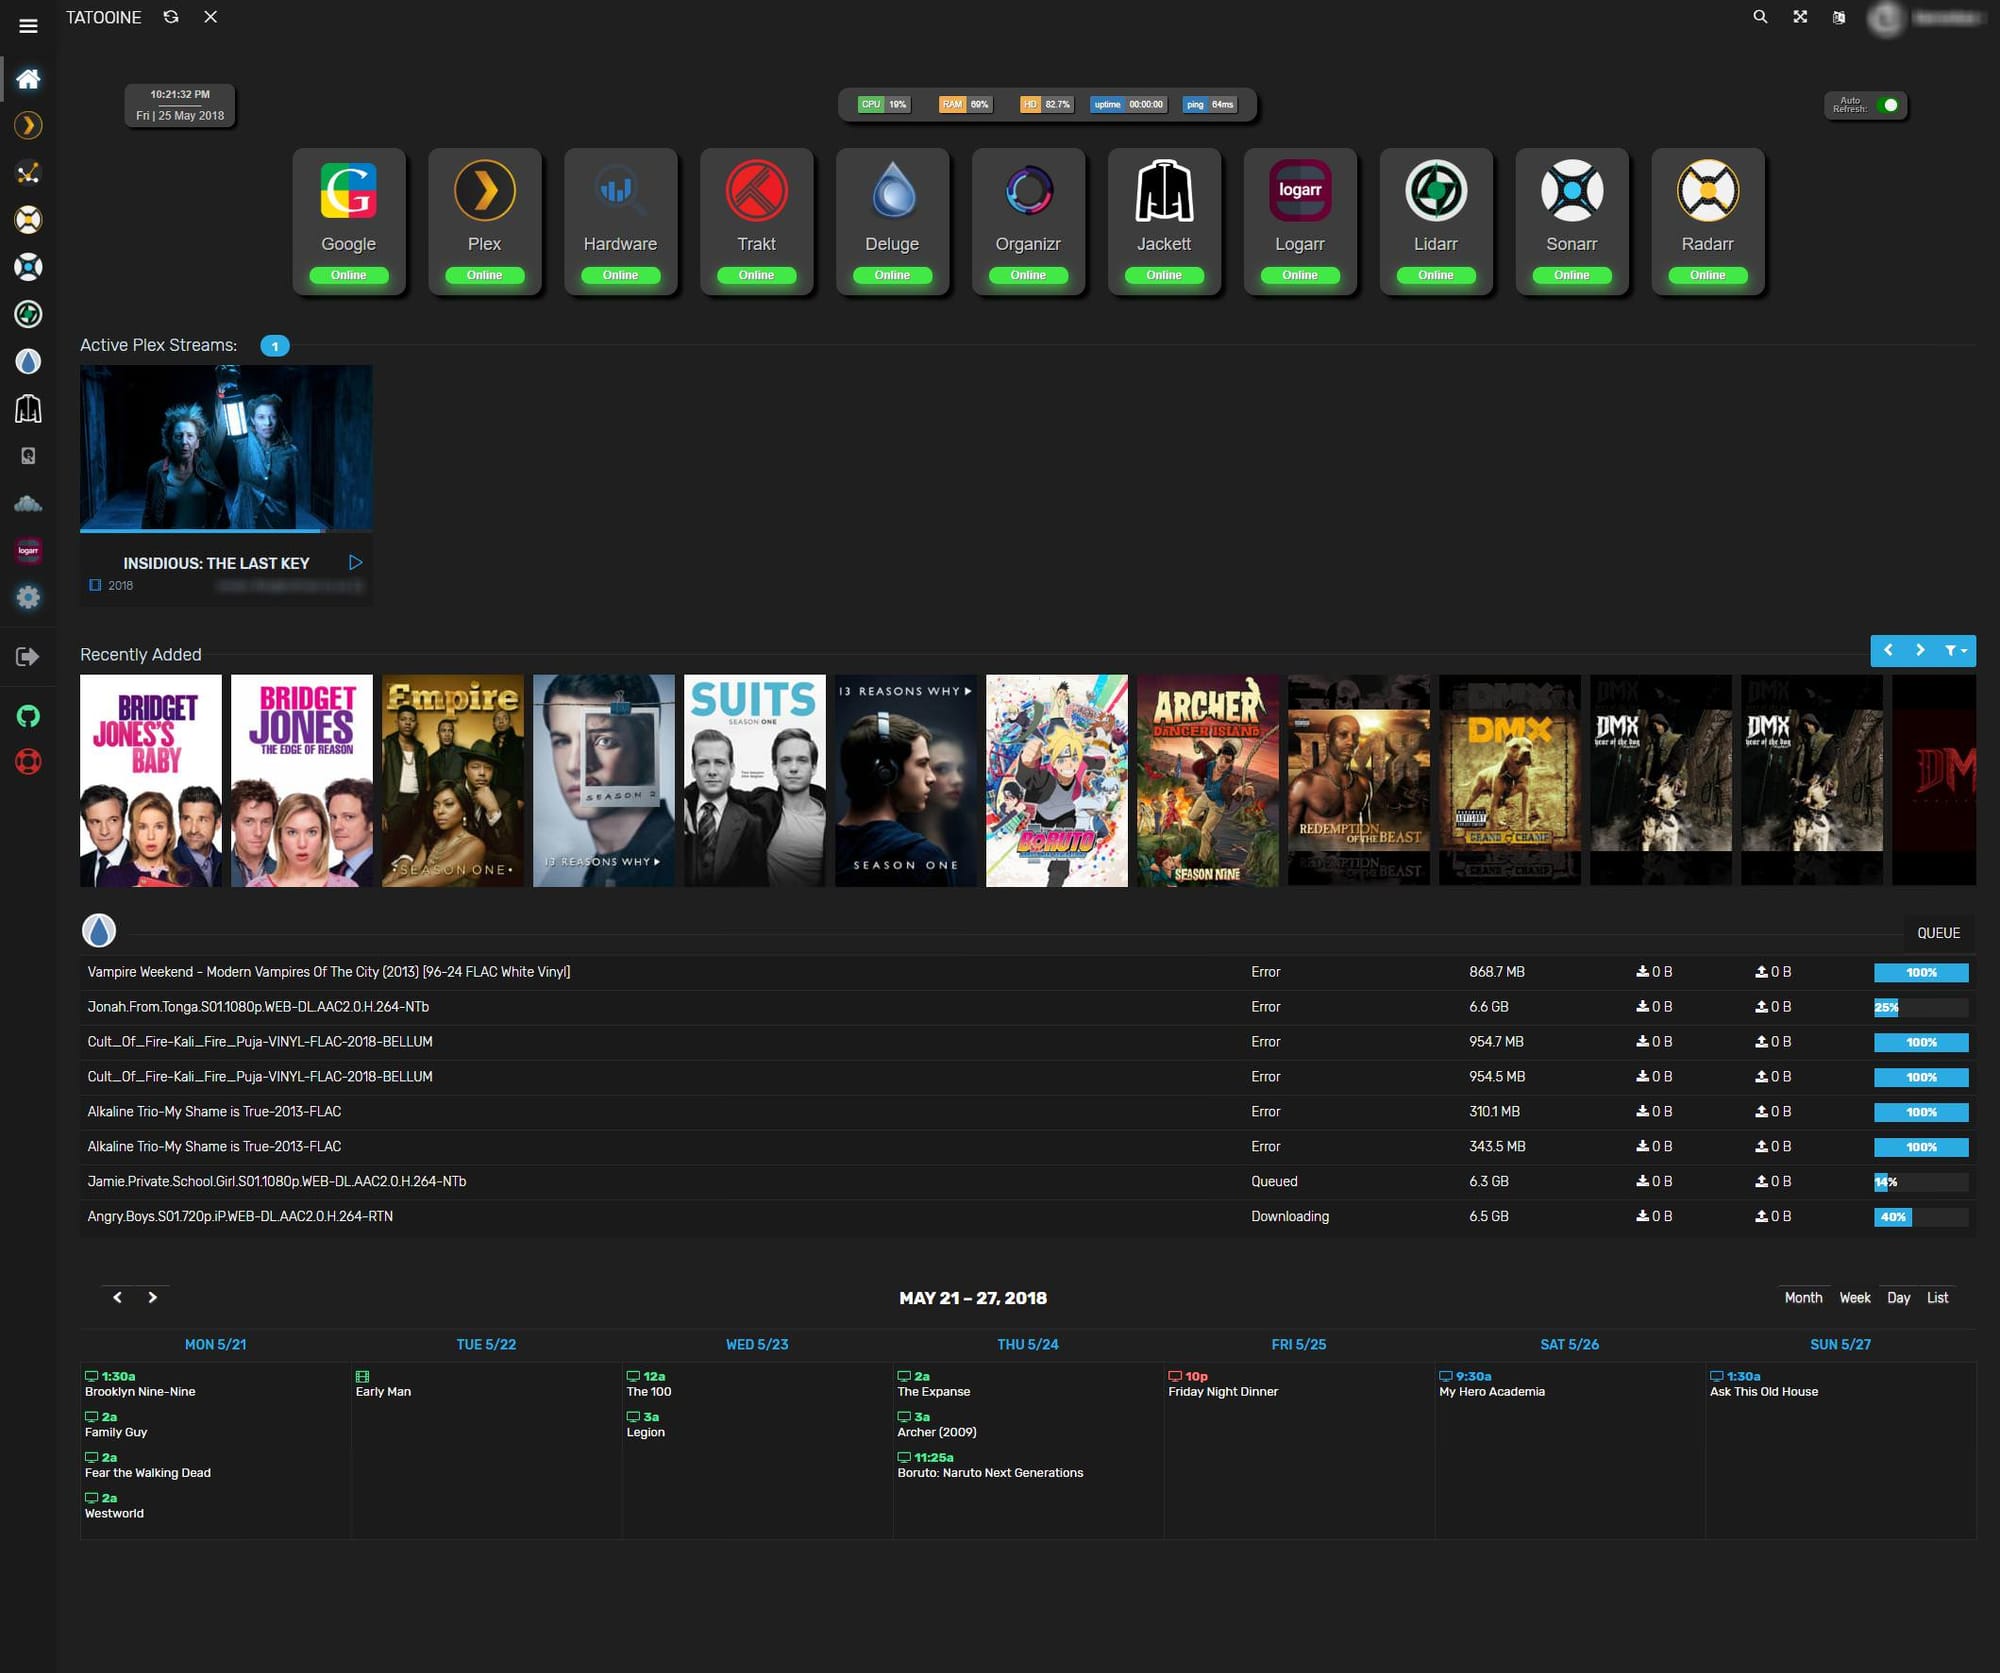
This Organizr dashboard is shared by a user on Reddit | Source:r/organizr
Setting it up requires some work, as it’s PHP-based, but once you’re up and running, it’s an incredibly powerful tool.
The downside? It’s resource-heavy and overkill if you’re just looking for a simple homepage.
✅ Tab-based interface with support for custom tabs and user access control.
✅ Extensive customization options for themes and layouts.
✅ Multi-user and guest access support with user group management.
❌ Setup can be complex for first-time users, especially on bare metal.
❌ Interface may feel cluttered if too many tabs are added.
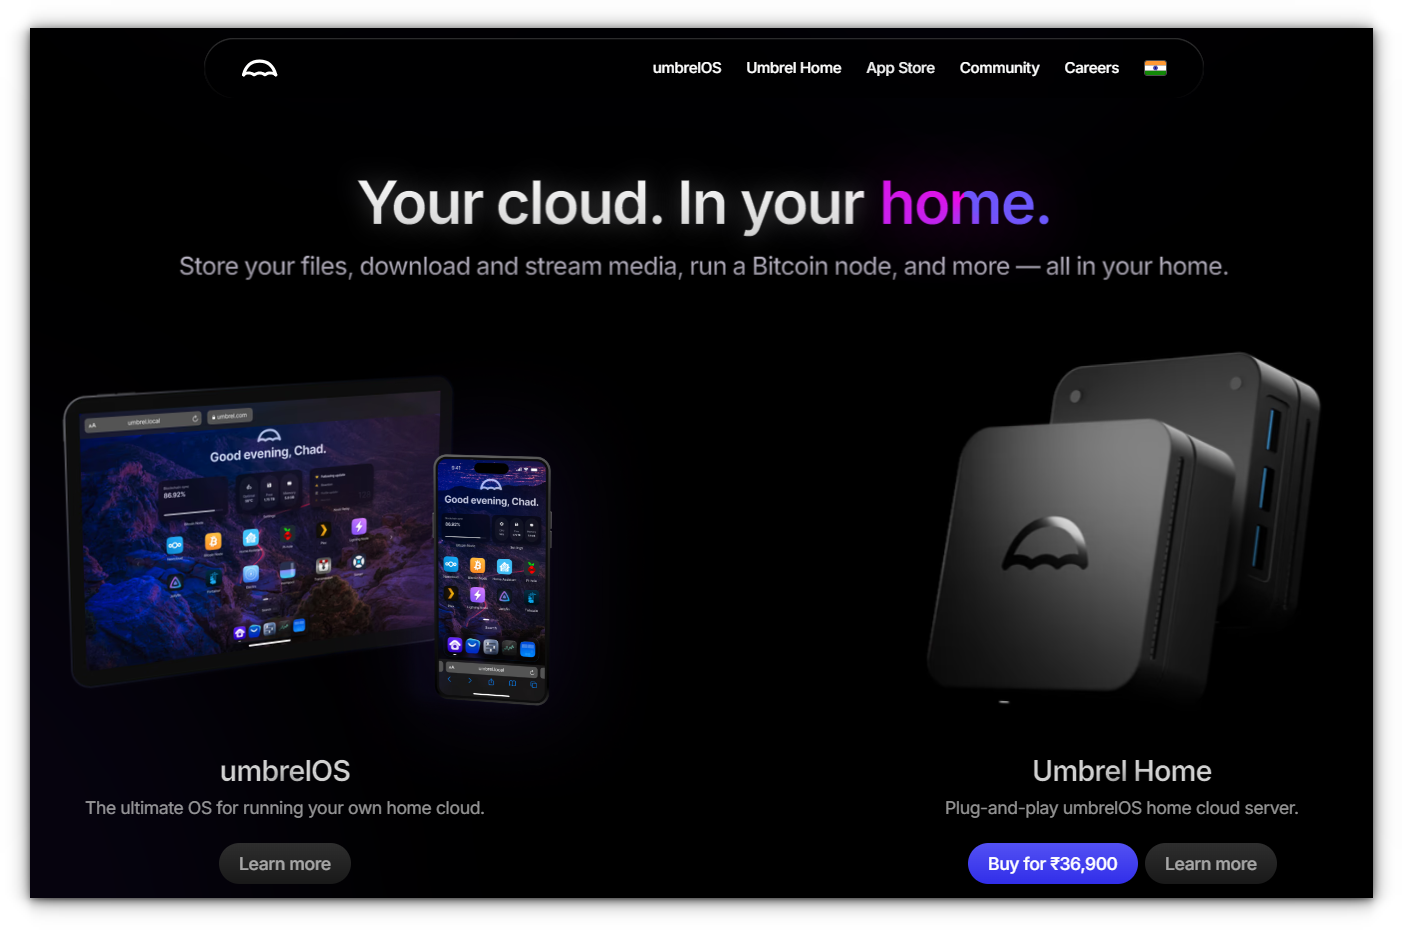
Umbrel is more like a platform, since they offer their own umbrelOS and devices like Umbrel Home. Initially built for running Bitcoin and Lightning nodes, Umbrel has grown into a robust self-hosting environment.
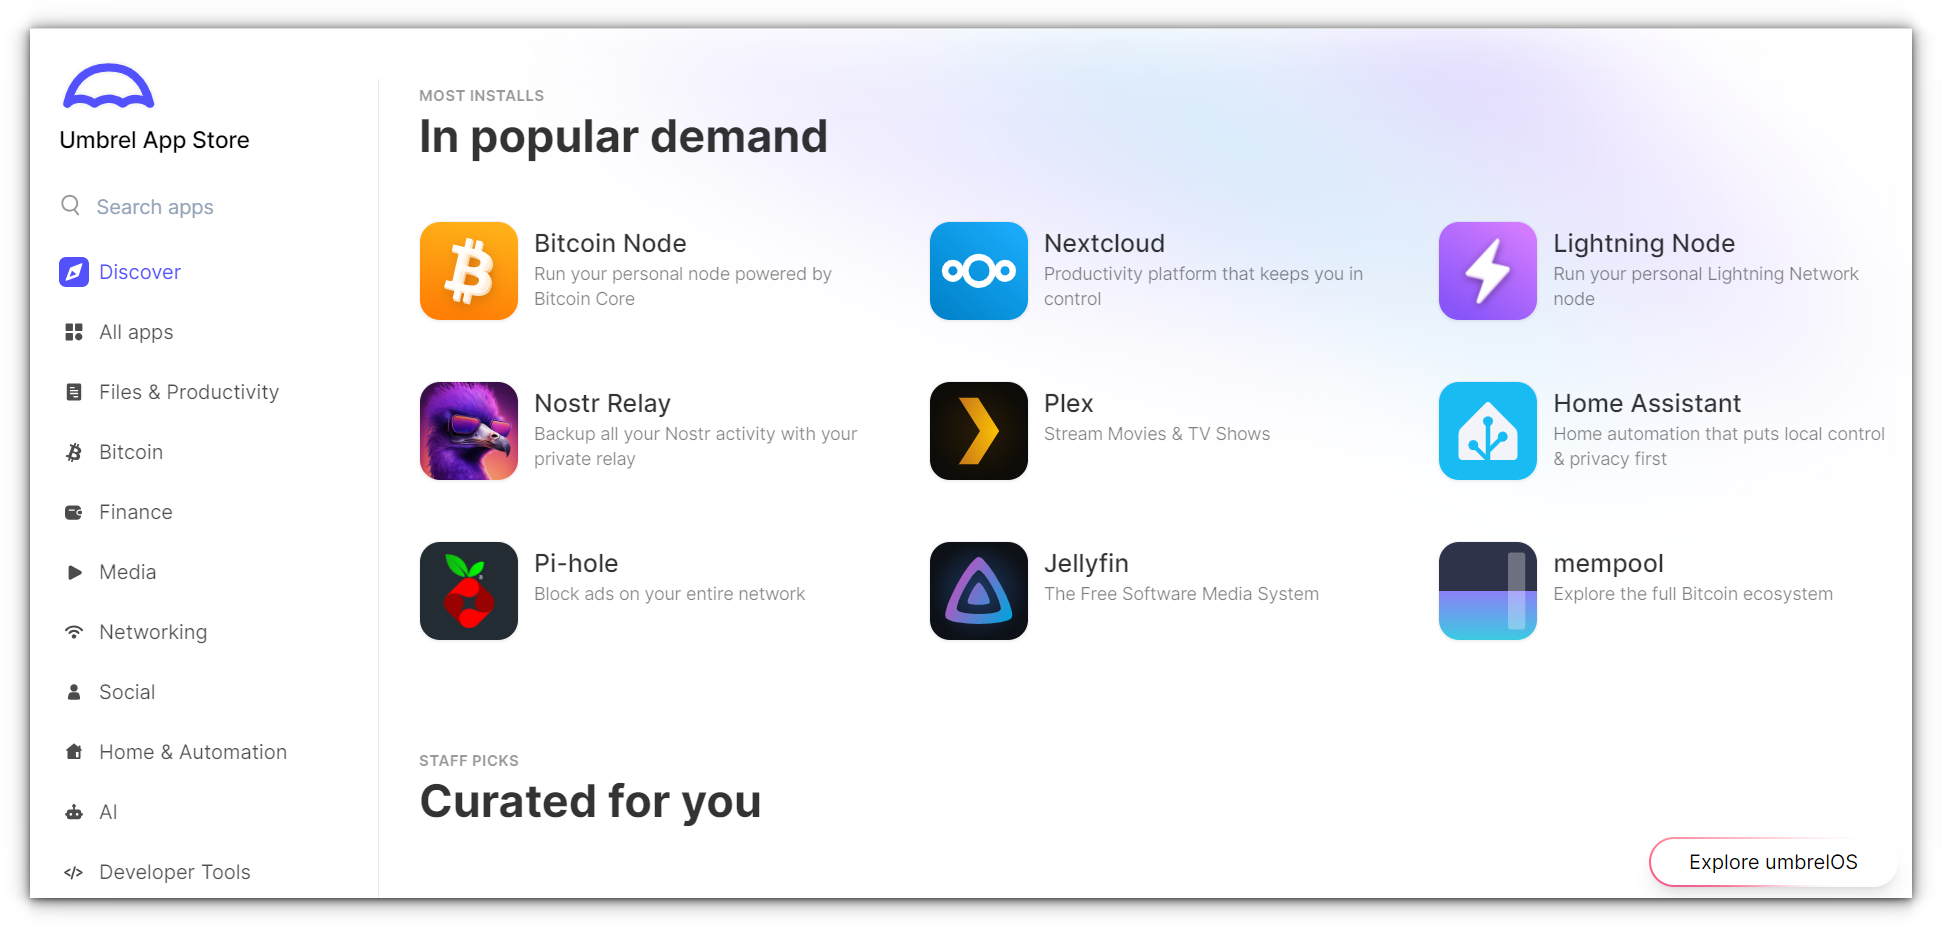
It offers a slick interface and an app store where you can one-click install tools like Nextcloud, Home Assistant, or Jellyfin, making it perfect for beginners or anyone wanting a “plug-and-play” homelab experience.
The user interface is incredibly polished, with a design that feels like it belongs on a consumer-grade device (Umbrel Home) rather than a DIY server.
While it’s heavily focused on ease of use, it’s also open-source and completely customizable for advanced users.
The only downside? It’s not as lightweight as some of the simpler dashboards, and power users might feel limited by its curated ecosystem.
✅ One-click app installation with a curated app store.
✅ Optimized for Raspberry Pi and other low-powered devices.
✅ User-friendly interface with minimal setup requirements.
❌ Limited to the apps available in its ecosystem.
❌ Less customizable compared to other dashboards like Dashy.
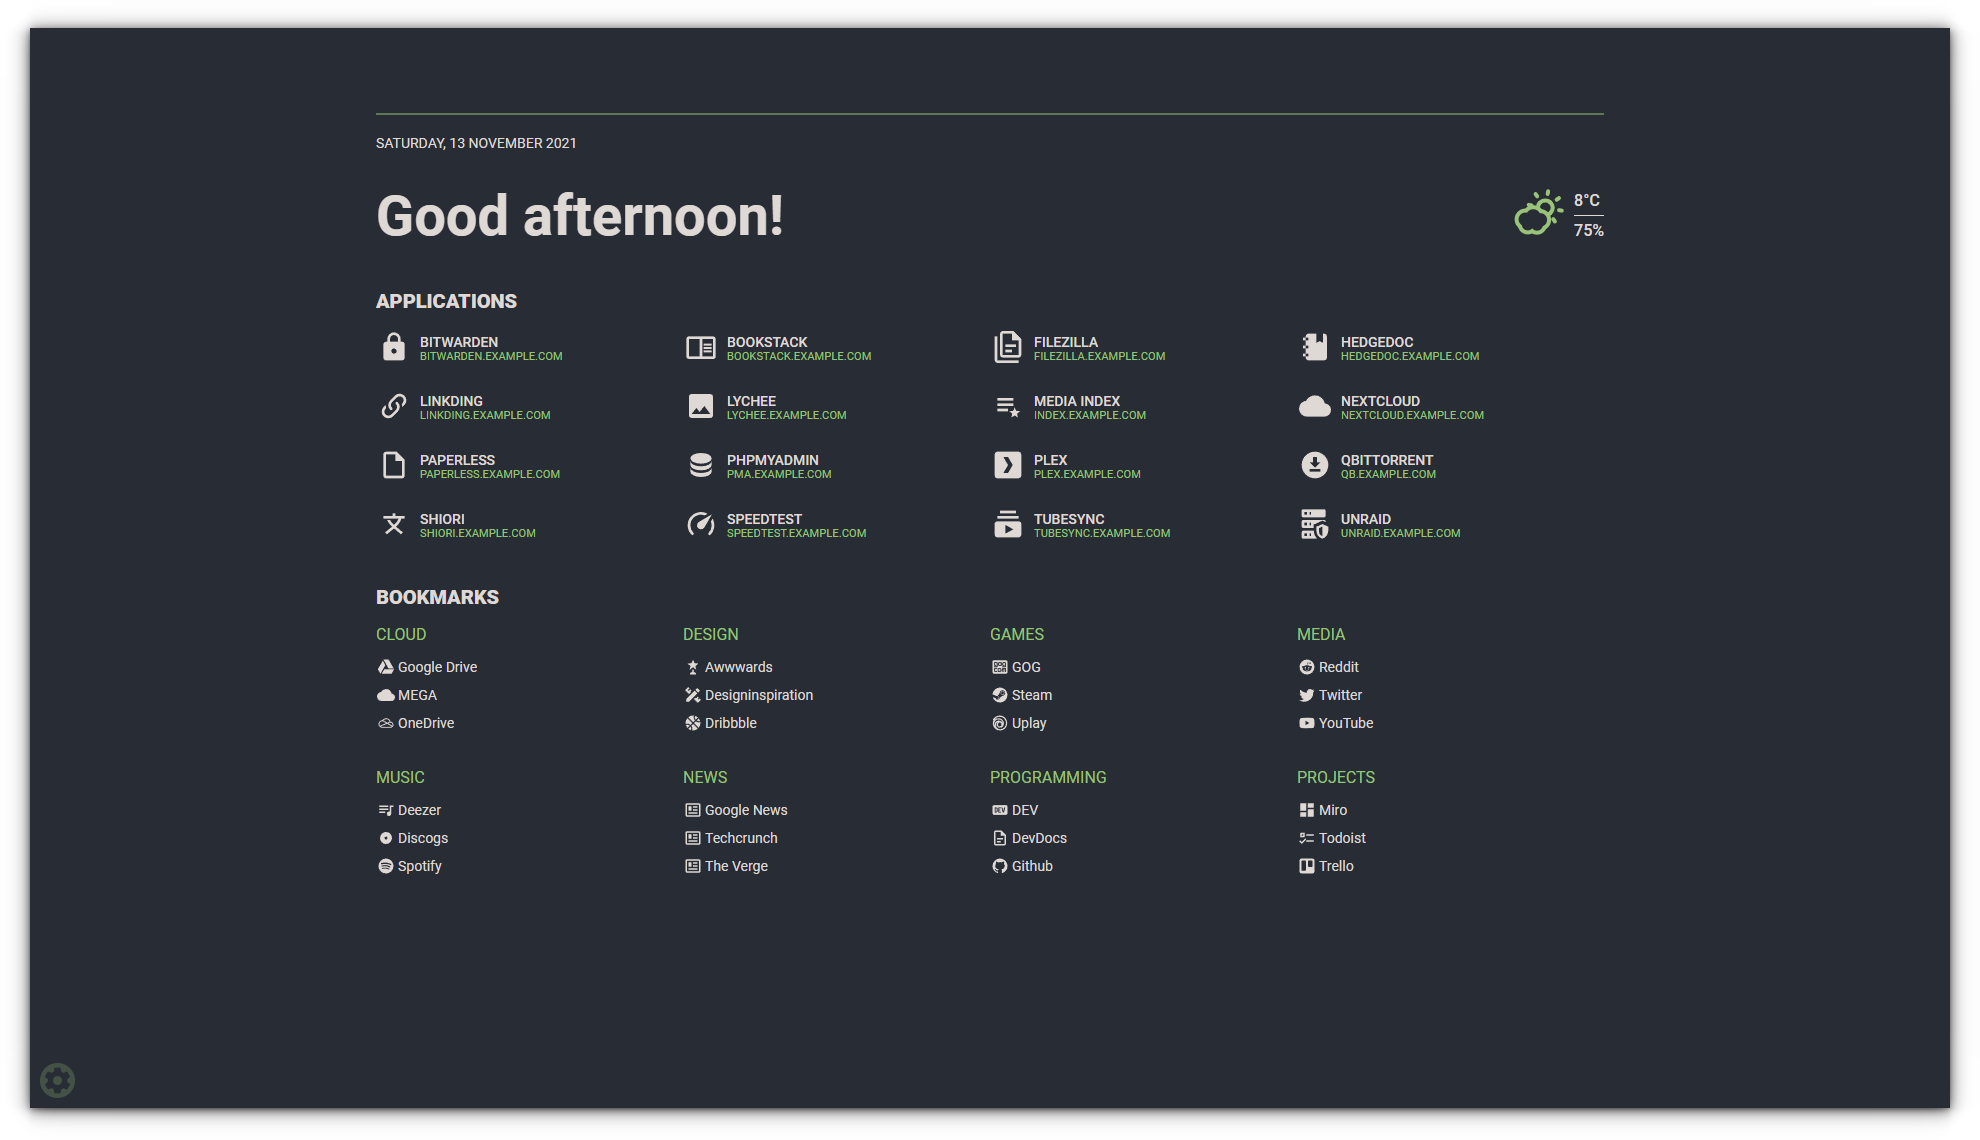
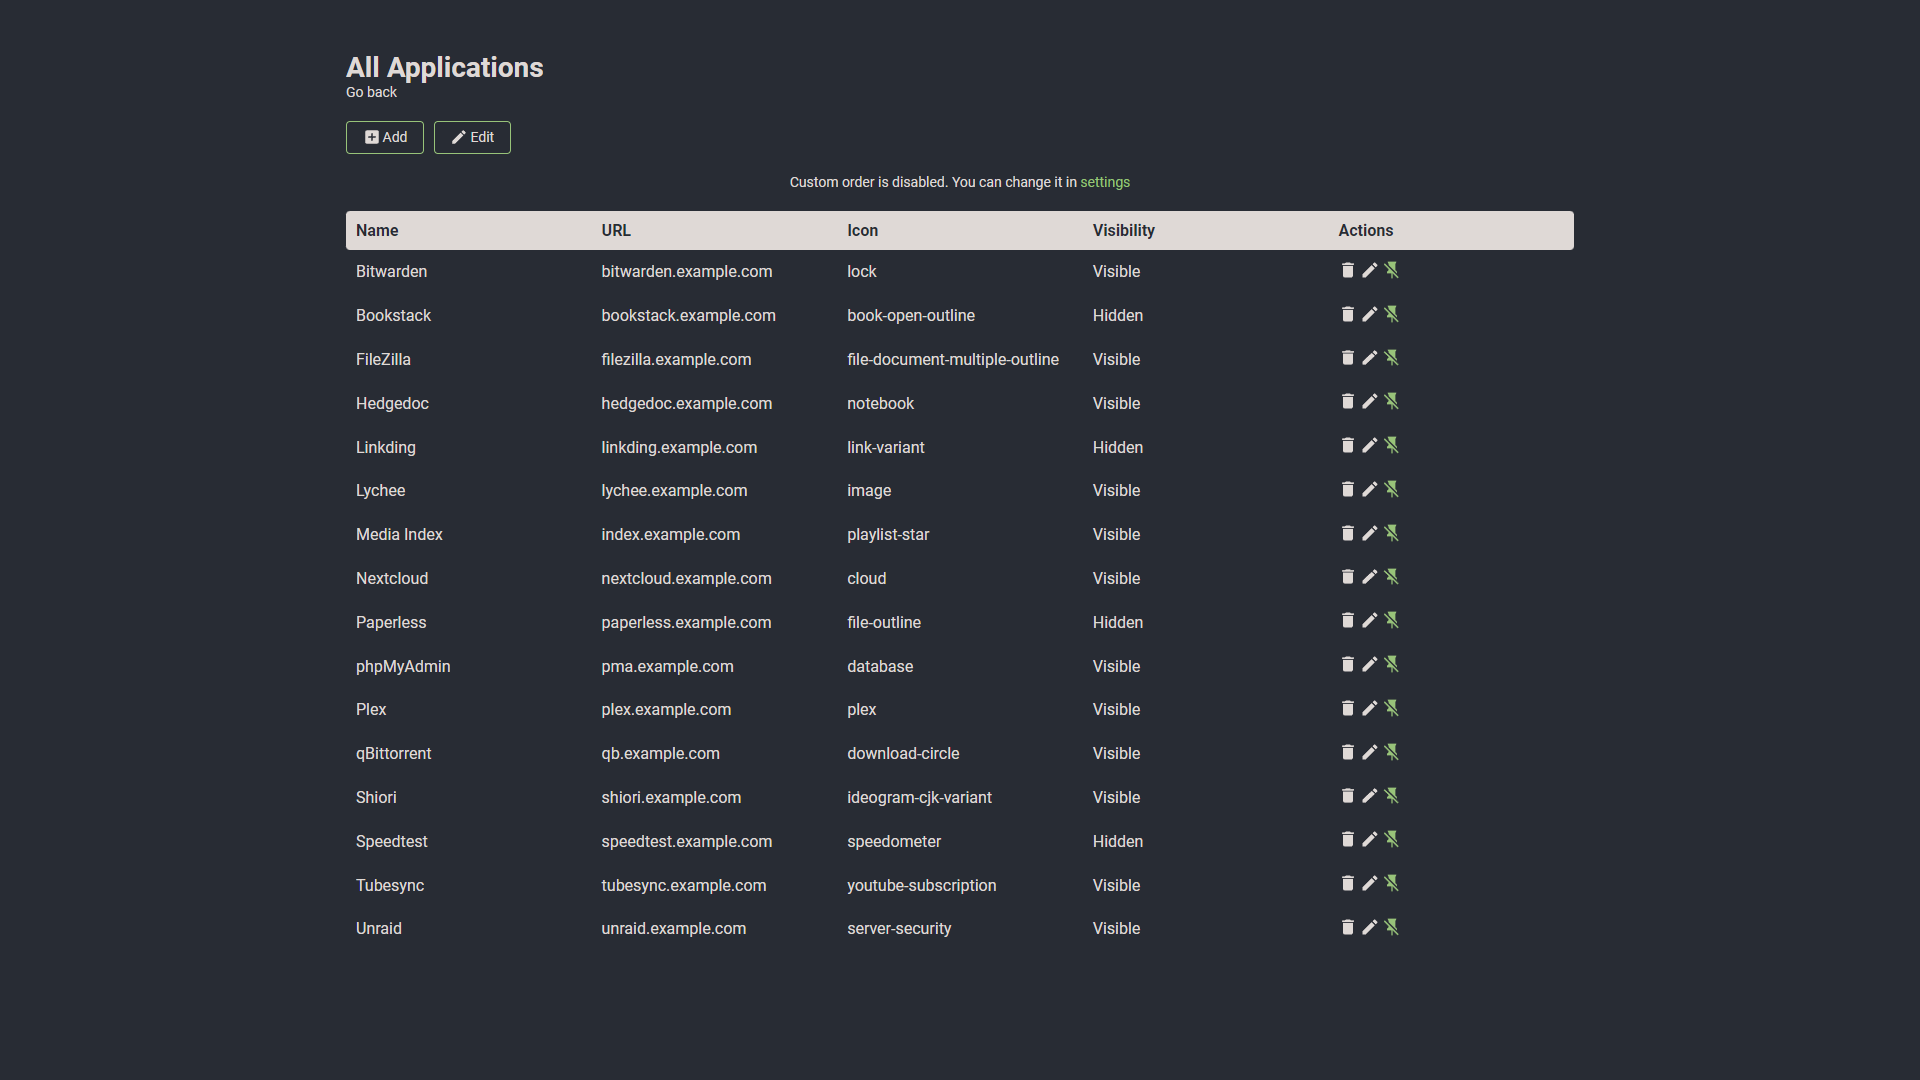
Flame walks a fine line between simplicity and functionality. It gives you a modern start page for your server, where you can manage bookmarks, applications, and even Docker containers with ease.
However, it lacks advanced monitoring features, so if you’re looking for detailed stats on your services, this might not be the right fit.
Installing Flame is as simple as pulling a Docker image or cloning its GitHub repository.
✅ Built-in GUI editors for creating, updating, and deleting applications and bookmarks.
✅ Supports pinning favorites, local search, and weather widgets.
✅ Easy Docker-based setup with minimal configuration required.
❌ Limited dynamic features compared to Dashy or Heimdall.
❌ Lacks advanced monitoring or user authentication features.
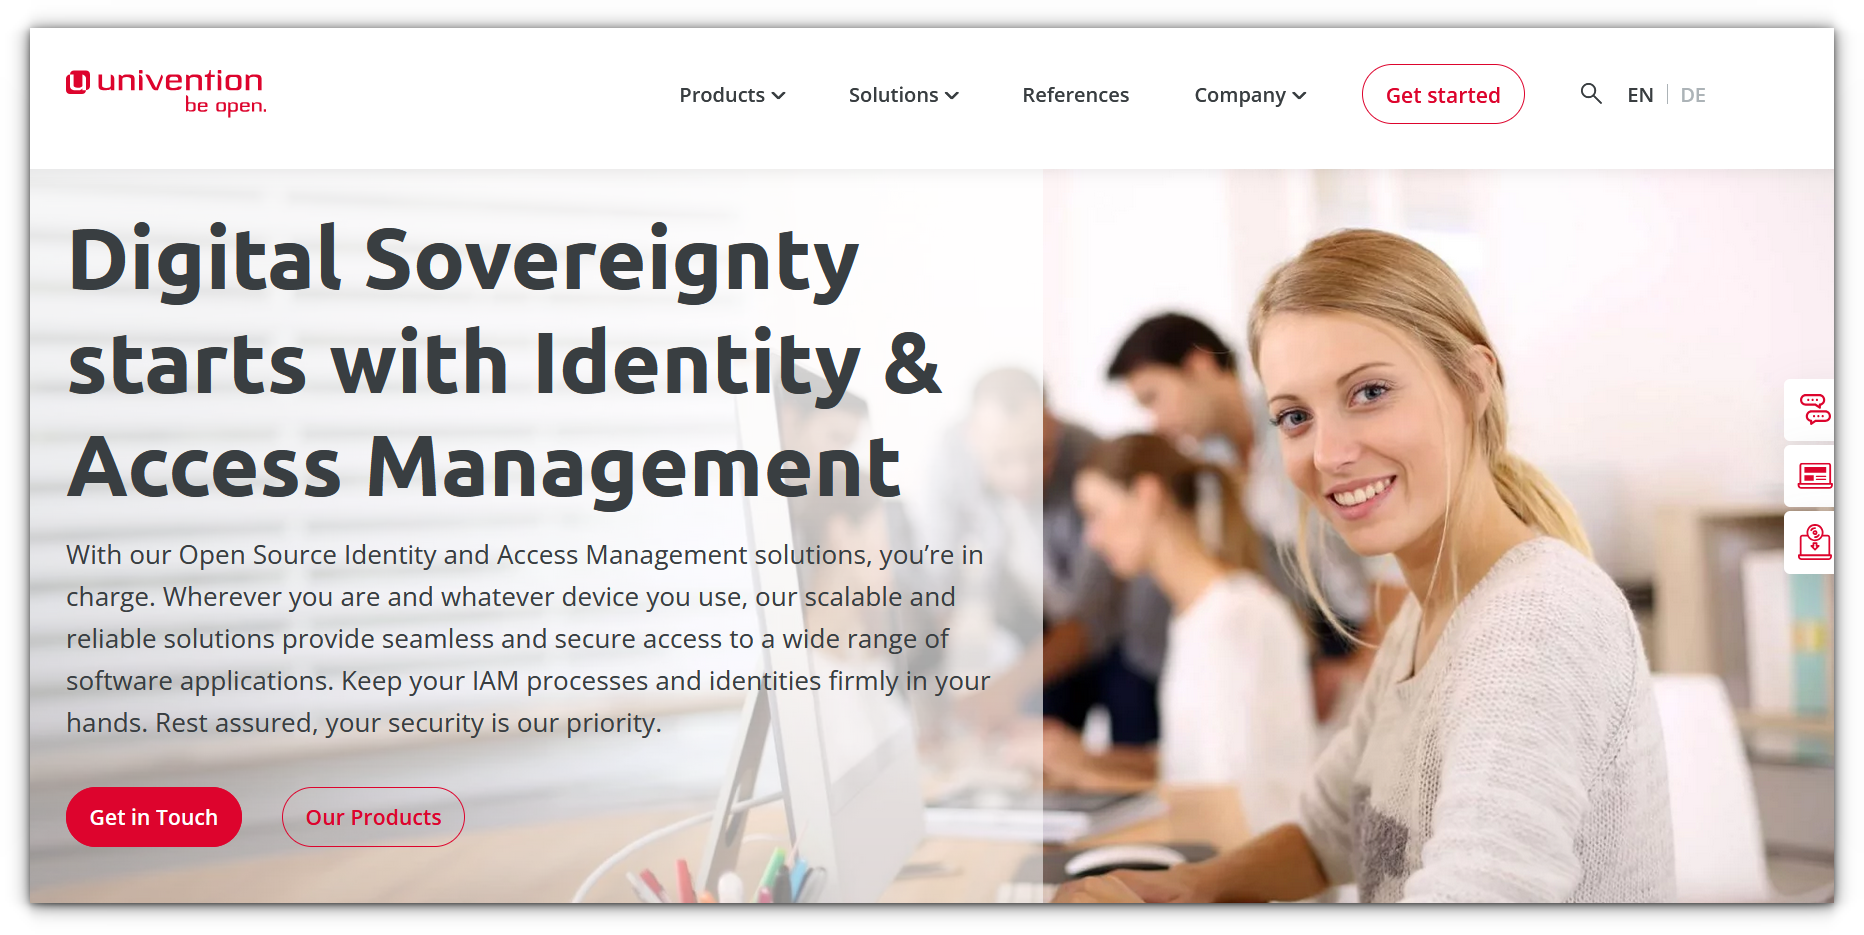
If your homelab leans towards enterprise-grade capabilities, UCS Server is worth exploring.
It’s more than just a dashboard, it’s a full-fledged server management system with integrated identity and access management.
UCS is especially appealing for those running hybrid setups that mix self-hosted services with external cloud environments.
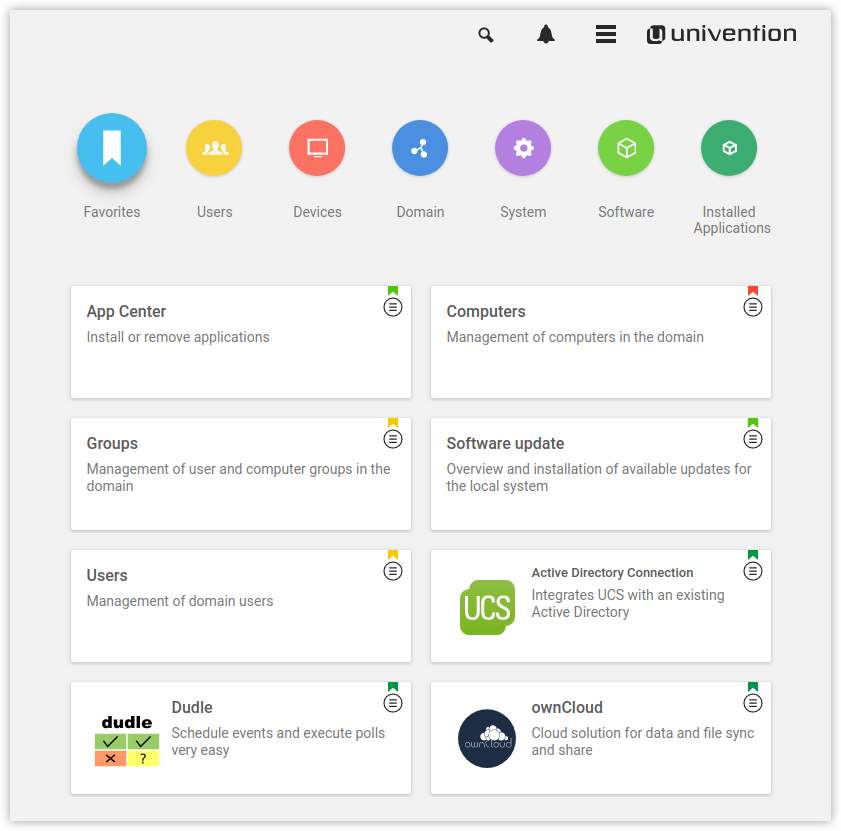
Its intuitive web interface simplifies the management of users, permissions, and services. Plus, it supports Docker containers and virtual machines, making it a versatile choice.
The learning curve is steeper compared to more minimal dashboards like Homer or Heimdall, but it’s rewarding if you’re managing a complex environment.
Setting it up involves downloading the ISO, installing it on your preferred hardware or virtual machine, and then diving into its modular app ecosystem.
One drawback is its resource intensity, this isn’t something you’ll run comfortably on a Raspberry Pi. It’s best suited for those with dedicated homelab hardware.
✅ Enterprise-grade solution with robust user and service management.
✅ Supports LDAP integration and multi-server setups.
✅ Extensive app catalog for deploying various services.
❌ Overkill for smaller homelabs or basic setups.
❌ Requires more resources and knowledge to configure effectively.
One of the standout features is its search functionality, which allows you to find and access services faster.
Installing Dash Machine is straightforward. It’s available as a Docker container, so you can have it up and running in minutes.
However, it doesn’t offer multi-user functionality or detailed service monitoring, which might be a limitation for more complex setups.
✅ Clean, tile-based design for quick and easy navigation.
✅ Lightweight and perfect for resource-constrained devices.
✅ Quick setup via Docker.
❌ Limited to static links—no advanced monitoring or multi-user support.
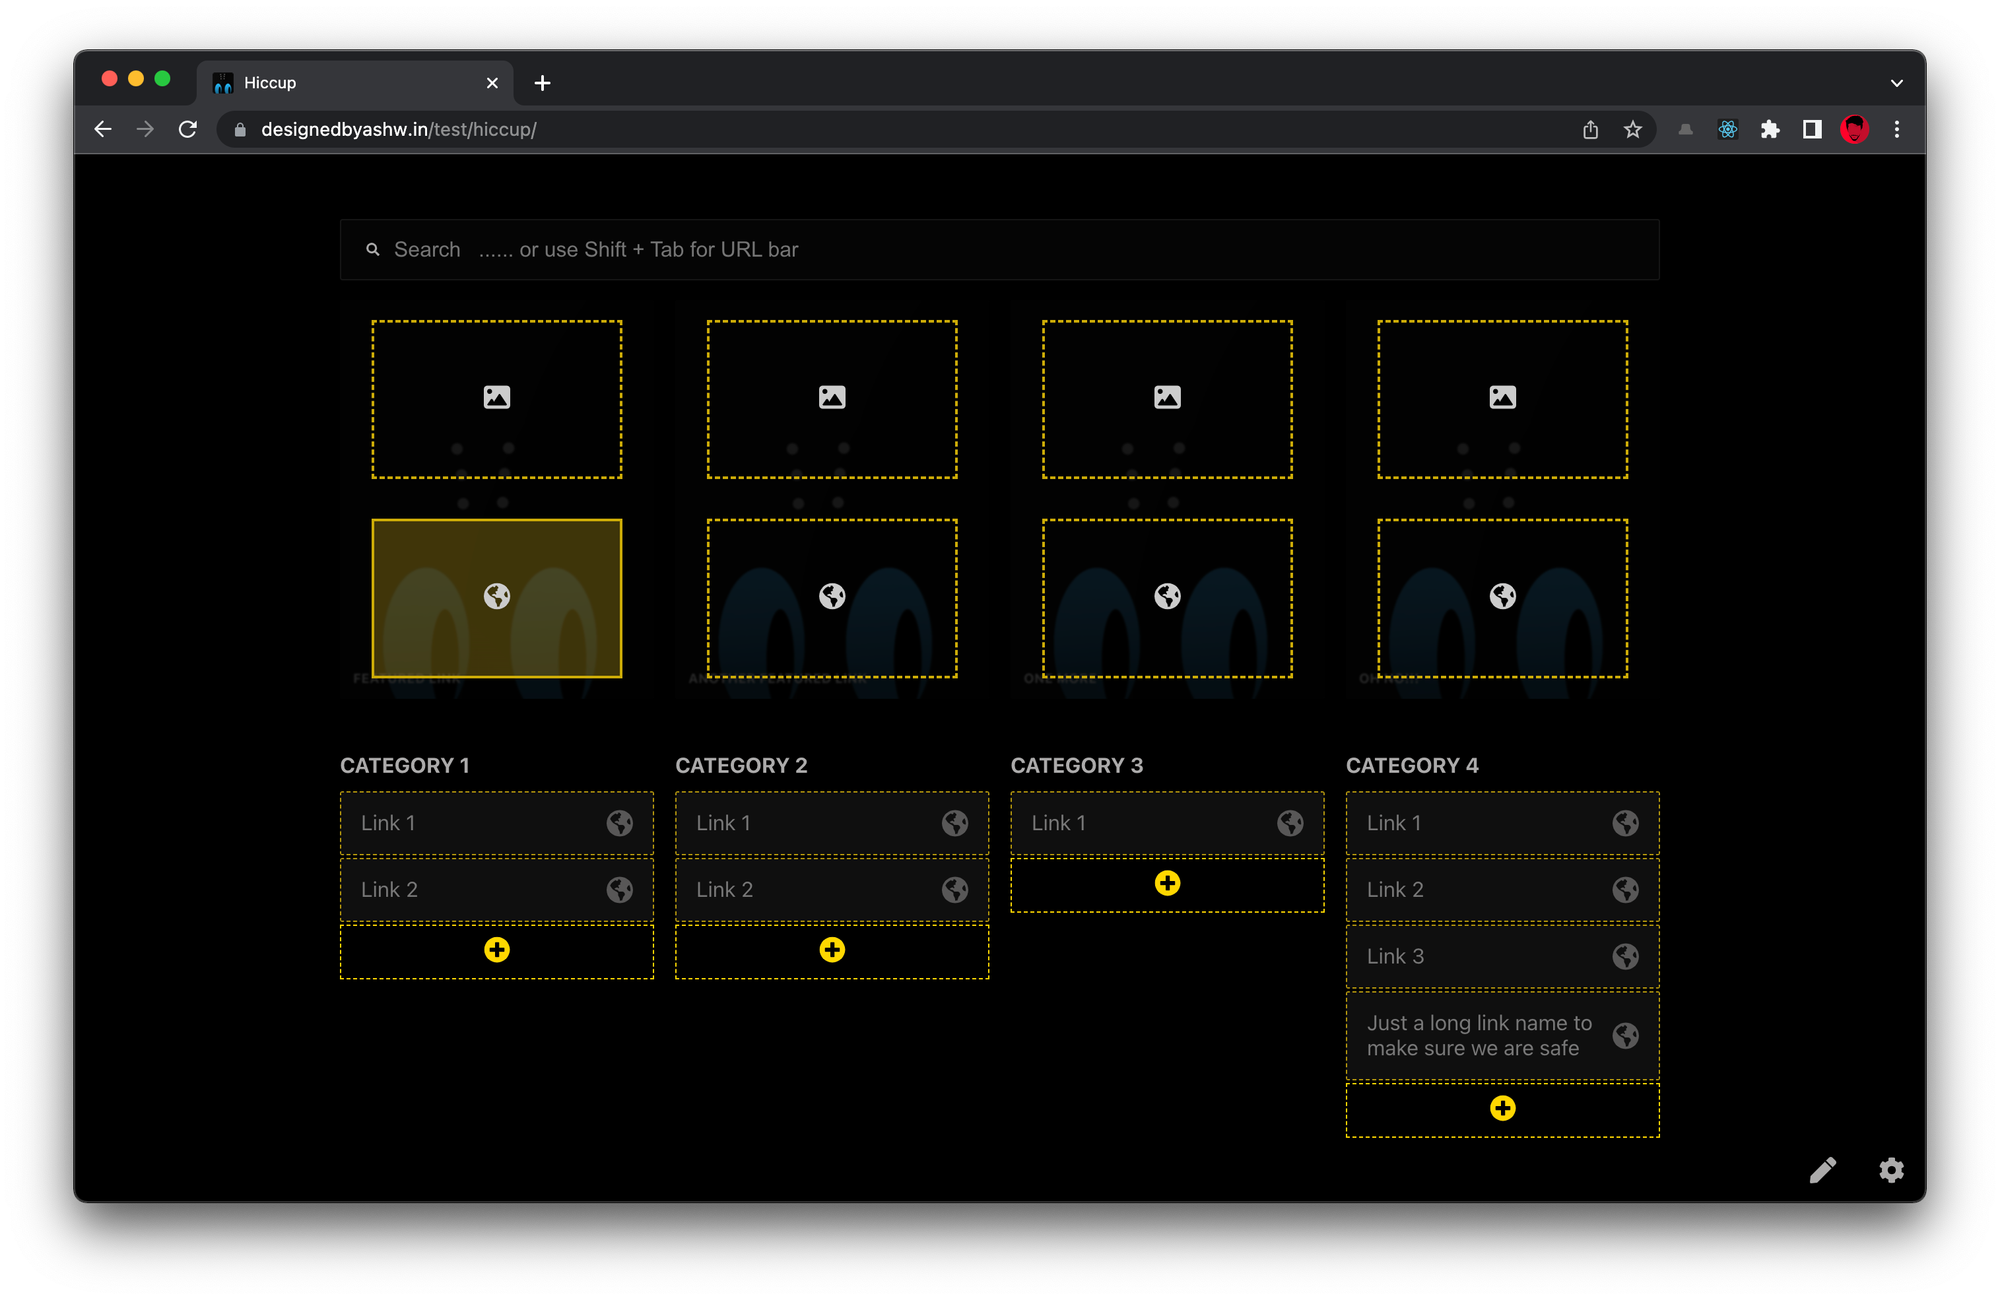
What makes Hiccup unique is its emphasis on simplicity. It’s built to be lightweight and responsive, ensuring it runs smoothly even on resource-constrained hardware like Raspberry Pis.
The setup process is easy, with Docker being the recommended method. On the downside, it’s still relatively new and it lacks some of the advanced features found in more established dashboards like Dashy or Heimdall.
✅ Sleek, responsive design optimized for smooth performance.
✅ Easy categorization and Docker-based installation.
✅ Minimalistic and beginner-friendly.
❌ Lacks advanced features and monitoring tools found in more mature dashboards.
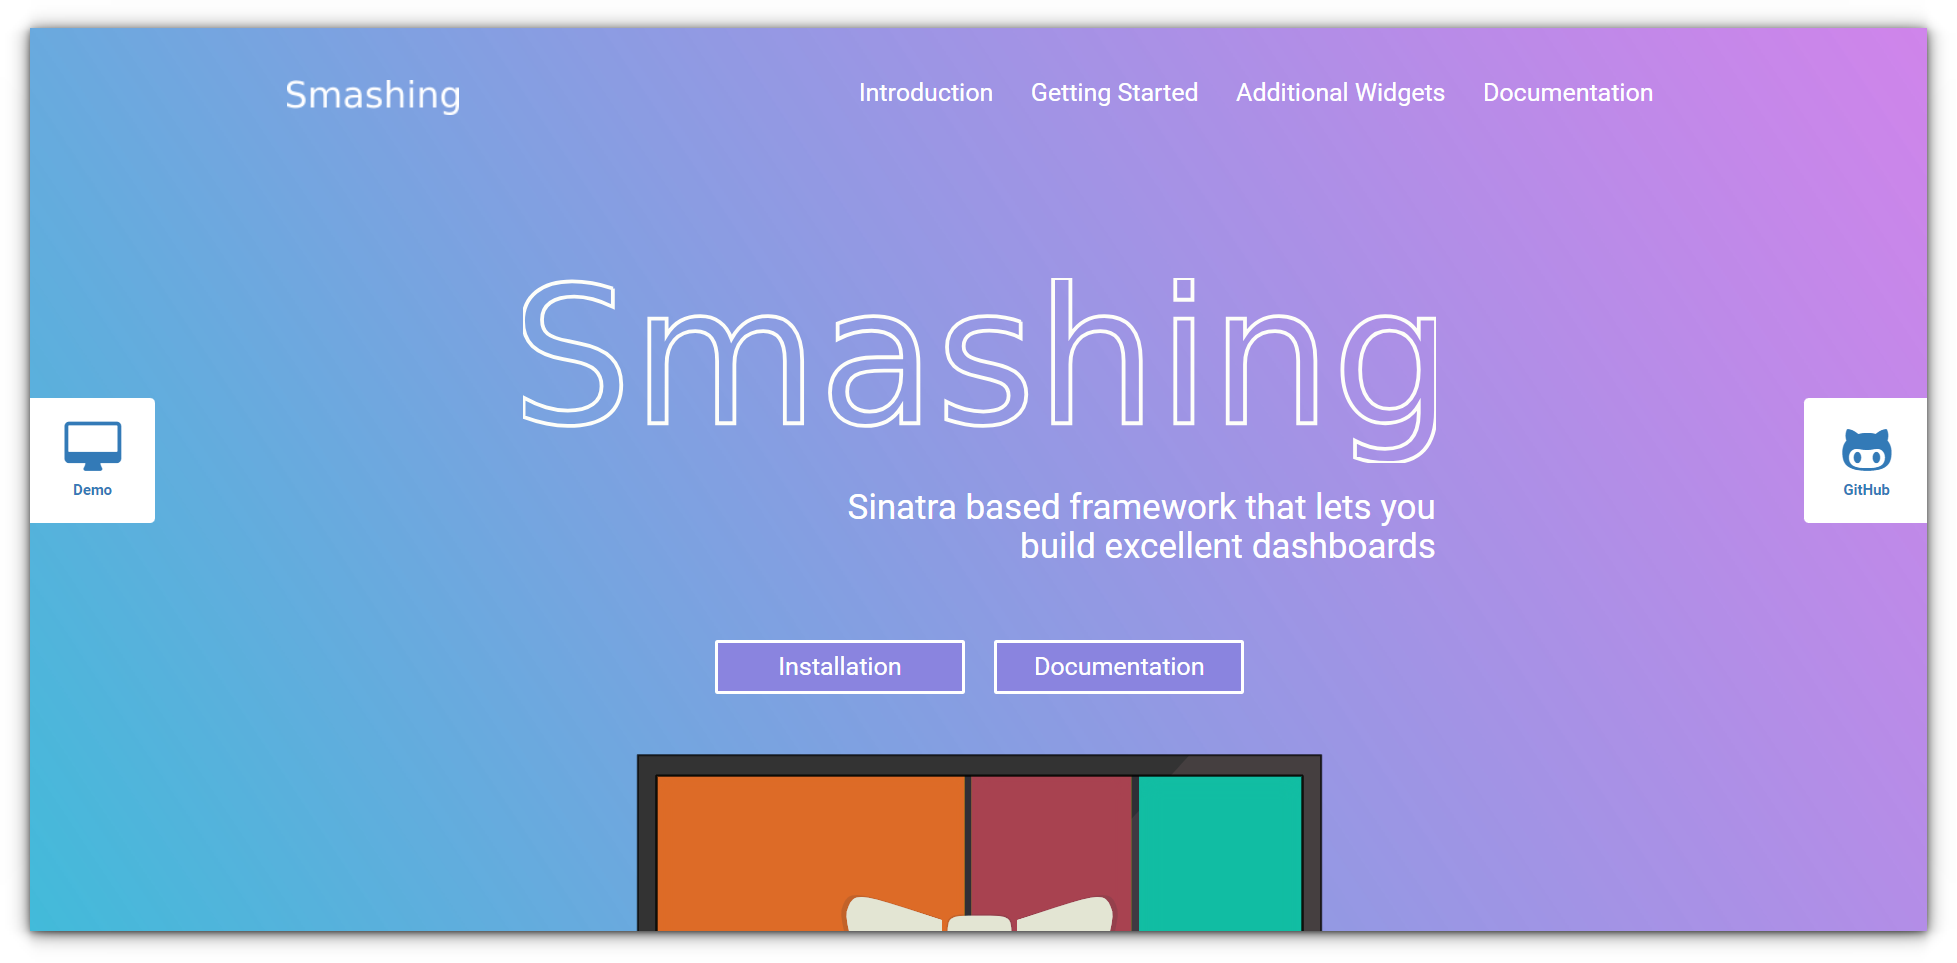
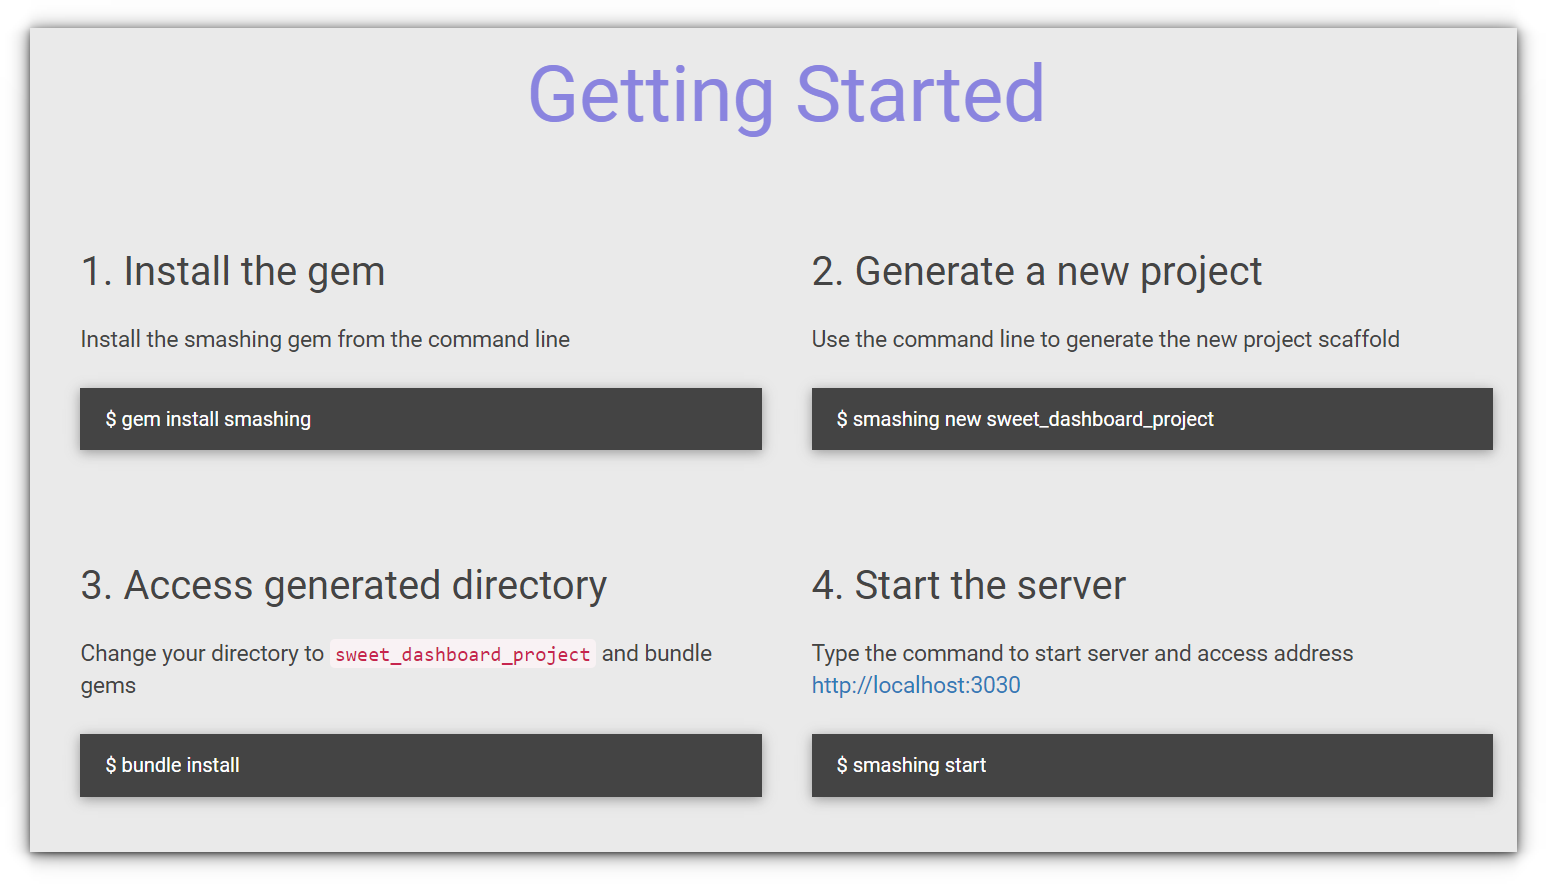
However, it’s not for the faint of heart, Smashing requires some coding skills, as it’s built with Ruby and depends on your ability to configure its widgets.
Installing Smashing involves cloning its repository and setting up a Ruby environment.
While this might sound daunting, the results are worth it if you’re aiming for a highly personalized dashboard.
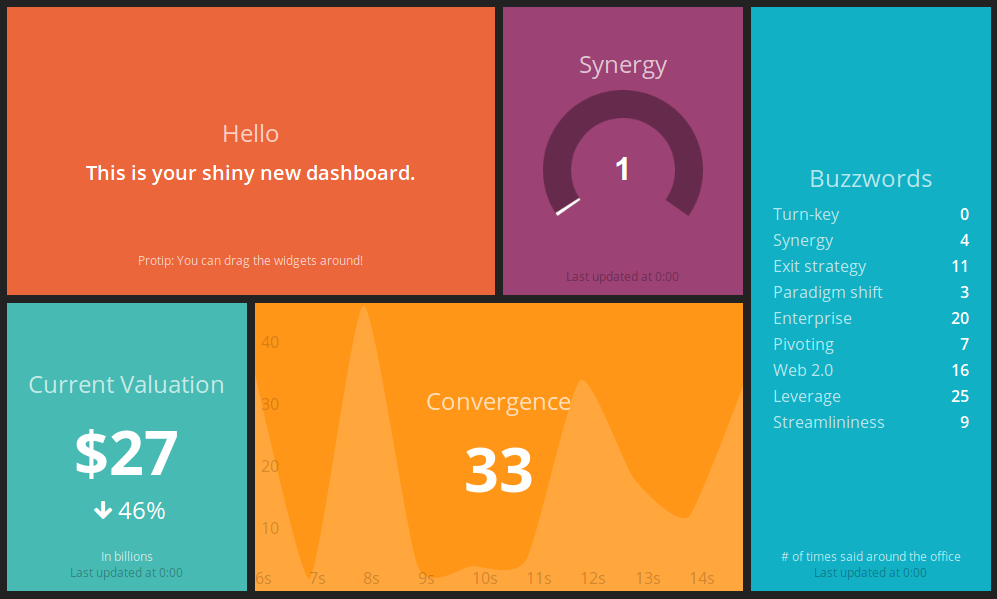
✅ Modular design with support for tracking metrics, weather, and more.
✅ Visually stunning and highly customizable with Ruby-based widgets.
✅ Perfect for users looking for a unique, dynamic dashboard.
❌ Requires coding skills and familiarity with Ruby.
❌ More complex installation process compared to Docker-based solutions.
Dashboards are the heart and soul of a well-organized homelab. From the plug-and-play simplicity of Umbrel to the enterprise-grade capabilities of UCS Server, there’s something here for every setup and skill level.
Personally, I find myself switching between Homer for quick and clean setups and Dashy when I’m in the mood to customize. But that’s just me!
Your perfect dashboard might be completely different, and that’s the beauty of the homelab community.
So, which one will you choose? Or do you have a hidden gem I didn’t mention? Let me know in the comments—I’d love to feature your recommendations in the next round!
I'll share 12 new content, features or changes to It's FOSS platform during the holiday period.
On the first day of Tuxmas, you get holiday themed wallpapers for your Linux desktop.
On the second day of Tuxmas, you can enjoy holiday-themed Linux quizzes and puzzles.
Stay tuned for the rest of Tuxmas days.
❤️
By the way, this is the 52nd newsletter of 2024. One for each week of the year. If you read all the 52 editions this year, you and me both, deserve some sort of award for the consistency 😊
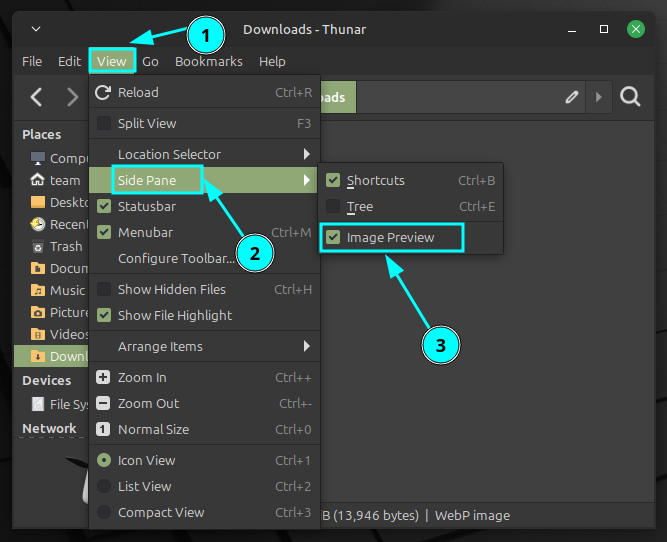
In Thunar file manager, you can enable sidebar image preview. For doing that, click on “View” and then hover over the “Side Pane” option. Here, click on “Image Preview”, and Thunar should start showing image previews.
In some cases, you might have to enable it each time you use Thunar.
🤣 Meme of the Week
Santa got no chill. ☠️
🗓️ Tech Trivia
Charles Babbage, born on December 26, 1791, designed the Analytical Engine, a mechanical computer ahead of its time. He also developed the Difference Engine to automate polynomial calculations. His work laid the foundation for modern computing, influencing future generations.
It has been a while since I switched to Linux as the daily driver over Windows.
Yes, I still have a dual boot system with Windows, coming handy for some games. But, largely, I have been a full-time Linux user for more than half a decade now. And, that says a lot.
Of course, Linux as the preferred desktop operating system was not the best choice always, because of some major annoyances.
Fortunately, that has changed since long, and if you have not tried Linux for a while, you would not know that. So, let me highlight some of those to help you decide if you should give Linux another chance.
✋
I am not saying that Linux is perfect now and the year of desktop Linux has arrived. I am just sharing my opinion and experience on things that have been a major pain point in the distant (and perhaps recent) past but have improved significantly now.
Installation
The major pain point for most Linux distributions was the unintuitive installation.
While it was possible for you to get it working on your system, it was not easy for every user. You needed to know a couple of things in great details before you attempted an installation.
If you ever tried installing Linux around 2010, you would understand this.
Now, that is a thing of the past. The installation process is now streamlined across almost every Linux distribution. I mean, even Arch Linux has an installer now, even if it is command line based. Some Arch-based distributions like EndeavourOS and Garuda Linux can also be installed by users with a tiny bit of Linux knowledge.
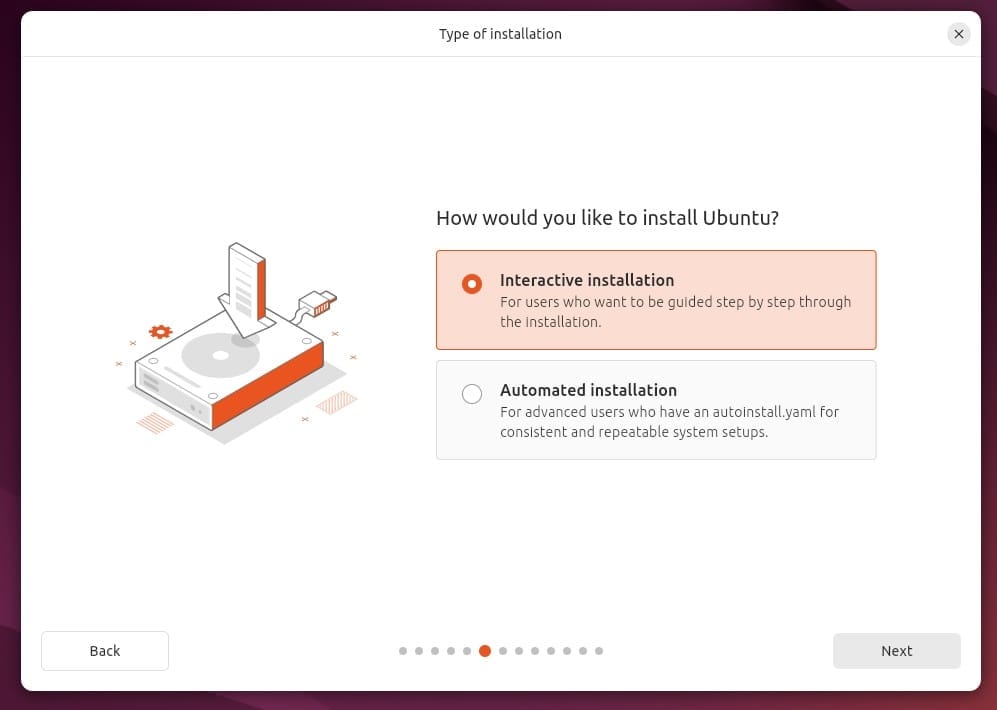
And installing Ubuntu has never been so easy and the installer automatically identifies if Windows is installed, lets you manually partition it, choose encryption and filesystem.
Overall, it is a straightforward, and hassle-free experience nowadays.
Dual Booting
It is also easier to install Linux distributions alongside Windows, as they detect the presence of Windows, and will present the options with the grub bootloader screen once installed.
Ubuntu detects that Windows is installed and offers you to dual boot
That's not it. Several mainstream distributions also support secure boot with UEFI. And I have find Ubuntu installer smart enough to
Like I mentioned, I have a dual boot setup with EndeavourOS, and Windows 10.
Yes, an Arch-based distribution and the notorious Windows together. So, you can easily have Ubuntu-based distributions set up without any help.
The Look & Feel
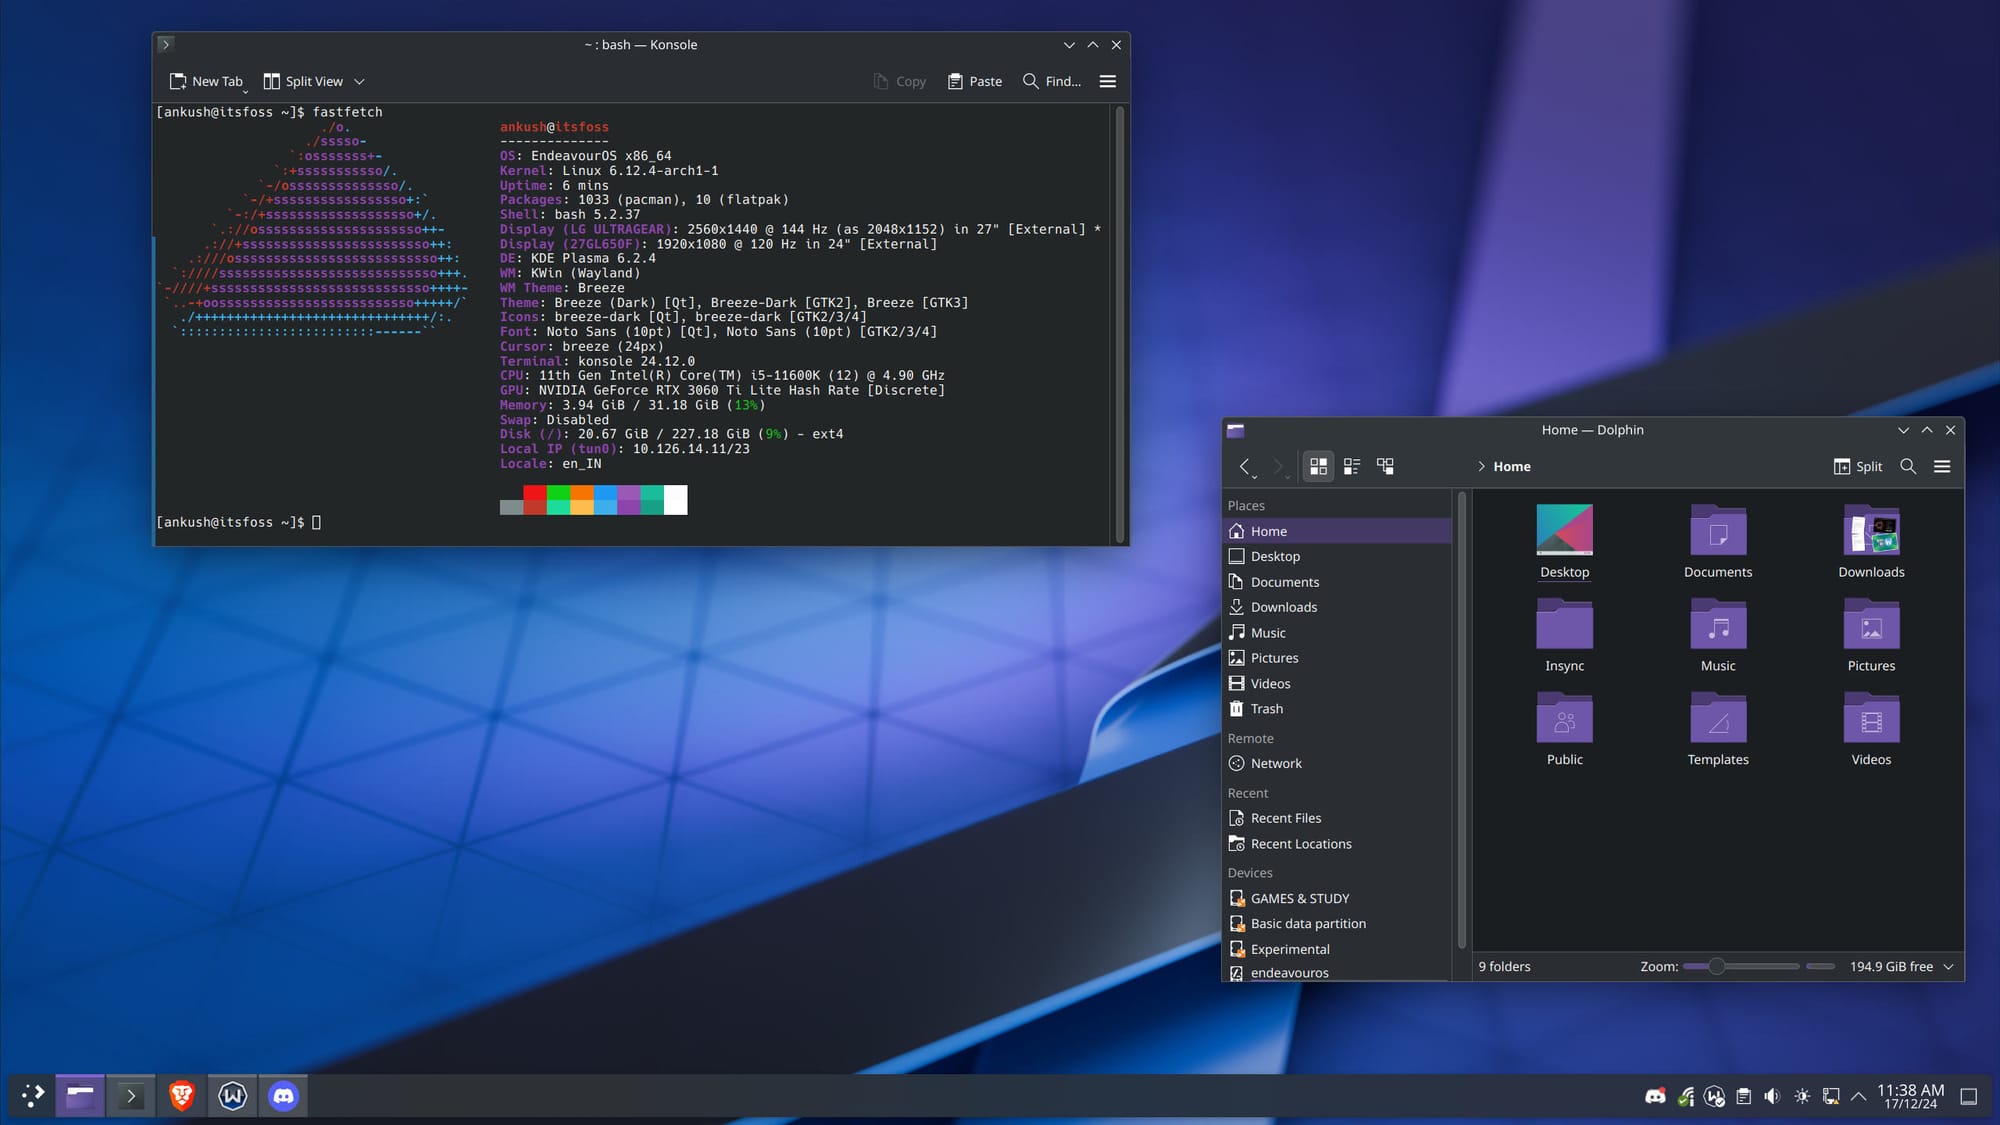
EndeavourOS with KDE Plasma desktop
Considering Linux was always tagged as a thing for "nerds" or "experts", it did not show any potential for its look and feel in the first decade of its existence.
However, the tables have turned now.
Many prefer the look/feel of certain Linux distributions over the likes of Windows and macOS.
There are many more distributions that offer a pretty out-of-the-box experience.
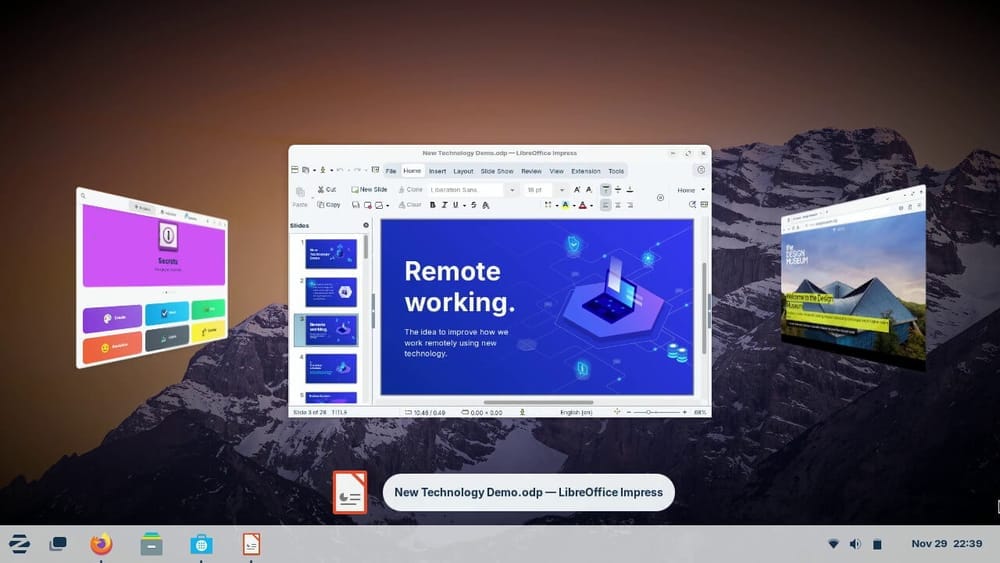
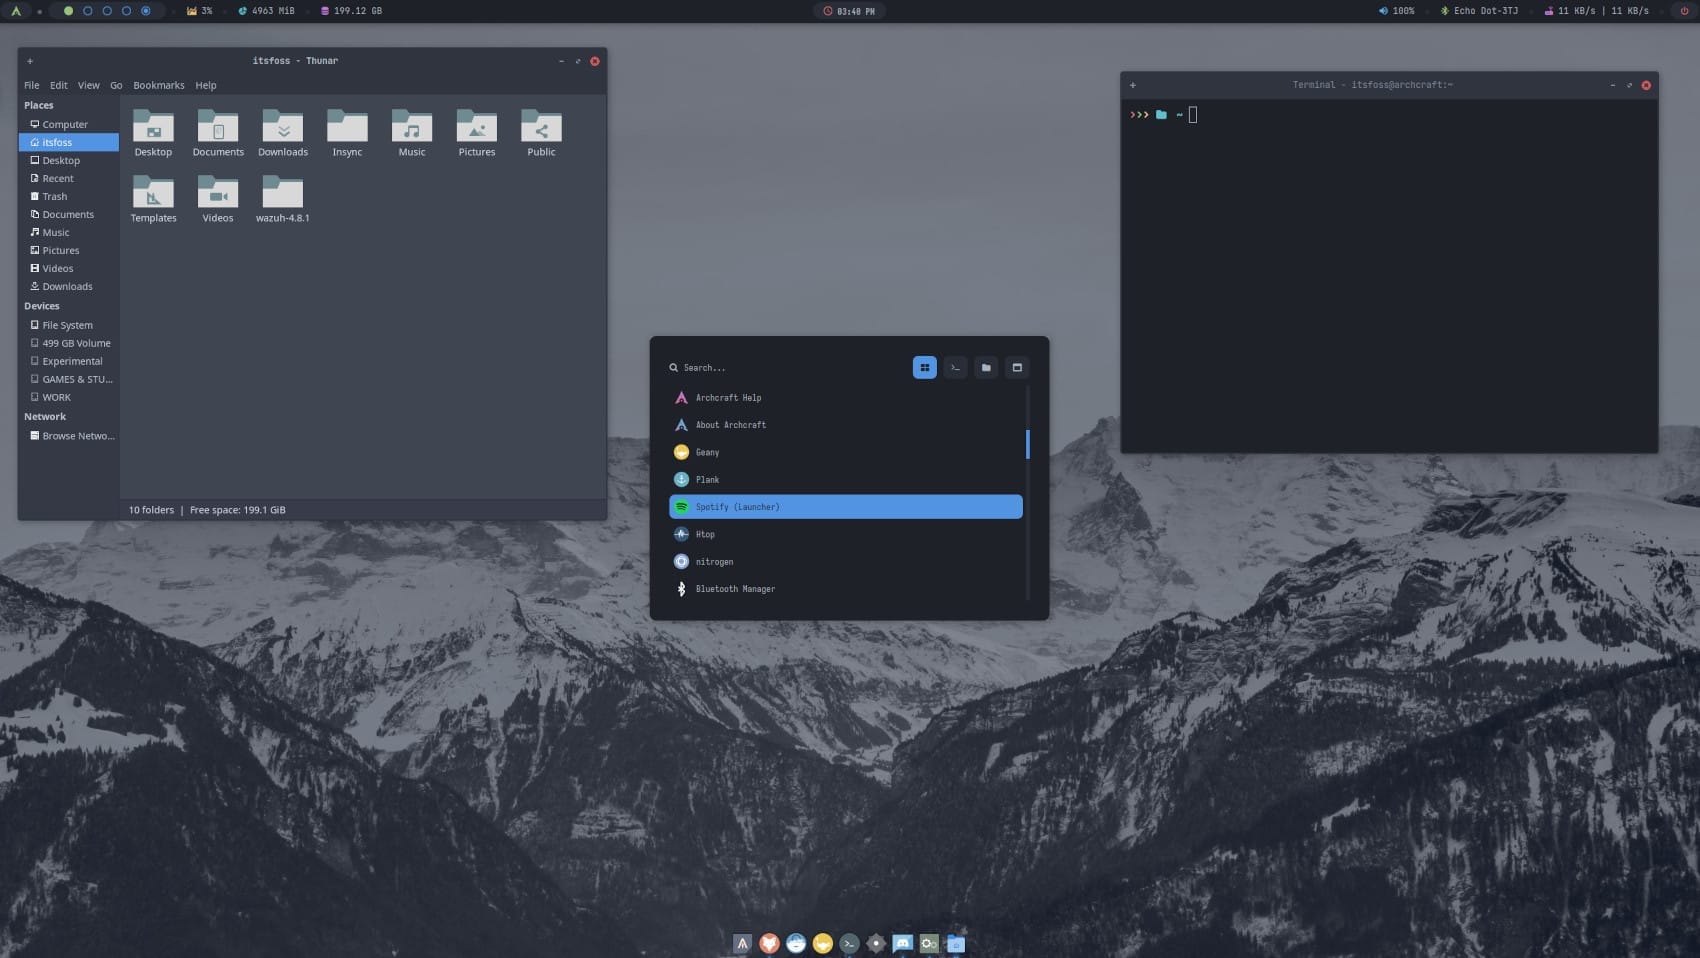
I recently had an impressive experience with Archcraft, and I would seriously not choose a Windows/macOS look over it.
Not to forget, you can go miles ahead if you start customizing the look yourself.
You get a mad amount of customization capabilities with Linux. Of course, you will need to invest a significant time in it (like every good thing), but once you know how to do it, you can put your creativity into it as much as possible.
Virtual Machines
Ubuntu running on VirtualBox (Windows)
If you are not ready to install Linux on bare metal, you can totally try it on as a virtual machine.
Some distributions provide an optimized virtual machine image, and some don't. However, even without a special VM image, you can easily set it up as a virtual machine and play around to experiment and test.
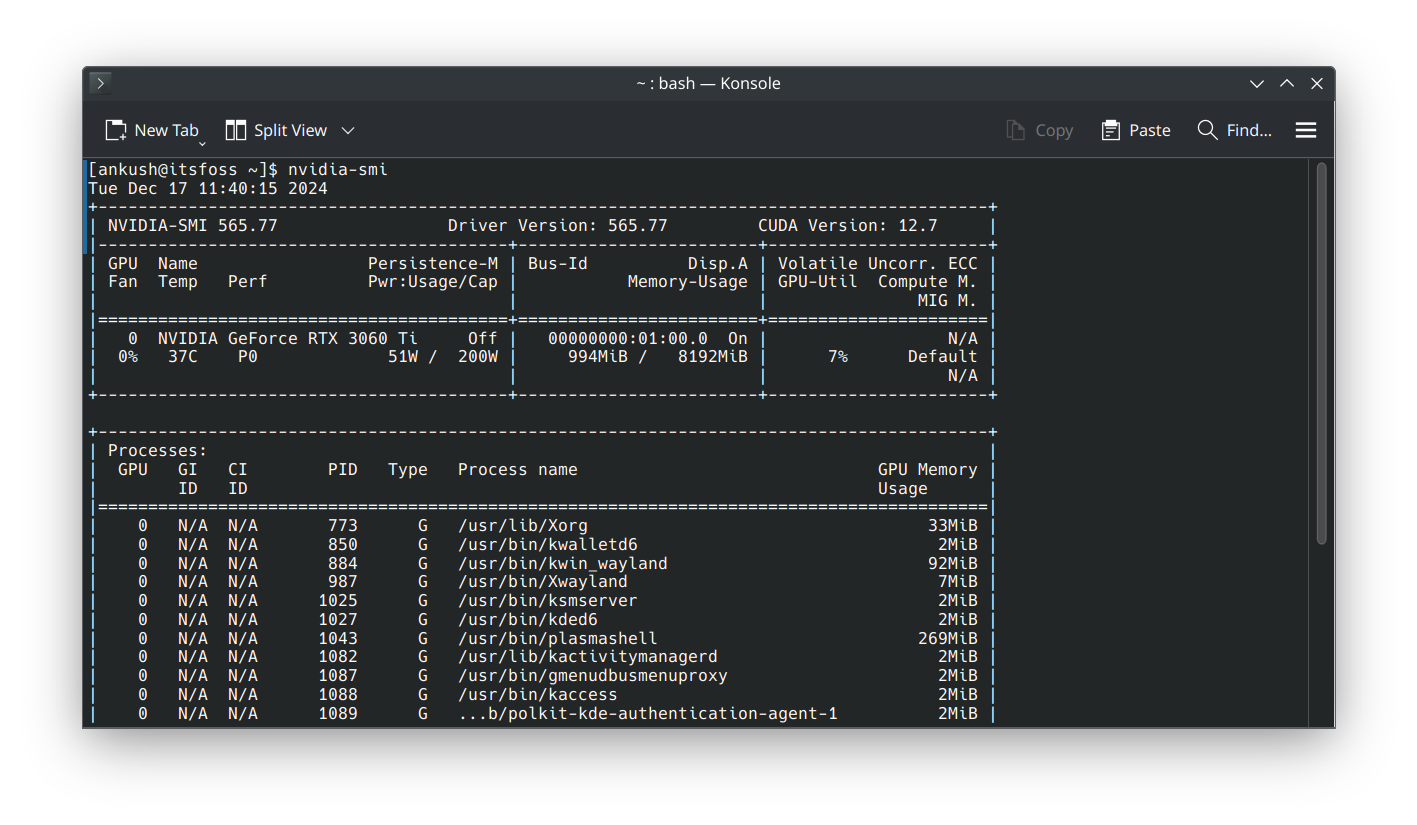
Yes, the NVIDIA graphics card support has always been on the notorious side because they choose not to open source their driver. However, distros now support installations for NVIDIA graphics systems by pre-installing proprietary drivers by default.
While there are still some issues to be ironed out, but it works most of the time.
Want proof? I use EndeavourOS with RTX 3060 Ti as shown in the screenshot above. And, yes, that works for me.
Secure Boot Support
Earlier, we used to entirely disable secure boot because Linux distributions did not boot up with it enabled.
However, that has changed with some options like Ubuntu and openSUSE. You can enable secure boot with these distributions and continue using them as usual.
Yes, it needs a bit of research before you try doing that. So, you can follow Ubuntu's official documentation for reference.
Using Printers
Printers have been considered the enemy of computer users for a long time.
The driver support for printers was always a special annoyance for Linux (and Windows too). Without the correct driver installed, it was always a hassle to successfully connect the printer to your computer.
But, nowadays, it is mostly plug and play. Especially, when plenty of modern printers support wireless (Wi-Fi) options and the ability to connect to it via IP address.
So, theoretically, you should not encounter any issues with it.
Of course, if you have a particularly older printer that has limited compatibility, it might still struggle to connect, but most of the new ones should not have an issue.
HiDPI Support
With advancements in technology, high-resolution displays have become common.
However, to clearly have your desktop visible with such high-res monitors, you need fractional scaling support to make up for a comfortable viewing experience.
Fortunately, now, almost every major distribution like Ubuntu or Linux Mint includes HiDPI or fractional scaling support.
Most of the modern desktop Linux users probably never encountered this. That includes me 😉
But as I have seen in online discussions, more than a decade back, it was not uncommon for alert Linux users to keep tracks of CVEs (Common Vulnerabilities and Exposures), download a kernel patch (piece of Kernel code) and manually install it.
However, with the improvement in distribution development cycles, and features like Ubuntu Livepatch, the manual intervention is almost unnecessary, specially for the desktop users.
Mainstream distributions like Ubuntu, Red Hat, Fedora etc. take care of providing kernel and even security updates for the software distributed through the official repositories.
Of course, some mission-critical use-cases might require the expertise, but for home and desktop users, it is a thing of the past.
Conclusion
Again, I am not saying the Linux experience on desktop has become perfect. There is no perfect operating system, after all. Check the web and forums and you'll find people struggling with Windows and macOS, too.
Things have improved and the people who have been using Linux for the past 15-20 years or so would relate more to this article.
Of course, things do change over time and this should not surprise us. I just wanted to take (some of) you on a trip down the memory lane and remind you of things that used to be part of your Linux experience.
What do you think has been the most annoying thing for Linux in the past? And, what do you think should be fixed in the near future? Let me know your thoughts in the comments!