Selasa, 21 November 2023

8 Open Source Password Managers to Enhance Your Privacy Game

8 Open Source Password Managers to Enhance Your Privacy Game

Password manager is an incredibly helpful utility, and there's no shortage of options when finding one.

Your smartphone manufacturer offers one, the browser offers another, antivirus applications include one, and then there are other third-party offerings. You can choose to use any password manager of your choice as per your convenience.

But, what if you prefer open-source password managers? Should you give them a try over proprietary ones? What are the options you have?

Here, let me highlight all the essentials.

Why Should You Pick an Open-Source Password Manager?

A password manager is a critical utility which stores sensitive data, including:

  • Account credentials
  • Secure notes
  • Recovery codes
  • 2FA tokens (in some cases)

So, it is important to use a password manager offering the best privacy and security.

And, with an open-source option, you get better transparency and more people to work together to keep the password manager secure.

Sure, if you want to contribute, review, and improve the password manager, you need a bit of technical skills. But, even if you do not have the time to do anything, the community of users and other developers will try to verify the claims by the company.

That is the advantage you get with an open-source password manager.

With a proprietary solution, you will have to trust the company, and will have no other way to verify the claims from your side.

Considering the benefits of choosing an open-source tool for security, I have picked some of the most loved password managers for all kinds of users.
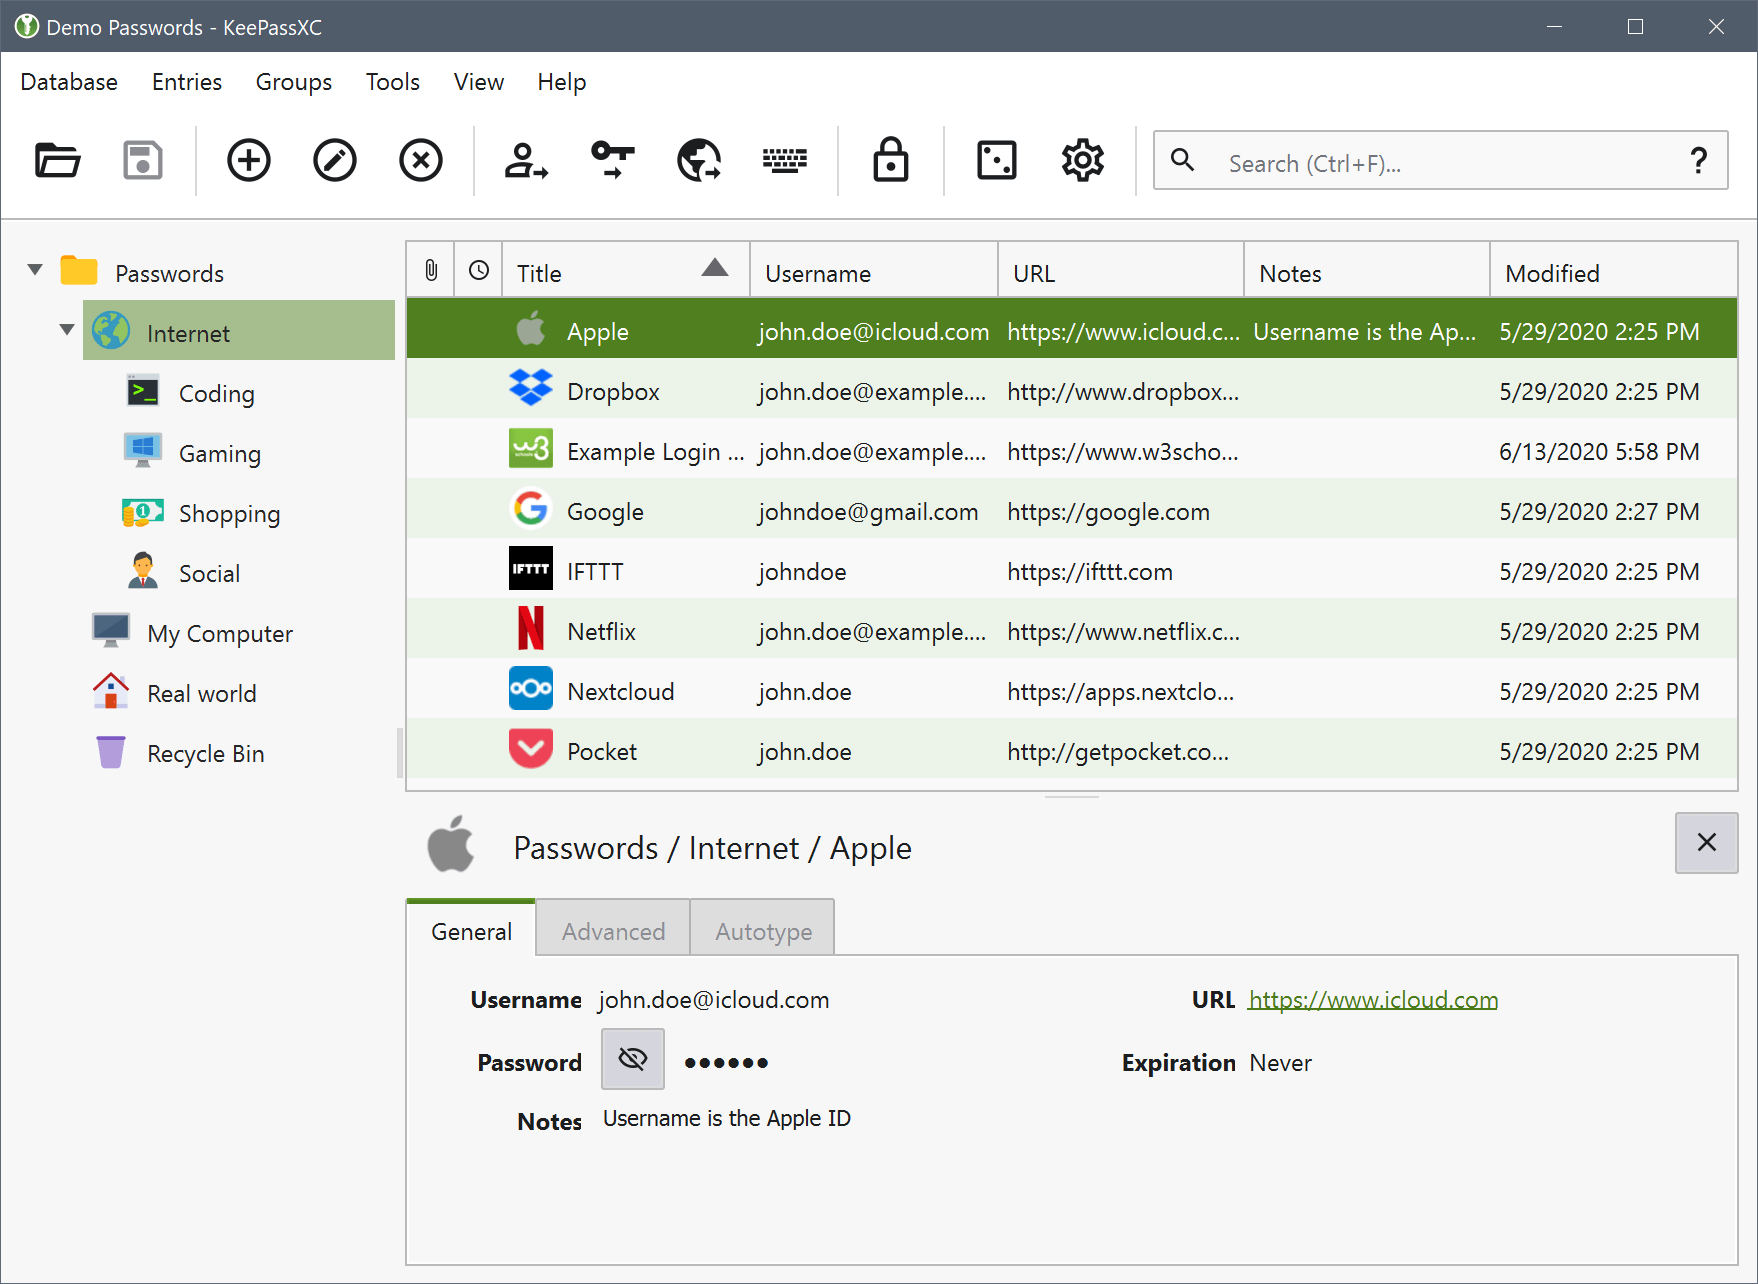
1. KeePass

8 Open Source Password Managers to Enhance Your Privacy Game

KeePass is an impressive open-source password manager for Windows users. You can try running the Windows app on Linux using Wine.

It is a local-only password manager where you store all your passwords in one database. The database is encrypted and protected with a master key that you set (do not forget it).

Of course, you can decide to sync the database file on any cloud storage of your choice (only if you require it). Otherwise, it is more secure to have your data on your system than on the cloud.

You can pick to install KeePass or use the portable version through a USB stick. It features many useful functionalities like adding attachments, sorting, the ability to import and export, and many more.

Highlights:

  • Local-only
  • Portable version available
  • Import/export supported
  • Password organization through groups/sorting
  • Plugins to enhance feature set

2. Bitwarden

8 Open Source Password Managers to Enhance Your Privacy Game

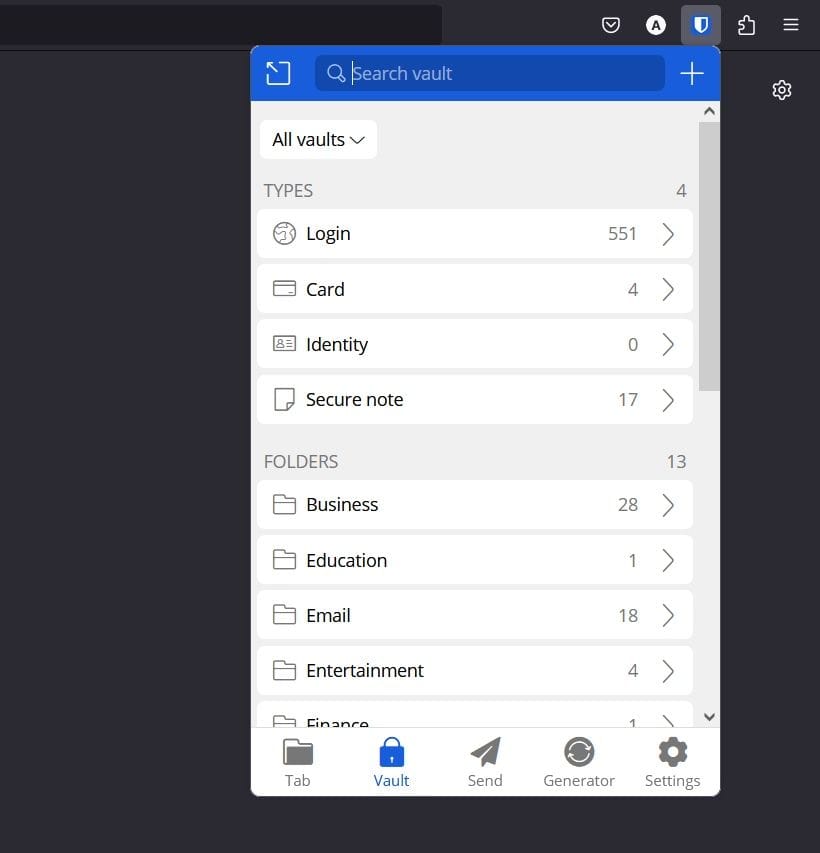
Bitwarden is a flexible password manager available cross-platform, including desktop apps and browser extensions. Unlike KeePass, it relies on the cloud to encrypt and store passwords, which makes it convenient to sync data between various devices.

It packs in every essential feature you might need with a password manager, and all of it for an affordable subscription plan for personal users.

You get a simpler user interface with a plethora of features to utilize.

Highlights:

  • Browser extensions and desktop apps
  • Mobile apps
  • Self-host or Cloud-based
  • CLI access
  • Emergency access for premium users
  • Affordable pricing
  • Import/Export support
  • Bitwarden Send to securely share text/notes

3. Proton Pass

8 Open Source Password Managers to Enhance Your Privacy Game

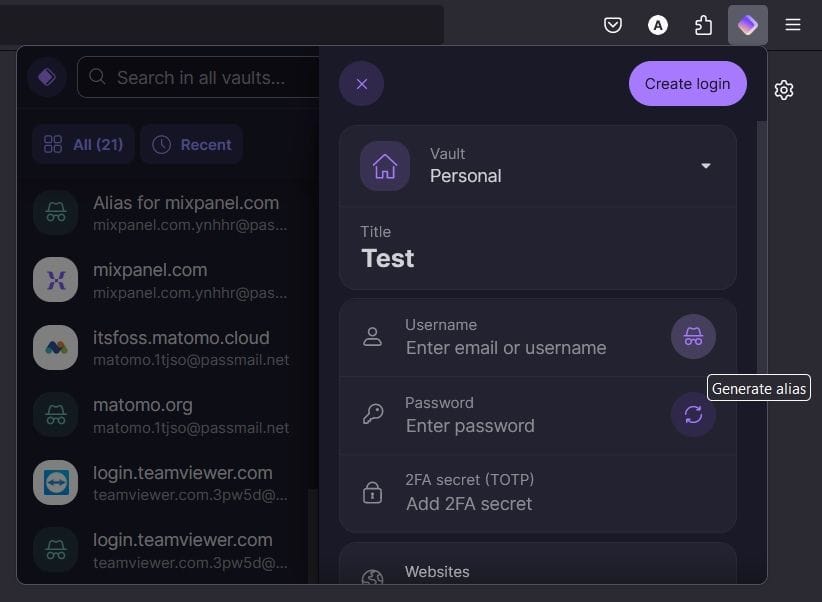
Proton Pass is one of the excellent offerings by the privacy-focused company Proton.

If you are fond of using Proton Mail, Proton VPN, and want to use services from a single company that you trust, Proton Pass should be a convenient option.

You can install the browser extensions to start using Proton Pass. At the time of writing this, it does not support any desktop apps.

In addition to all the essential features, you get the ability to use email aliases from within the password manager. Proton Pass sounds like a versatile open-source privacy tool. We also have an in-depth comparison between Proton Pass and Bitwarden.

Highlights:

  • Browser extensions available
  • Cloud-based
  • Mobile apps
  • Convenient option as part of Proton's family of tools
  • Email aliases
  • Import/Export support

Suggested Read 📖

Bitwarden vs. Proton Pass: What’s The Best Password Manager?
What is your favorite open-source password manager?
8 Open Source Password Managers to Enhance Your Privacy Game

4. KeePassXC

8 Open Source Password Managers to Enhance Your Privacy Game

If you like what KeePass has to offer, and require native Linux support, KeePassXC is a good pick.

You get cross-platform support and browser extension support without relying on a plugin.

Overall, KeePassXC can be a modernized alternative to the original KeePass, with some refinements to the user experience.

Highlights:

  • Offline-only
  • A modern alternative to KeePass
  • Native Linux and macOS support
  • Import/Export support

5. Passbolt

Passbolt is an open-source password manager for business users (or teams).

Unlike other options, it is not fit for personal use. You can choose to self-host it, or opt for its cloud hosted version, with a subscription that suits your requirements.

While it offers the essentials with its community edition, you unlock more features with its subscription plans.

Highlights:

  • Tailored for businesses and teams
  • Self-host or Cloud-based
  • CLI access

6. Buttercup

8 Open Source Password Managers to Enhance Your Privacy Game

Buttercup is another local-first password manager available for macOS, Linux, and Windows.

If you do not want cloud syncing but looking for a different user experience to KeePass, Buttercup is a nice alternative.

It is a minimal open-source password manager with cross-platform support, and mobile apps.

Highlights:

  • Offline-only
  • Easy to use
  • Cross-platform
  • Modern and minimal user interface
  • Extension support

7. KWalletManager

8 Open Source Password Managers to Enhance Your Privacy Game

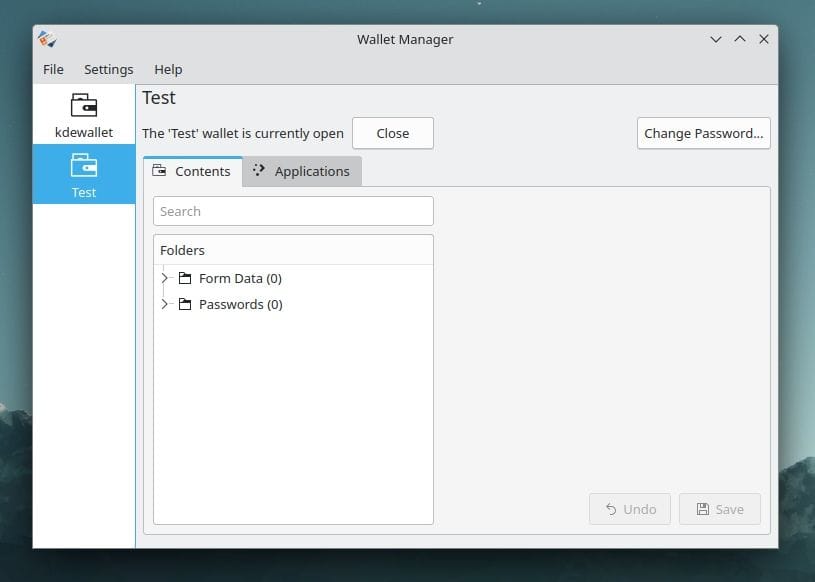
KWalletManager is a Linux-specific password manager that encrypts and stores all your credentials.

While it works on any desktop environment, it should integrate well with other applications better with a KDE-powered Linux distribution on your system.

If you were looking for a tool to integrate with applications, save/autofill passwords from within the Linux system, KWalletManager is an impressive pick. In some cases, it will be pre-installed with the Linux distribution. You would have to disable the KDE wallet if you do not need it.

Highlights:

  • Offline-only
  • Simple and easy to use
  • Tailored for Linux

8. Passwords and Secrets (a.k.a. Seahorse by GNOME)

8 Open Source Password Managers to Enhance Your Privacy Game

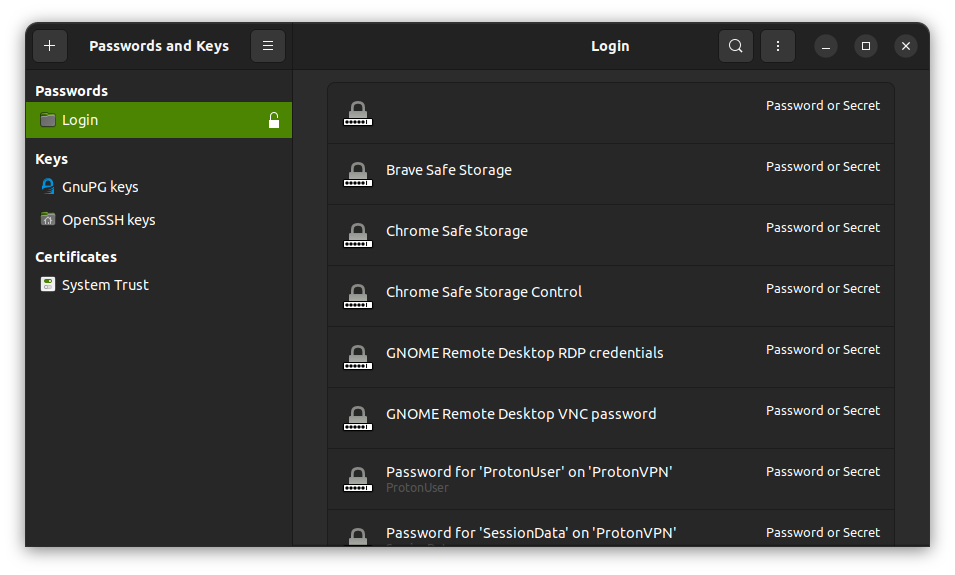
Seahorse is a utility developed by GNOME to store passwords and manage encryption keys. Similar to KWallet, it is a Linux-specific application which comes pre-installed with Ubuntu and some other distributions.

It is not your traditional password manager but more, and all of that in a simple user interface.

Highlights:

  • Offline-only
  • Tailored for Linux
  • Manager encryption keys and passwords

Wrapping Up

No matter the pick, you get all the essentials in every password manager. So, you need to focus on the specifics like the ability to self-host, emergency sharing access, and feature-set for the pricing plan to decide.

Proton Pass should be a good browser-focused password manager, while KeePass and its modern fork are perfect offline utilities. Bitwarden is an all-in-one solution. Finally, Buttercup and Passbolt are unique choices for users who want a minimal experience or features for collaboration.


from It's FOSS https://ift.tt/Jjz3upL
via IFTTT

Minggu, 19 November 2023

What is Super Key in Linux?

What is Super Key in Linux?

While reading Linux tutorials on the internet, you'd come across the term 'super key' and if you are a beginner to Linux, it may confuse you.

In simplest terms, if your computer came pre-installed with Windows, then the Windows key (with the Windows logo) is your super key.

Whereas if you have an Apple computer, you have to press the command key with the ⌘ symbol as your super key.

What is Super Key in Linux?
That's your super key (or meta key)

Pretty simple. Right?

But what was the reason behind naming it super key? I mean there has to be some interesting story behind it.

So let's press the super key all together to uncover more details.

The idea behind the super key

It was introduced in The "space-cadet" keyboard, designed in 1978 at MIT for the Lips machine, and mainly introduced to emulate the meta key.

The meta key was a crucial part of the Emacs editor but the modern keyboards of that time did not ship with a physical meta key and it was often emulated using different key bindings.

The introduction of a super key solved this issue by giving a physical super key.

Fast-forward to 1994 when the Windows key appeared for the first time on the Microsoft Natural keyboard which was used to quickly open the start menu and from 1996, it became common practice to map the meta key on the Windows key.

Common use cases of the super key

When you press the super key on the Ubuntu desktop, it displays the activities overview, which gives you a peek into what is going on in every window:

What is Super Key in Linux?
Get activities overview in Ubuntu by pressing the super key

But you can do a lot more than just have a glimpse of ongoing activities.

For example, you can press Super and Tab together to bring the application switcher and switch between running apps.

What is Super Key in Linux?

Here are some shortcuts that utilize the Super key (tested in Ubuntu 23.10):

📋
If you are using a distro based on Ubuntu, then some shortcuts may not work as described as the distro maintained may have allocated that shortcut for a different task.
Shortcut Description
Super Open Activities Overview
Super + Tab Switch between open applications
Super + D Show desktop (minimize all windows)
Super + A Open Applications menu
Super + S Show quick settings
Super + Left Arrow Snap the active window to the left half of the screen
Super + Right Arrow Snap the active window to the right half of the screen
Super + Up Arrow Maximize active window
Super + Down Arrow Minimize active window
Super + L Lock screen

Pretty handy. Right?

Improve productivity with shortcuts

New to Ubuntu? Here are some helpful shortcuts for Ubuntu users:

13 Keyboard Shortcuts Every Ubuntu User Should Know
Knowing keyboard shortcuts increase your productivity. Here are some useful Ubuntu shortcut keys that will help you use Ubuntu like a pro.
What is Super Key in Linux?

If you are getting started with a terminal, I'd recommend you learn basic terminal shortcuts for Linux terminals:

21 Useful Linux Terminal Shortcuts Pro Users Love
Become more efficient in the Linux terminal by mastering these super useful keyboard shortcuts.
What is Super Key in Linux?

I hope that it was a superbly informative super article ;)


from It's FOSS https://ift.tt/zB9Jmbv
via IFTTT

Sabtu, 18 November 2023

LibreOffice Alternatives for Linux

LibreOffice Alternatives for Linux

LibreOffice is a fantastic open-source document suite. It comes pre-installed on many Linux distributions and should suffice for most users.

However, some may not like its user interface and feature set. Some users may want to try other options to see if they offer better Microsoft Office document compatibility.

Whatever the reason, the good news is that we have a couple of good LibreOffice alternatives that you can explore.

Non-FOSS Warning! Some of the applications mentioned here are not open source. They have been included in the context of Linux usage.

1. ONLYOFFICE

ONLYOFFICE is an impressive document suite with various editions catering to all kinds of users.

It is popular for offering better compatibility with Microsoft Office documents when compared to other document programs. The feature set may not be as big as LibreOffice, but in terms of its user experience and compatibility, it can be the better option.

You can use its desktop editors for free on Linux and other platforms. You can also choose to self-host the community edition and utilize it as an online editor. However, it does come with a restriction for simultaneous connections/users.

Considering you can find the source code on GitHub, it acts as a source-available solution, if not entirely FOSS for personal use.

Highlights:

  • Modern User Experience
  • Better Microsoft Office Compatibility
  • Online Editor (self-host or enterprise options)
  • Cross-platform

2. Apache OpenOffice

LibreOffice Alternatives for Linux

Apache OpenOffice is what LibreOffice was forked from.

Sure, OpenOffice is not as feature-rich as LibreOffice. However, for users looking for an older/familiar user interface, and a more stable experience for basic requirements, OpenOffice is a good pick.

OpenOffice is not as actively maintained as LibreOffice, but you can expect releases yearly/bi-annually. Not to forget, you can easily install Apache OpenOffice as well.

We have a detailed comparison between LibreOffice and OpenOffice document suites to help you decide.

LibreOffice vs OpenOffice: What’s the Difference?
A comparison of two of the most popular open source office software. Learn the similarities and differences between LibreOffice and OpenOffice.
LibreOffice Alternatives for Linux

Highlights:

  • Old-school user interface
  • It can prove to be more stable for certain users
  • Cross-platform

3. CryptPad

LibreOffice Alternatives for Linux

CryptPad is an online-only open-source collaboration suite that can act as an alternative to LibreOffice for basic needs. They are also improving on supporting documents/presentations like Google Docs.

You can add rich text documents, spreadsheets, and more with CryptPad. However, they are working on supporting more full-fledged documents like Google Docs at the time of writing this. When you read this or give it a try, it could have improved already.

If you require an end-to-end document suite with not-so-fancy features, CryptPad can be an excellent pick.

You can use the official hosted instance, public instances, or self-host it.

Highlights:

  • End-to-end encryption
  • Real-time collaboration
  • Secure cloud storage (optional)
  • Self-host or hosted

4. SoftMaker FreeOffice (Non FOSS)

LibreOffice Alternatives for Linux

SoftMaker's FreeOffice is a proprietary document suite available for Linux and other platforms.

It is known for its Microsoft Office-like user interface and good compatibility with Microsoft Office files.

Unlike OpenOffice, SoftMaker's Free Office edition gets more updates and can be a good choice when compared to LibreOffice. If you like its free offering and want professional support and unlock more features, you can opt for its premium edition.

Refer to our in-depth comparison between LibreOffice and FreeOffice for more insights:

LibreOffice vs FreeOffice: Comparing Popular Office Suites
LibreOffice and FreeOffice are two popular choices when it comes to a free alternative to Microsoft Office. Here’s how these two office suites are similar and different.
LibreOffice Alternatives for Linux

Highlights:

  • Microsoft Office-like UI
  • Good Microsoft Office file format compatibility
  • Optional premium with more features and professional support
  • Cross-platform

5. WPS Office (Non FOSS)

LibreOffice Alternatives for Linux

WPS Office is a popular name for Windows users that is also available for Linux.

It is a proprietary program with sleek mobile apps available for both Android and iOS. Some may not prefer it because its developer being a Chinese software company, but it offers a nice user interface and good Microsoft Office compatibility.

You can consider it as the "Deepin" of document suites, which is one of the most beautiful Linux distributions out there. It offers a pretty user experience and is free to use.

As a free option, its convenient availability across platforms makes it an interesting choice over LibreOffice.

To unlock PDF editing features, cloud storage, professional support, and get rid of advertisements, you can opt for its PRO version.

Highlights

  • Beautiful user interface
  • Mobile app support
  • Good Microsoft Office file format compatibility
  • Optional pro version with more features
  • Cross-platform

6. Calligra

LibreOffice Alternatives for Linux

Calligra is an office suite by KDE. It may not be as feature-rich as LibreOffice, but it is a simpler alternative.

Whether you use a KDE-based distro or not, it should work fine on your Linux distribution. I tested it on my Fedora system for the screenshot above.

You will find all the programs (like Calligra Words and Calligra Sheets) in the default repositories on most Linux distributions. It also includes programs like Calligra Plan for project management and Stage for presentations.

While it may not have big releases frequently, it is actively maintained by a few contributors, as per its GitLab page. If you like the project, you might want to help them in any way.

Highlights:

  • Simple to use
  • Something different from the usual
  • Supports Microsoft Office file formats
  • Linux-only

Wrapping Up

Even though none of the options could entirely replace LibreOffice, they bring in various benefits over LibreOffice.

Some can give you a better or simpler user experience, while others can work nicer with Microsoft Office file formats.

I leave it up to you to try the options that you like and see if it fits your need.

💬 What would you pick as a LibreOffice alternative? Let me know your thoughts in the comments.


from It's FOSS https://ift.tt/GiW1dOy
via IFTTT

Jumat, 17 November 2023

Enabling Bluetooth on Arch Linux

Enabling Bluetooth on Arch Linux

So, I installed Arch Linux quite easily thanks to the archinstall script.

After I started using it and exploring it, I tried using my Bluetooth headphones only to notice that the Bluetooth was not working.

I could see the Bluetooth option but I just could not enable it. Clicking the toggle button kept on switching back to disabled.

0:00
/0:05

Bluetooth turn on button not working

Here's what I did and what worked for me.

Ensure that Bluetooth service is running

If the service is not running, Bluetooth won't be turned on and you won't be able to connect to it.

Check the status of the Bluetooth service and see if it is running or not.

systemctl status bluetooth

It gave me the following output:

[abhishek@itsfoss ~]$ systemctl status bluetooth
○ bluetooth.service - Bluetooth service
     Loaded: loaded (/usr/lib/systemd/system/bluetooth.service; disabled; preset: disabled)
     Active: inactive (dead)
       Docs: man:bluetoothd(8)

As you can see, the bluetooth service is inactive. It is not running. And the state is disabled.

It means that Bluetooth daemon is not running at present and it is also not set to start automatically on each boot.

That made things easier for me. I have identified the root cause in the first attempt. That doesn't happen frequently with Arch Linux.

Start the Bluetooth daemon with:

sudo systemctl start bluetooth

Make the Bluetooth service run automatically when the system starts:

systemctl enable bluetooth

It should show the following output:

[abhishek@itsfoss ~]$ systemctl enable bluetooth
Created symlink /etc/systemd/system/dbus-org.bluez.service → /usr/lib/systemd/system/bluetooth.service.
Created symlink /etc/systemd/system/bluetooth.target.wants/bluetooth.service → /usr/lib/systemd/system/bluetooth.service.

Now, the Bluetooth was enabled and it was evident in the system settings:

Enabling Bluetooth on Arch Linux

Tip on connecting to a Bluetooth device

You probably already that you should put your Bluetooth device in pairing mode first. That's critical.

Afterward, you can try toggling the Bluetooth button off and on again so that it searches for available devices.

If it immediately doesn't show, you may click on some other system settings and come back to Bluetooth again. It worked for me several times in the past, don't ask why.

Other troubleshooting tips

Here are a few more tips on fixing the Bluetooth connection issue in Arch Linux:

Ensure no blockage

Ensure that Bluetooth is not being blocked:

rfkill list

Check the output:

[abhishek@itsfoss ~]$ rfkill list
0: hci0: Bluetooth
        Soft blocked: no
        Hard blocked: no
1: phy0: Wireless LAN
        Soft blocked: no
        Hard blocked: no

If you see Bluetooth being blocked, unblock it with:

rfkill unblock bluetooth

Pipewire vs Pulseaudio

In some cases, Pipewire and Pulseaudio can spoil the game if you experimented with them in the past.

If you are using Pipewire, ensure that you have pipewire-pulse installed:

 sudo pacman -Syu pipewire-pulse

If you are using Pulseaudio, bluez and pulseaudio-bluetooth could help you.

Check out the Arch Wiki page for more information.

Bluetooth headset - ArchWiki
Enabling Bluetooth on Arch Linux

Did it work for you?

Hardware compatibility issue is a problem with any operating system and Linux is no exception.

Another thing is that there is no single solution. Your system may have a different problem than mine, and the suggestions mentioned here may or may not work for you.

The magnificent Arch Wiki has a lot more suggestions than what I can offer. Do go through it if you still have not managed to fix your Bluetooth problem.

Bluetooth - ArchWiki
Enabling Bluetooth on Arch Linux

Over to you now. Did it work for you? If yes, which method was it? If not, what kind of problem are you facing and what troubleshooting methods have you tried so far?


from It's FOSS https://ift.tt/Jm2gTEy
via IFTTT

Kamis, 16 November 2023

Mastering Joplin Notes: 8 Tips and Tweaks

Mastering Joplin Notes: 8 Tips and Tweaks

There are a wide variety of note-taking applications available for Linux.

Most of them are basic Markdown-based applications and may not offer end-to-end encryption.

If you want a secure and feature-rich note-taking app, Joplin can help.

You get abilities like:

  • Writing in Markdown
  • Creating to-do lists
  • Encrypting notes
  • Creating notebooks and organizing notes
  • Saving web pages
  • Syncing the notes to your preferred cloud services

However, with the feature-set, for some users, it could be an overwhelming option.

Here, I shall highlight some pointers to make the most out of Joplin Notes easily.

Installing Joplin

Joplin is currently available as an AppImage. You can either install it by downloading the AppImage and running it or via the terminal using the command below (install and configure icons for system menu):

wget -O - https://raw.githubusercontent.com/laurent22/joplin/dev/Joplin_install_and_update.sh | bash

Once done, you can get started with Joplin.

8 Joplin Superpowers to Boost Your Note-Taking Experience

Considering it lets you do numerous things, I point out some of the most useful features here:

Create a Notebook

To create a notebook in Joplin, you can either press the “+” button, or use File > New Notebook.

Mastering Joplin Notes: 8 Tips and Tweaks
Create a new notebook

This will open the Notebook wizard. Enter a name and if you want to apply an icon to the notebook, hit the emoji button.

Mastering Joplin Notes: 8 Tips and Tweaks
Name the notebook

Once selected, press OK to create the Notebook.

Suggested Read 📖

Top 16 Best Note Taking Apps For Linux [2023]
Plenty of amazing note-taking apps for Linux. Here’s what we recommend you to check out.
Mastering Joplin Notes: 8 Tips and Tweaks

Create a Stack of Notebook

If you want a parent notebook, and multi-collection under it, you can utilize the sub-notebook feature. There are several ways to do this:

Navigating through the menu

In this method, first highlight the notebook to which you want to create a sub-notebook. Then go to File > New Sub-Notebook.

Mastering Joplin Notes: 8 Tips and Tweaks
Sub-notebook using main menu

Name it and give icons or emojis if needed.

Using the right-click menu

You can right-click on a notebook, and then click on New Sub-notebook to create a sub-notebook for that notebook.

Mastering Joplin Notes: 8 Tips and Tweaks
Sub-notebook using right-click

By Drag and Drop

If you have already many notebooks and want to arrange them properly into sections, simply drag and drop a notebook to another to make it a sub-notebook.

Manage the Layout and Appearance

By default, Joplin has a three-column layout. A sidebar with notebooks, another sidebar with a notes list, and then an editor and a preview section. If you require, you can rearrange them, by removing sidebars, toggling editors/preview, etc.

Tweaking the Sidebar

You can hide the sidebar or notes list pane from the main menu, by going to View > Toggle sidebar or Toggle note list.

Mastering Joplin Notes: 8 Tips and Tweaks
Toggle Sidebar

Tweaking the Appearance

To arrange the appearance, go to View > Change Application Layout.

Mastering Joplin Notes: 8 Tips and Tweaks
Change Layout

On the layout editor window, use the arrow button to arrange what should appear where, according to your liking.

Mastering Joplin Notes: 8 Tips and Tweaks
Change Layout Buttons

Apply Tags to Notes

Tags can be really helpful to retrieve information from a massive list of notes. Joplin can create and add multiple tags to notes effortlessly. First, open a note, that you want to apply the tag. Next, enter the name of the tag you want, on the bottom part of the note.

Mastering Joplin Notes: 8 Tips and Tweaks
Apply tags

Here, either create a new tag by specifying a new name, or use the drop-down button to access existing tags.

Use Multiple Profiles

Multiple profiles in Joplin allow you to maintain separate instances of the application, each with its set of notes, configurations, and synchronization settings. This can be useful if you want to keep different sets of notes isolated from each other.

To create a new profile, click on File > Switch Profile.

Mastering Joplin Notes: 8 Tips and Tweaks
Multiple profiles

You can create a new profile by using the Create New Profile Button. Enter the name of the profile and hit Create. If you have existing profiles, you can switch between them as well. For each profile switch, you need to restart Joplin.

Search Inside Notes

In Joplin, we can either search within notes or search for something among all the notes.

Search Through Everything

Press F6 on your keyboard to access the search box. Then enter the string you want to search for.

Mastering Joplin Notes: 8 Tips and Tweaks
Search Globally

Search Within a particular Note

Press CTRL + F on your keyboard to open a small search box on the bottom of your note. Enter the search string there to search.

Mastering Joplin Notes: 8 Tips and Tweaks
Search Within Notes

Synchronization with End-to-end Encryption

Synchronization with end-to-end encryption across different types of cloud providers is one of the top features of Joplin. To start a sync, first, go to Tools > Options > Encryption. Here, set a Master password, which will be used to encrypt all your notes.

Mastering Joplin Notes: 8 Tips and Tweaks
Set Password

Do not lose this password.

Now, go to the Synchronization tab and select the open-sync wizard button. It will show you the available cloud sync options. There are other supported ways also, like WebDAV Nextcloud, etc., which you can test as needed.

Some options include Joplin Cloud, Dropbox and OneDrive. You can also choose to self-host.

Mastering Joplin Notes: 8 Tips and Tweaks
Sync targets

Follow the on-screen instructions to complete the sync process.

Suggested Read 📖

7 Best To Do List Apps for Linux Desktop [2023]
A good to-do list app helps you organize your work and be more productive by focusing on meaningful work. Here are the best to-do list apps for Linux desktop.
Mastering Joplin Notes: 8 Tips and Tweaks

Web Clipper

Joplin offers a web clipper for both Firefox and Chrome, with which you can take screenshots of webpages (or save webpages). You can access the settings on Tools > Options > Web clipper.

Mastering Joplin Notes: 8 Tips and Tweaks
Web clipper in Joplin

Depending on your browser, install the appropriate extension to get started.

Improve the Performance Using External Plugins

Joplin provides some cool plugins to make your experience even smoother. Furthermore, with some plugins, you can add more features, that are not by default enabled in Joplin.

Installing a Third-party Plugin in Joplin

Joplin features a huge number of third-party plugins, you can install them effortlessly. Some theme plugins are also available, and those will be listed at the end of the article.

To install plugins, open Joplin and select Tools > Options.

Mastering Joplin Notes: 8 Tips and Tweaks
Click on Options

From there, head to Plugins. Now, click on the gear icon as shown below. Here, you will get two options, install plugins from file or browse plugins.

Mastering Joplin Notes: 8 Tips and Tweaks
Manage Plugins

If you click on the Browse all plugins button, it will bring you to the plugins download page. Click on the download button corresponding to the plugin you want. It will download a .jpl file.

Mastering Joplin Notes: 8 Tips and Tweaks
Download a Plugin

Once you download a plugin file, again head to Tools > Options > Plugins, click on the gear icon and select install from file option. Open the plugin file you downloaded earlier.

Mastering Joplin Notes: 8 Tips and Tweaks
Plugin Installation needs restart

Now, restart Joplin to make the changes into effect.

💡
All the plugins mentioned here are available to download from the official repository.

Plugin 1: Favorite Notes

Do you want to pin notes or notebooks so that you can access it quickly? Use the Favorites' plugin for this. Download and install this plugin. Now, when you reopen Joplin, you can see the Favorites panel on the right-hand side (default position).

Mastering Joplin Notes: 8 Tips and Tweaks
Add to Favorite

You can add a note or notebook to favorite by right-clicking on them and select Add to favorite, or just drag and drop to the favorites panel.

Plugin 2: Note Graph with Visualization of Internal Linking

One of the features that knowledge management applications like Obsidian offers is, the note graph, a visual overview of notes and its link. There is a similar feature available in Joplin as a plugin. First, download it and install the Graph plugin to Joplin.

Mastering Joplin Notes: 8 Tips and Tweaks
Notes Graph

You can also see several options to tweak on the right side.

Plugin 3: Kanban Board

Kanban boards can make you productive, especially if you have a multitude of tasks. In Joplin, kanban board feature is available as a plugin. First, you need to download and install the plugin. Then, restart Joplin.

🚧
The board will be available inside a notebook and its sub-notebooks only.

Thereafter, open an empty note in the required notebook and enter the code below:

```kanban
columns:
  - name: Backlog
    backlog: true
  - name: Work in progress
    tag: wip
  - name: Finished
    tag: done
```​

You will get a board, and you can change the existing field names or add new fields by editing the above code chunk.

Mastering Joplin Notes: 8 Tips and Tweaks
Kanban Board

Plugin 4: Admonition Blocks

Notes can be improved using special blocks, such as tips, warnings etc. Download and install the Admonition plugin. Restart Joplin. Now, when you want to add a special block, use the code below:

!!!name Your Title Goes Here
This is the admonition body
!!!

For example, to add a tip, use:

!!!tip note This is the admonition title
This is the admonition body
!!!
Mastering Joplin Notes: 8 Tips and Tweaks
Admonition

Plugin 5: Combine Notes

Use this extension to combine notes. Once installed, select the notes you want to combine by CTRL+click. Now, you can see a new section with various options on the right. Click on combine notes to combine them into one note.

Mastering Joplin Notes: 8 Tips and Tweaks
Combine Notes

Plugin 6: Colored Text in Notes

Applying different colors to the text inside a note will be helpful for students to highlight important part of notes. In Joplin, to accomplish this, download and install the Text Colorize plugin.

Now, on the markdown editor interface, select the text you want to change color and press CTRL+SHIFT+C. You will get a color palette. Select a color and press either apply as text color or "Apply as BG" to set it as a highlight color.

Mastering Joplin Notes: 8 Tips and Tweaks
Apply Color Option

That's it. You can see the result below.

Mastering Joplin Notes: 8 Tips and Tweaks
Text Color Applied

Theme Joplin with third-party themes

By default, Joplin provides some presets, like Dark, light etc. To switch between them, go to Tools > options > Appearance. From there, chose your theme and click apply.

Mastering Joplin Notes: 8 Tips and Tweaks
Apply Default Themes

If you would like to explore other themes over the default options, I highlight two options below.

🚧
Do not use multiple third party themes simultaneously. This can cause issues. You can disable any theme plugin on Tools > Options > Plugins and use the toggle button.

Apply a GitHub Theme

This is a minimal GitHub theme for Joplin. Download the theme using the button below and install it.

Mastering Joplin Notes: 8 Tips and Tweaks
GitHub theme

Now restart Joplin to get effect.

Give Joplin a macOS Look

This theme will give a macOS effect for Joplin.

Mastering Joplin Notes: 8 Tips and Tweaks
macOS theme

Wrapping Up

Joplin Notes is a breeze to use. Sure, some may not want all the functionalities it offers. But, if you do not know what you might require in your note-taking journey, you cannot go wrong with Joplin Notes.

💬 How is your experience with Joplin Notes? Did I miss listing any of the important features that you find handy? Let me know your thoughts in the comments below.


from It's FOSS https://ift.tt/R3XG2Ud
via IFTTT