What is the right time to introduce children to computers? I have been pondering this for the past few months. And earlier this month, I finally decided to set up a dedicated Raspberry Pi-based computer for my three year old daughter. Here's what I did and how it is going so far.
Not related to Linux, but if you like the Amazon Prime Series, The Boys, you might want to read the comic book it is based on. The entire comic book is available in PDF and CBZ format on Humble Bundle. The deal ends in a few hours today. Check it out here.
📰 Linux news
Linux kernel 6.10 has emerged with all kinds of refinements.
Firefox 128 release has arrived with some neat improvements.
In KDE Plasma, the *klipboard* (hah) can actually help you open the contents based on the MIME type. First, open the clipboard by clicking on the clipboard icon in the panel.
Now, click on the Action button located next to the clipboard item and select a suitable app. In the screenshot below, I have a URL copied and can select apps, that can handle HTML document.
Similarly, images can be opened using any of the apps installed (like Gwenview), that can handle image files.
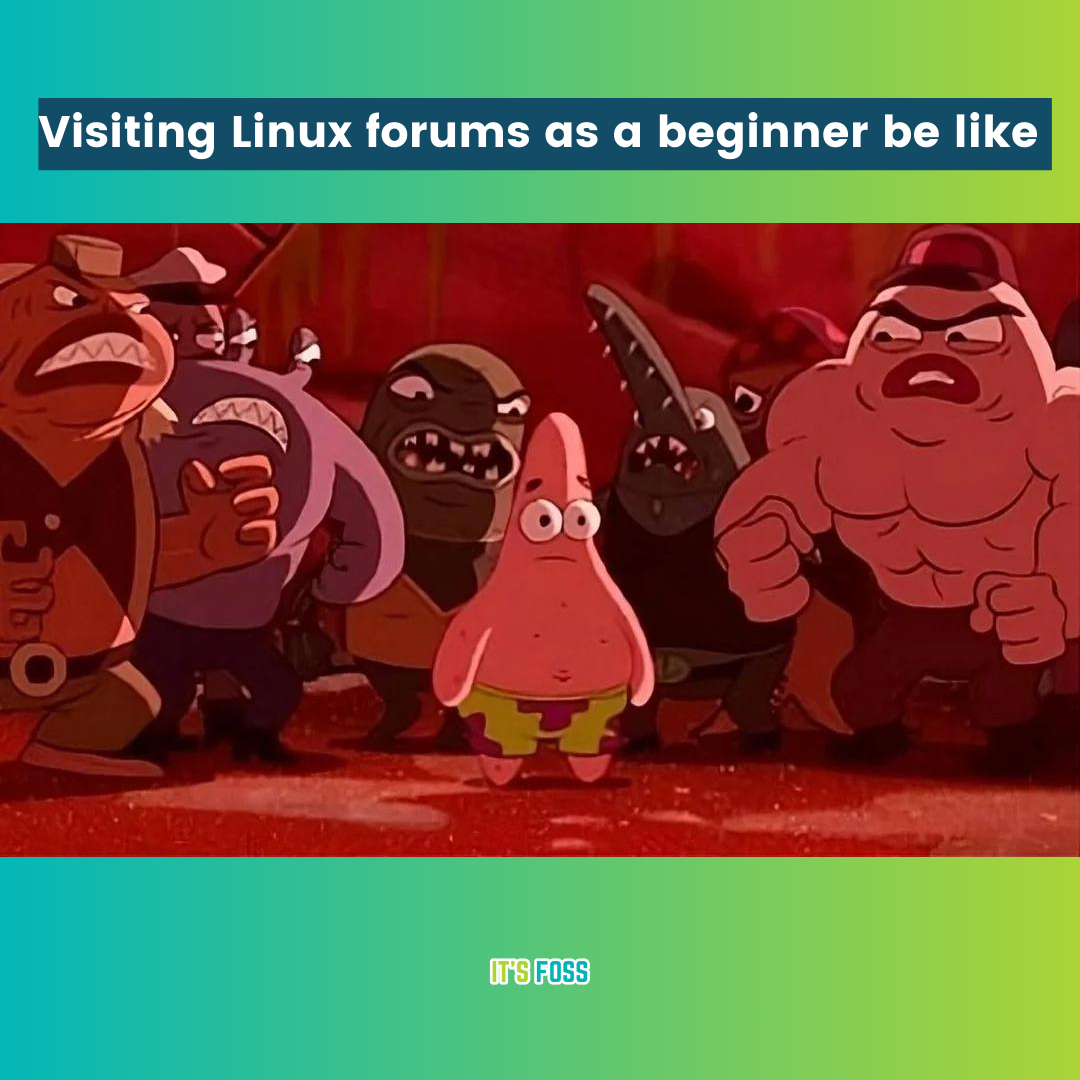
🤣 Meme of the week
Occasionally, it can be a handful. But, never lose hope newbies!
🗓️ Tech Trivia
The SysAdmin Day this year will be on 26th July. For the uninitiated, the last Friday of July is celebrated as SysAdmin Appreciation Day. Organize an even at your workplace perhaps?
🧑🤝🧑 FOSSverse corner
FOSSer Daniel recently shared a progress update on their Linux from Scratch project.
Children are getting smarter these days. They are in touch with smart devices, after all.
It is no more surprising to see children as young as one year old interacting with touch-based phones and tabs.
While parents worry about excessive screen time, computer education is essential at the same time.
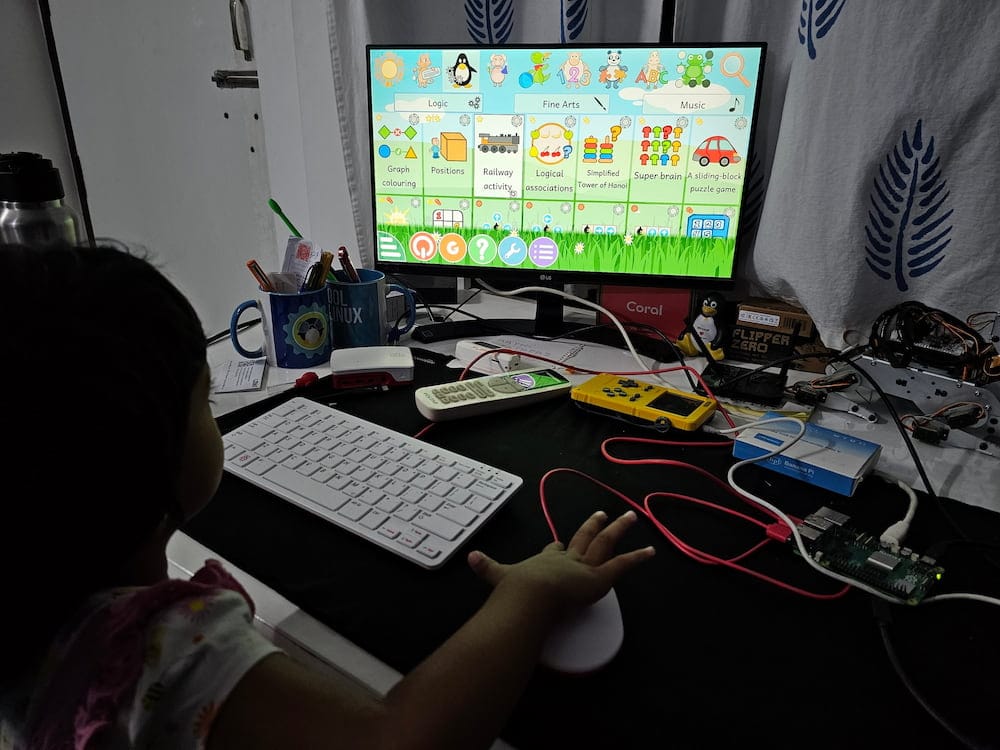
This is why I decided to set up a dedicated computer running on Raspberry Pi for my three-year-old daughter, Ushika.
I shared an image of this setup on Twitter and some people suggested that I should write an article about the things I've installed as it would interest many Linux using parents.
Please ignore the mess on the table
And thus here we are!
What's the point of a dedicated system for a 3-year old?
A dedicated system is important. I let Ushika use my laptop and she will consider it HER toy and start demanding it even when I am using it for work. This is not ideal for me.
Is she too young to use a computer? I don't know. Kids these days can operate a touch device at a much earlier age. The traditional desktop setup is different. Mouse control itself is a challenge, at least in the beginning.
The idea here is not to teach her coding and 'force' her into becoming a computer wizard. I just want her to interact comfortably with a traditional computer system using a mouse and keyboard.
In any case, Ushika has had a strange fascination with my keyboard since she was hardly five months old so I guess it was time to introduce her to the the 'real computer'.
Hardware I use and recommend
Here is what I used in the setup. If you plan to buy a Raspberry Pi after reading this article, this list will help you determine what other accessories you need besides the Pi board.
Board: Raspberry Pi 5 4 GB. The 4 GB model would work fine as well; however, if you are buying a new one and your budget allows, you prefer going for the higher RAM model for the device's longevity. I have both 8 GB and 4 GB models sent by Raspberry Pi for review.
SD Card: Anything above 32 GB is more than sufficient.
Power supply: The official Raspberry Pi power supply. While you may power the Raspberry Pi 5 with a regular smartphone charger (5V-3A), but it will complain about not having enough power for peripheral devices (it requires 5V-5A in output).
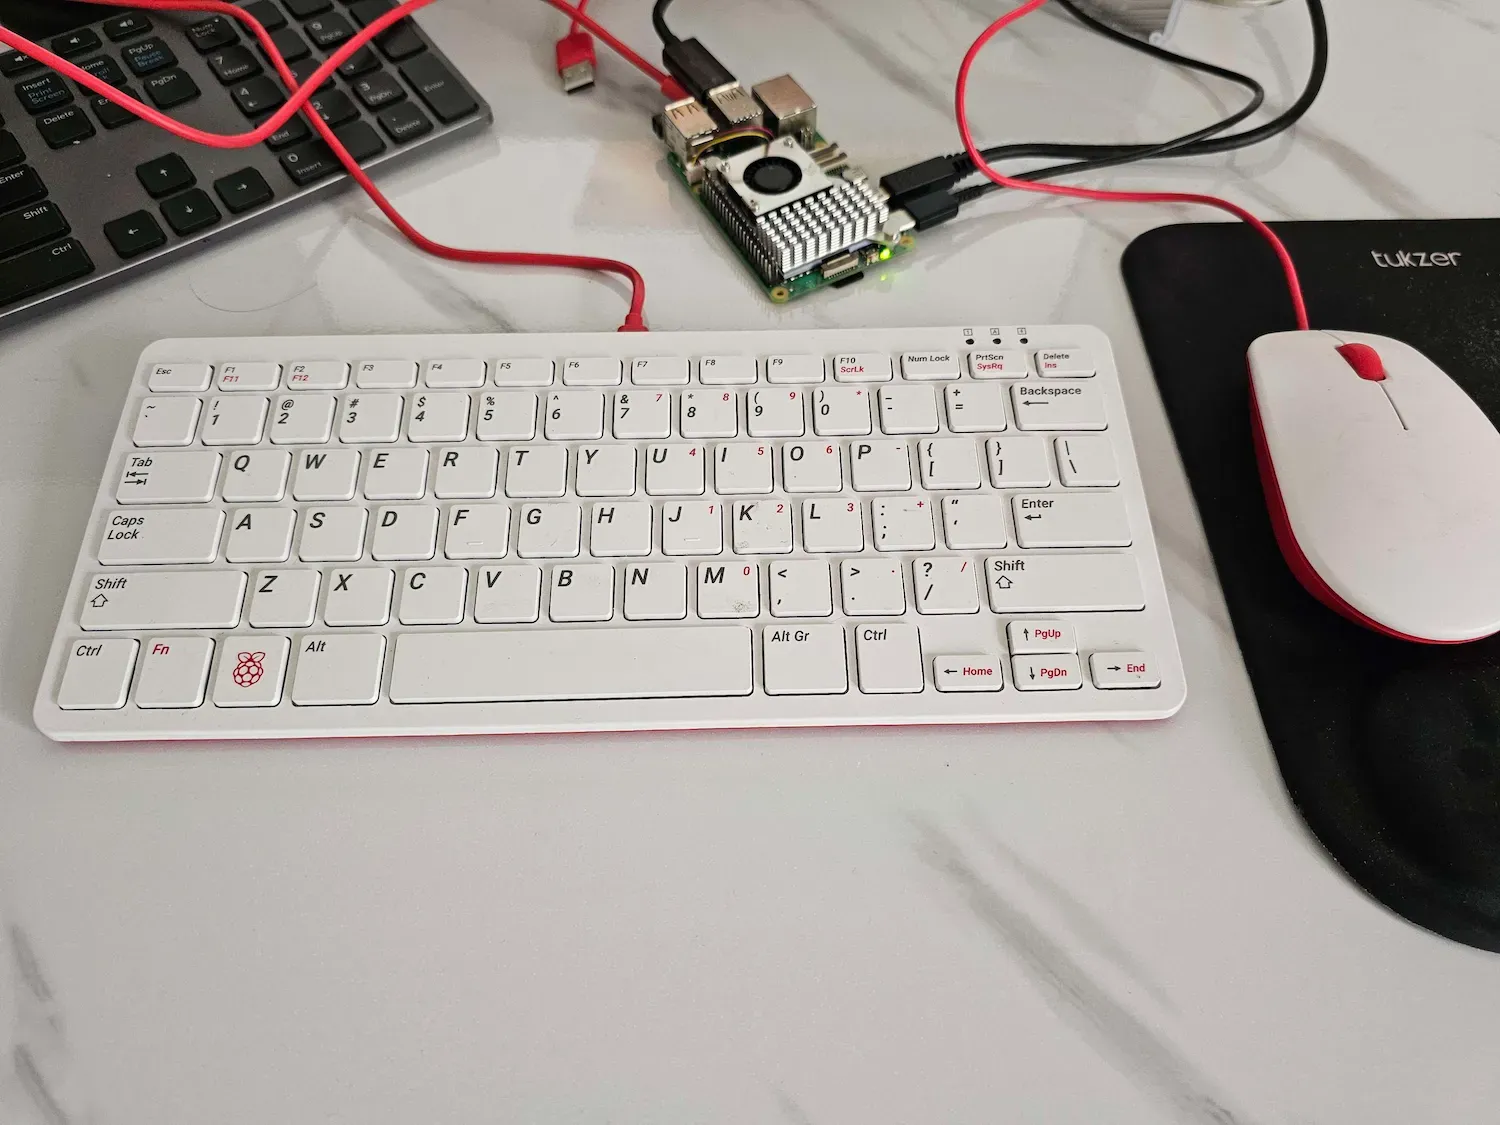
Keyboard and mouse: I had the official Raspberry Pi keyboard and mouse but you can use any inexpensive or spare ones.
Screen and micro-HDMI cable: This is a must for obvious reasons. I utilized my old LG monitor. Please keep in mind that you'll need a micro-HDMI to HDMI cable/converter, as Pi 5 only has micro-HDMI ports.
Speakers: I highly recommend using any speaker (or headset) because it is more fun for children to hear the feedback on their actions in the program they use. I used my Killburn Marshal speakers because I didn't have desk speakers and I don't want my 3 year old to use headsets from such a young age. I have ordered a simple desk speaker to complete the setup.
Cooling: The official active cooler or any other means of cooling is highly recommended.
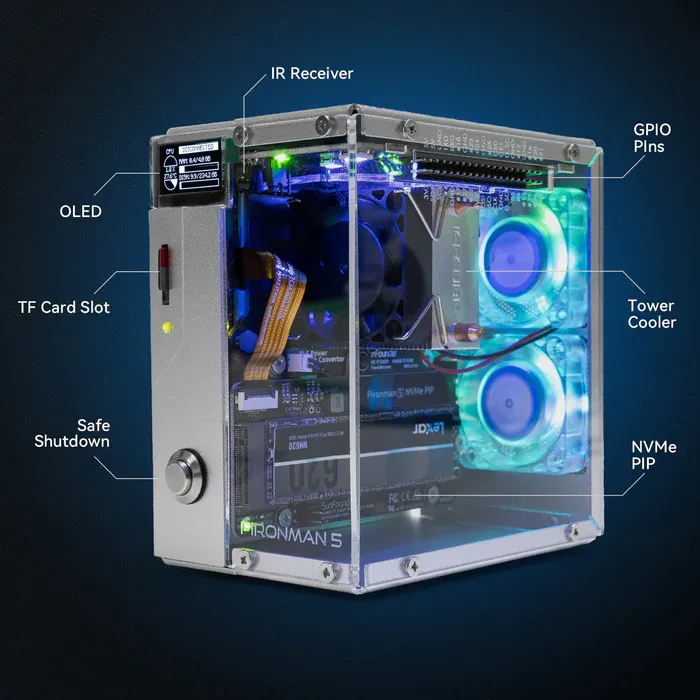
Case: I used the Pironman case as this super cool case has an in-built cooling tower. But you can use the official case or any other case. I recommend using a case open board could be fragile in the hands of young children.
Pironman 5 Case With Tower Cooler and Fan
This dope Raspberry Pi 5 case has a tower cooler and dual RGB fans to keep the device cool. It also extends your Pi 5 with M.2 SSD slot and 2 standard HDMI ports.
Operating system: I chose to stick with the default Debian-based Raspberry Pi OS instead of using a distro tailored for educating children. It is the applications that matter, not distro. Better to have an OS that is specifically created for the hardware in use. It is easier to look for troubleshooting material on the web (if there are any) for the Raspberry Pi OS.
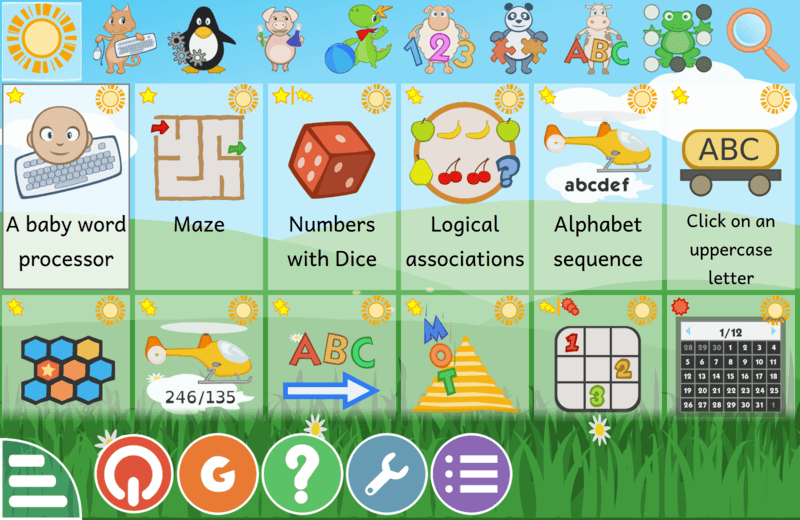
gCompris: This single application offers more than 100 activities for children aged 2 to 10. This is the main application my daughter is interacting with at the moment.
There are games that help gain mouse control and get familiar with the keyboard. In addition to that, there are small games that involve memory matching, clock reading, basic mathematics, logic puzzles, etc.
📋
These applications may seem like the Flash-based games that were popular in the early 2000s. But I don't complain about the lack of modern looks as long as it makes the children happy and the application runs on with low system usage.
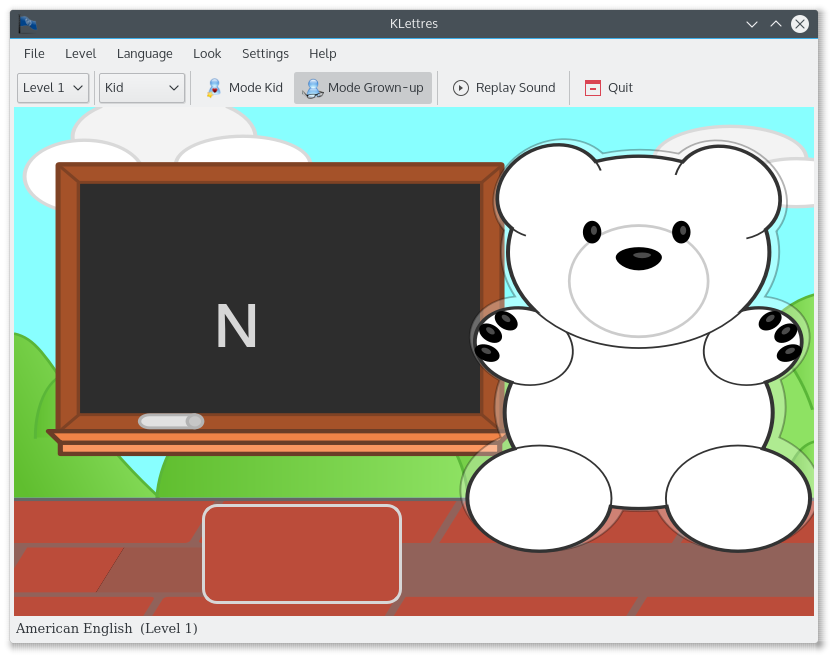
KLetters: This educational app from KDE helps learn the English alphabets and read simple syllable. Entering the letters also make a good exercise for the kids to get familiar with the letter positioning on the keyboard.
TuxPaint: As the name suggests, this is a simple paint application for Linux systems. It lets children draw on the computer. You'll find this application used in many schools as well.
There is also TuxMath which helps children learn basic mathematics through games. I haven't used it yet because Ushika is too young for that. She can count but she cannot do mathematical calculations yet.
How is it going?
Ushika struggled with the mouse for the first two days. She has tiny hands and it was difficult for her to both move the mouse and do the left click. She started using the mouse wheel for movement and clicking both and I had to repeatedly correct her.
I even considered buying a tiny mouse until she saw signs of improvement with a Dell mouse a week later. She successfully finished a 'memory matching' game on her own.
Her mouse handling has certainly gotten better. The next goal is to get her comfortable with the keyboard.
With the KLetters app, she tries to enter the letter displayed on the screen. There is initial struggle of finding the correct keys that are not in alphabetical order. With some practice, she will surely get better.
What next?
I intend to change the default wallpaper on my Raspberry Pi 5. Ushika sees the wallpaper and thinks it's 'her computer' and demands that I move away and let her use it 😆
Jokes apart, I am glad to see that she has progressed pretty soon. Keyboard practice is what I aim for next with her computer training.
As I mentioned in the beginning, the idea is not to teach her coding at this stage, although many programs teach coding to young children. My main motive is that she gets comfortable using the mouse and keyboard. Interacting with touch devices is simple, but controlling a mouse is different. Children should get familiar with the 'traditional computer' if they have the opportunity.
I plan to update this article as time progresses and share what else is working (or not) with little Ushika's computer education.
If you have experience teaching computers to young children, please provide your valuable feedback and application suggestions in the comment. This will help people who are looking for advice on educating their children.
One problem AI users often face is the constant need to switch the chat interface.
ChatGPT might be good at many things but Perplexity is better at searching the web and answering your questions.
In fact, you may feel like asking the same question to another AI model if you are not satisfied with the current AI's answer.
But logging into another AI and then copy pasting the same questions is cumbersome task.
This is why there are tools that allow you to use more than one AI model from a single interface. However, most of such services are paid.
And this is where LibreChat comes into the picture.
Let's dive in and discover how this game-changing platform can enhance your digital experience.
What is LibreChat AI?
LibreChat AI is an open-source platform that allows users to chat and interact with various AI models through a unified interface. You can use OpenAI, Gemini, Anthropic and other AI models using their API. You may also use Ollama as an endpoint and use LibreChat to interact with local LLMs. It can be installed locally or deployed on a server.
LibreChat is designed to be highly customizable and supports a wide range of AI providers and services. Let me summarize its main features:
Free and Open Source: Accessible to everyone without any costs.
Customization: Offers extensive options to tailor the platform to individual preferences.
Multi-AI Support: Integrates with numerous AI models and services.
Unified Interface: Provides a consistent experience for interacting with different AI models.
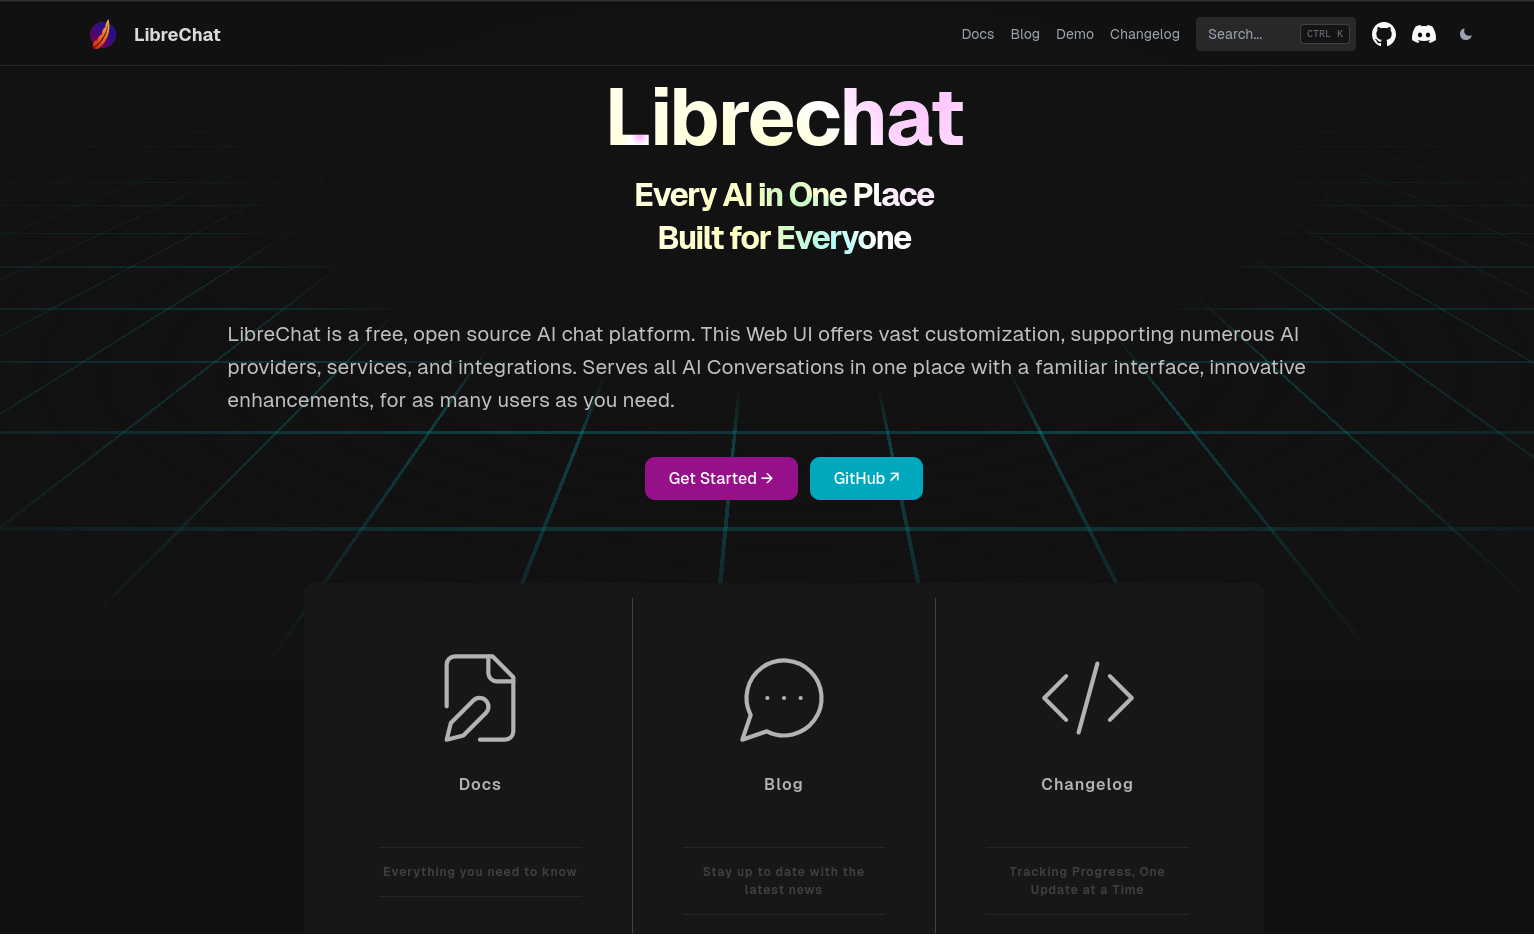
LibreChat Official website homepage
Installing LibreChat
Getting LibreChat AI up and running is a straightforward process, with two primary methods: NPM and Docker installation.
While both options offer advantages, Docker is my preferred choice for its simplicity and efficiency. However, we'll explore both in this article.
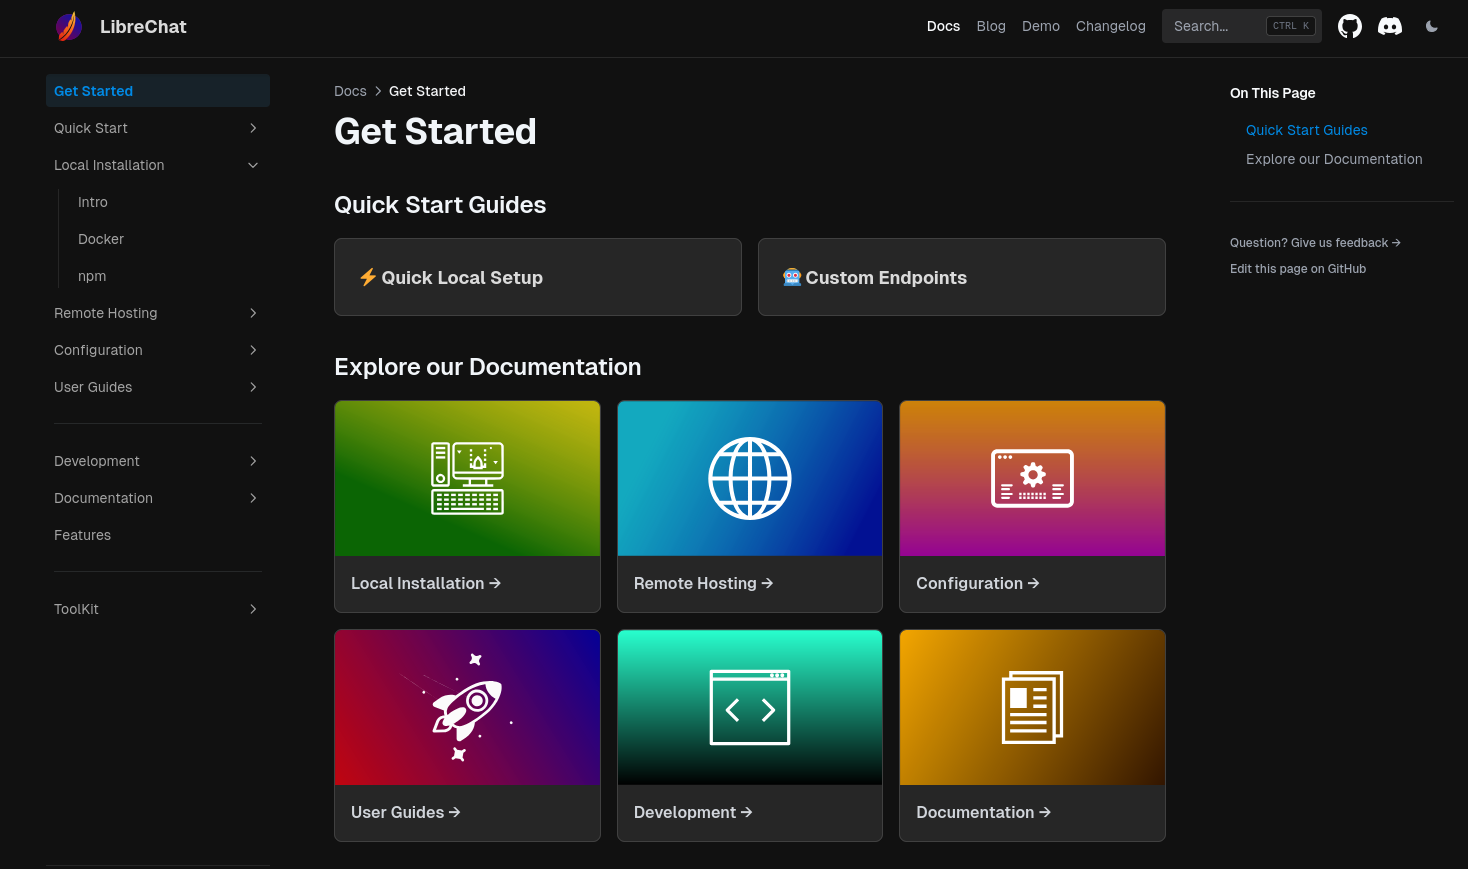
You can also refer to the official documentation for detailed installation instructions on LibreChat. I must say that they have done a great job by providing a comprehensive guide covering every step of the process.
LibreChat documentation page
Method 1: Install LibreChat with NPM
Before you begin with the installation, make sure that you have all the prerequisites for our project:
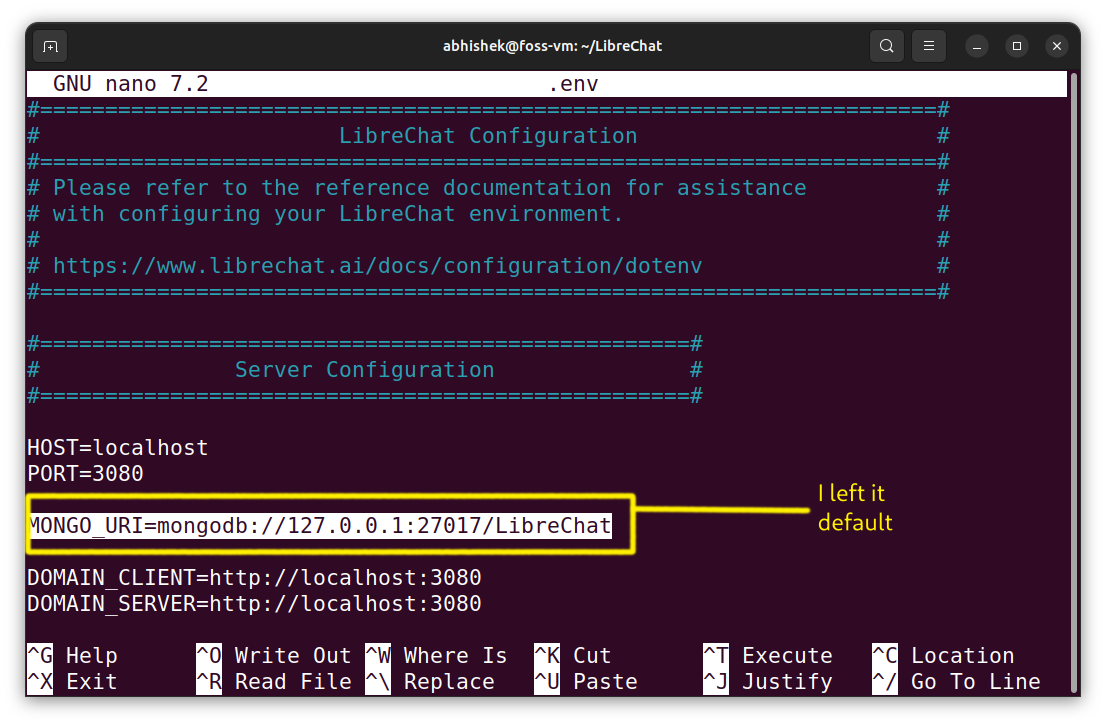
Edit the newly created .env file to update the MONGO_URI with your own
Building LibreChat
Once the preparation steps have finished, we can build the project from the source in a few simple steps.
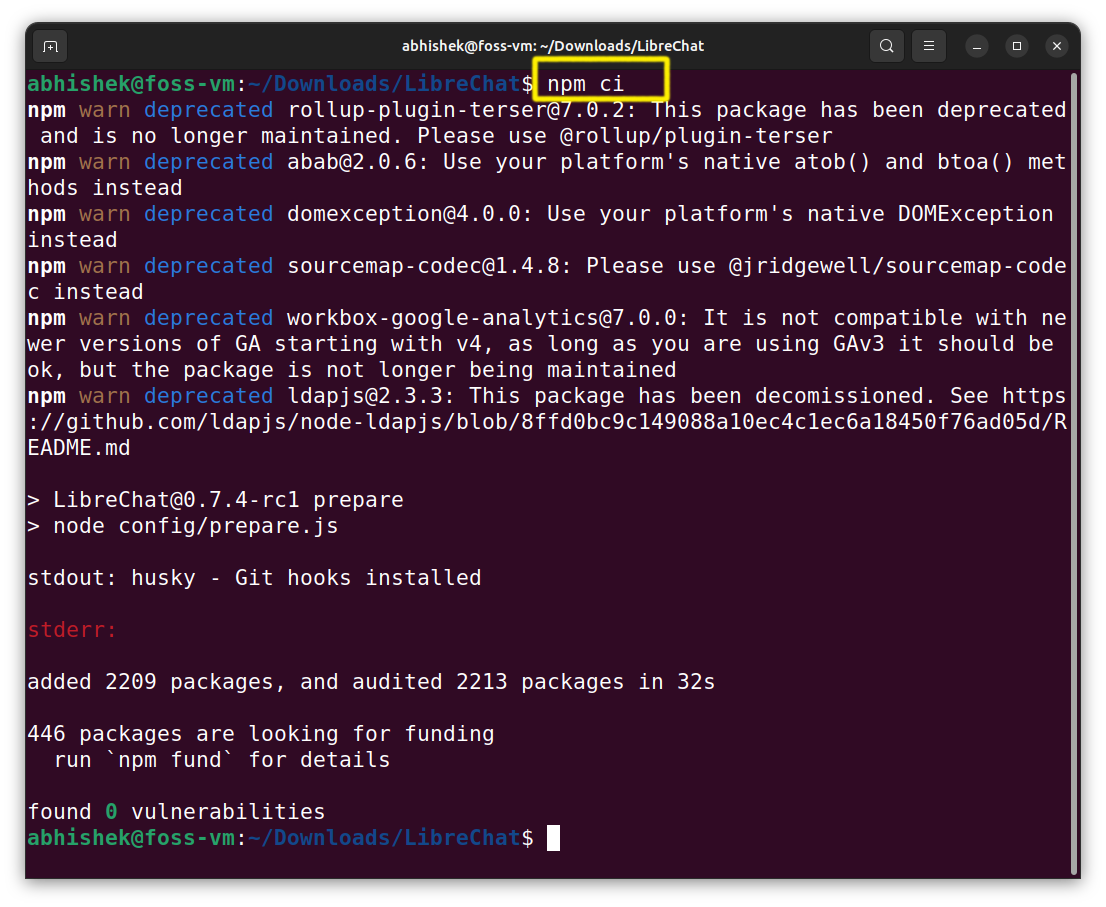
To install the dependencies:
npm ci
Downloading all the dependencies
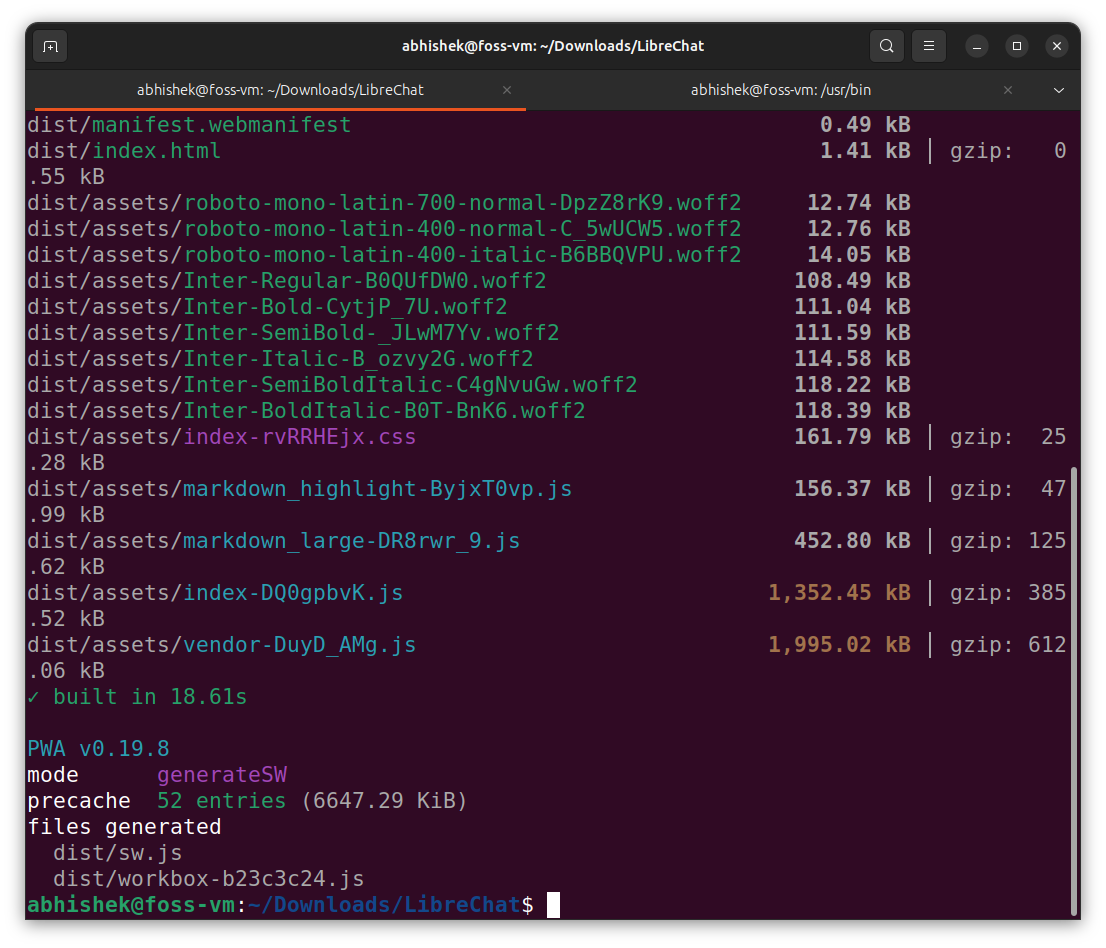
This command will build the frontend of LibreChat:
npm run frontend
Building the frontend of LibreChat
💡
In the documentation, they directly build the backend, but during testing, I learned that you first need to run the MongoDB server. Otherwise, it'll throw errors and won't work at all.
MongoDB requires a data directory to store its data files. Thus, create a directory on your system where you want to store the MongoDB data files (e.g., /path/to/data/directory).
After that, you need to be in the same directory where the MongoDB has been installed i.e. /usr/bin then just type this command:
./mongod --dbpath=/path/to/data/directory
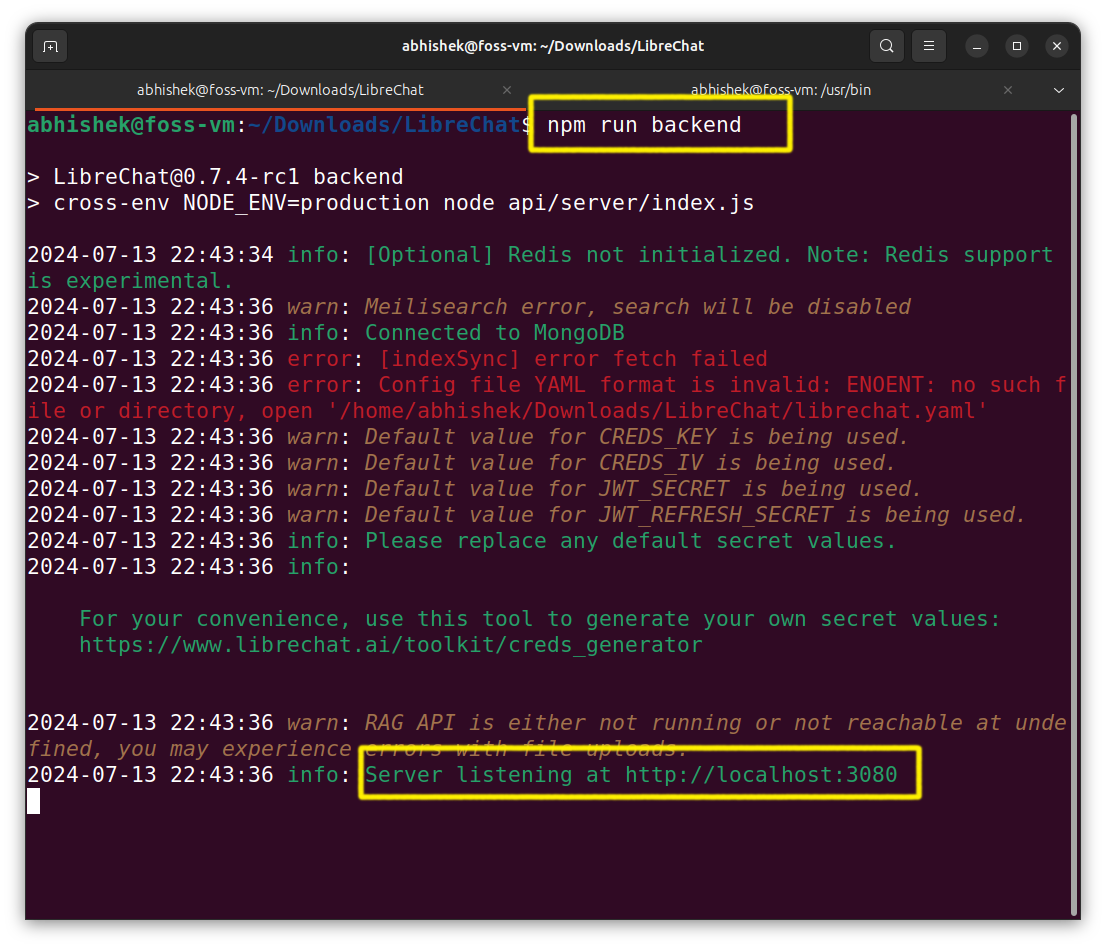
Now you can build the backend (ignore the errors):
npm run backend
You have successfully installed LibreChat. You can access it by visitng http://localhost:3080/
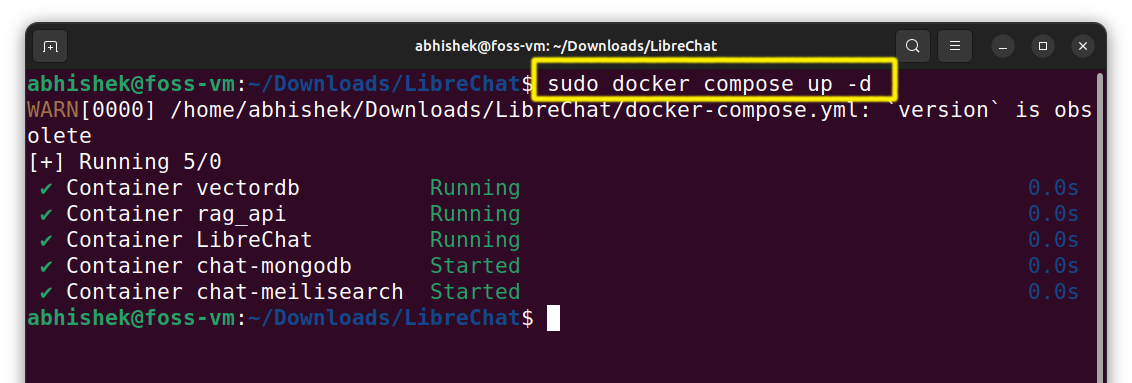
Method 2: Install LibreChat using Docker
Okay hear me out! This explains my frustration. So, it took me just a one liner command to run LibreChat in Docker. After battling with all the pop-ups & dependency errors, this was like a walk in the park.
Please ensure that you have Git and Docker installed on your system.
The first few steps will remain the same like cloning the repository:
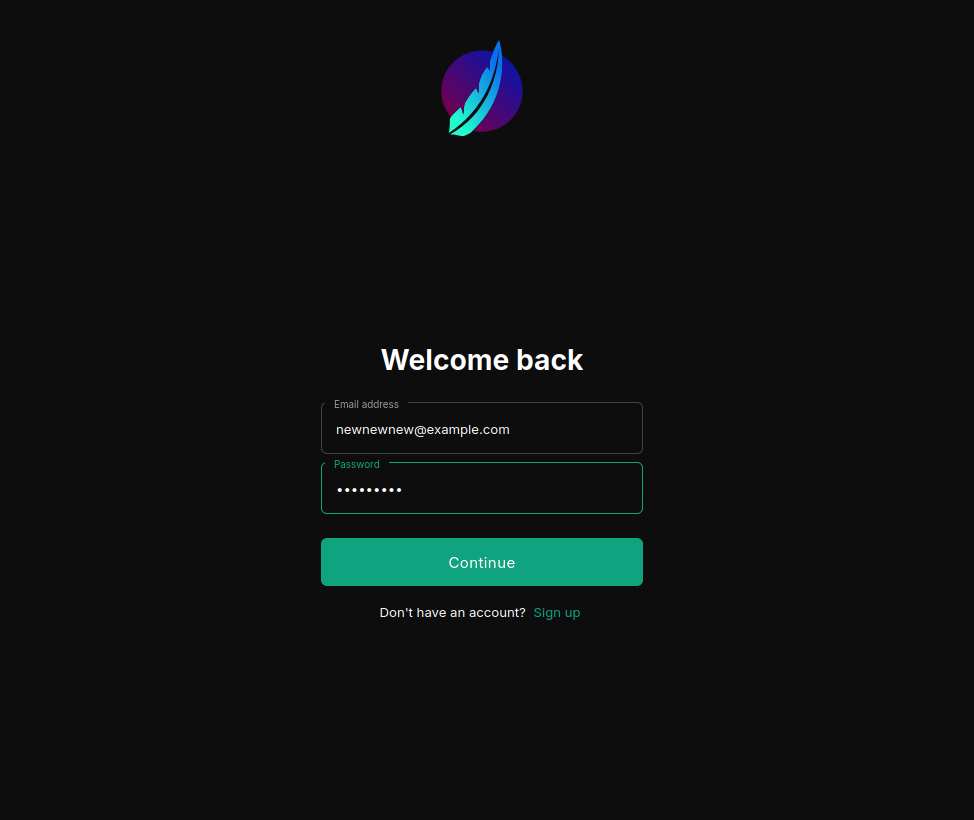
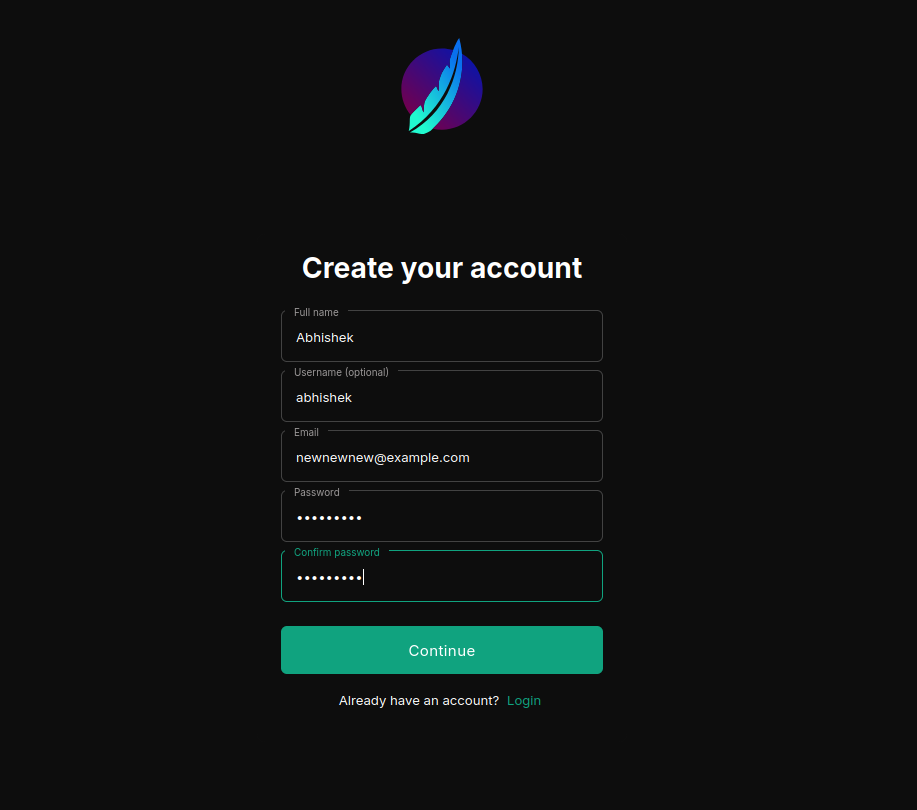
Getting started with LibreChat involves a straightforward login process.
You do have to signup first to login.
Once you've navigated that initial step, you're greeted by a minimalist interface that's almost reminiscent of ChatGPT's clean design. It's a no-frills approach that puts the focus squarely on the conversation.
LibreChat first look
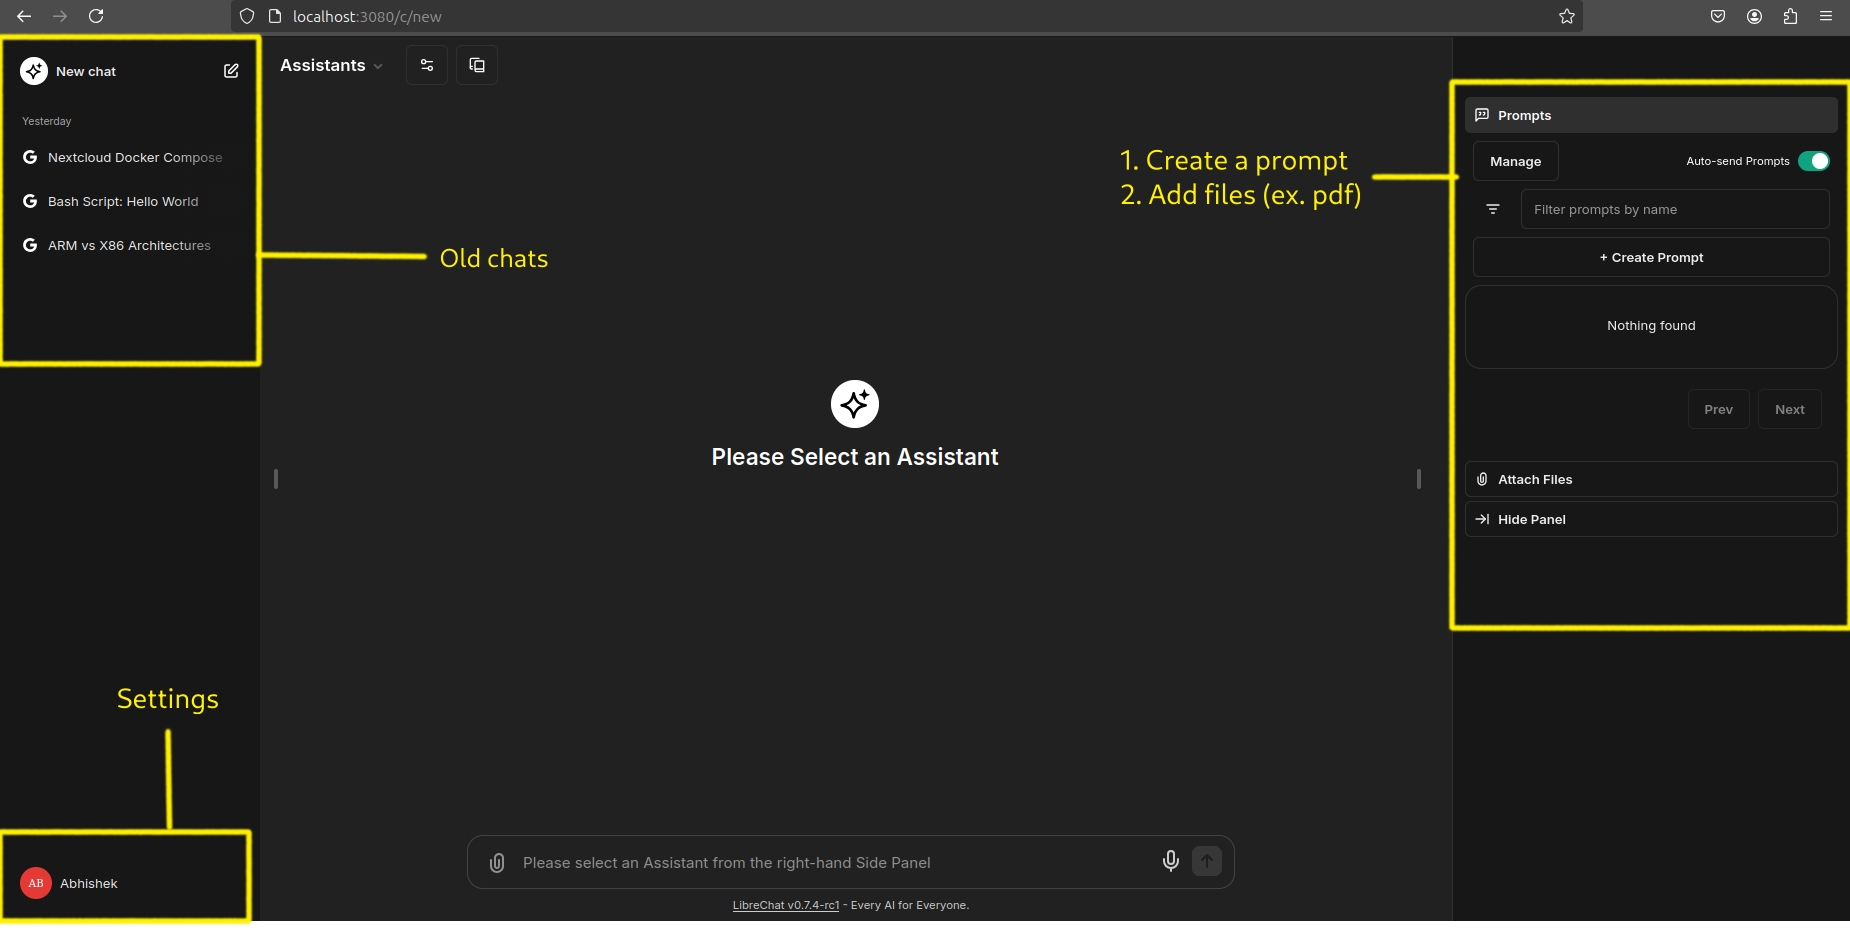
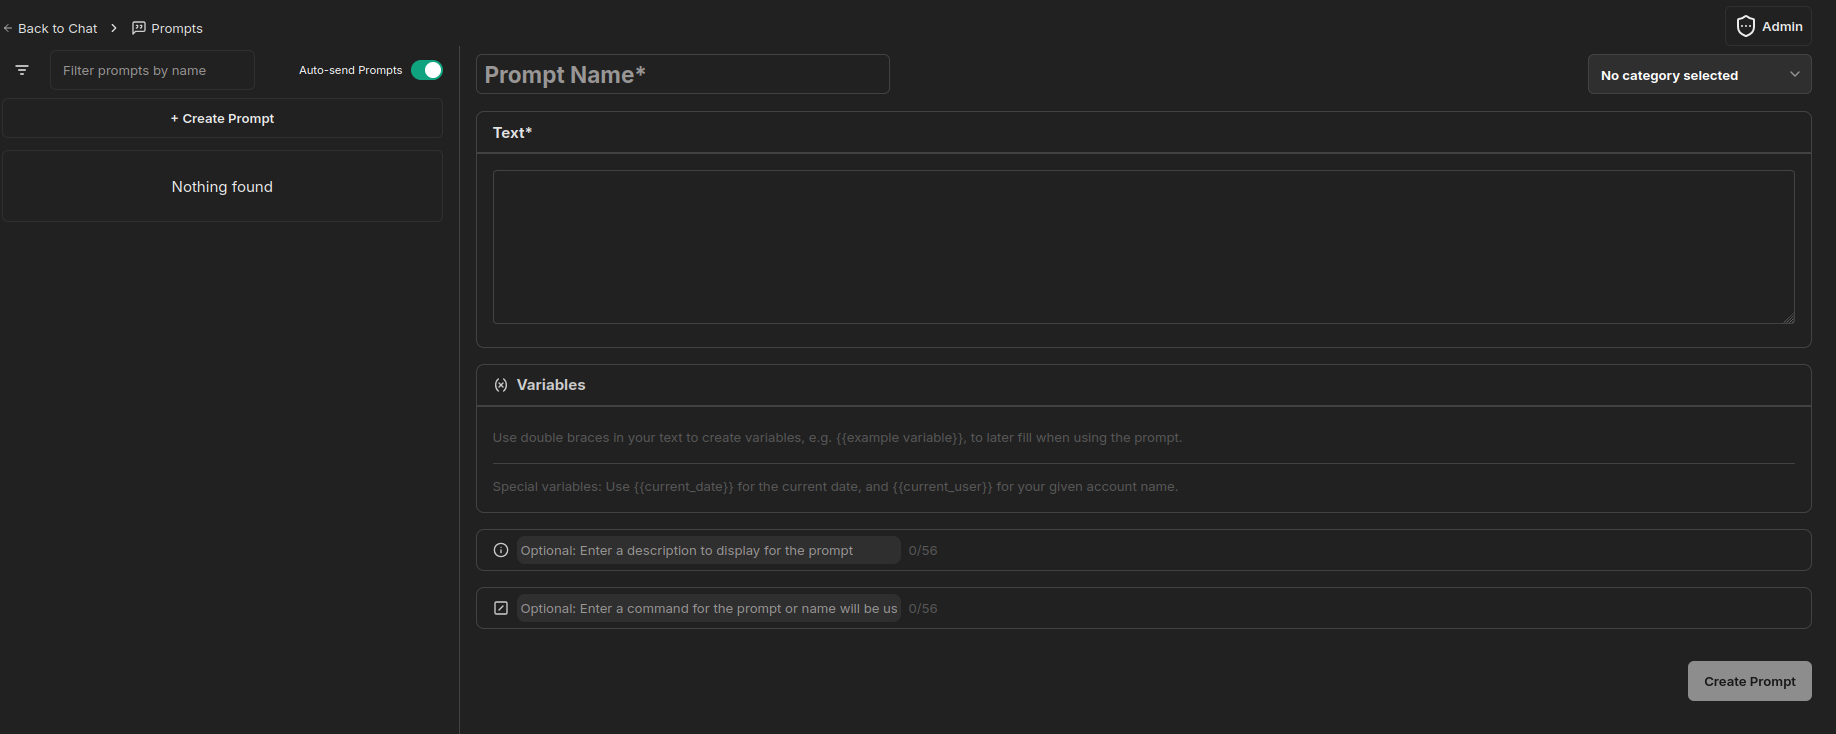
There is an option to create custom prompts as well:
Creating prompt pane for LibreChat (click to expand)
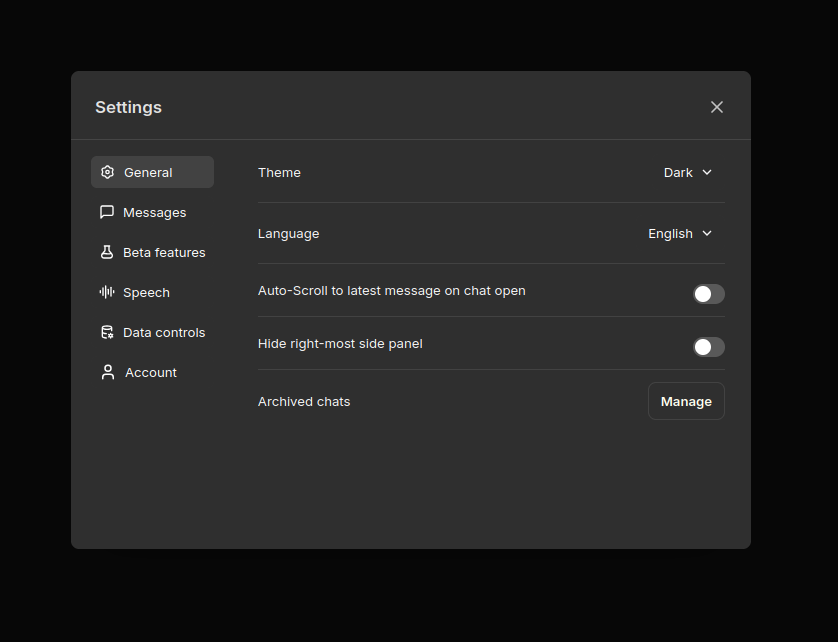
You can customize LibreChat to your liking by going to the settings pane:
While to some people, it might not be as visually striking as some other platforms, the simplicity is refreshing and allows you to dive right into interacting with the AI without distractions.
Accessing AI models using their API
LibreChat operates as a gateway to various AI models. It provides a platform to access and utilize the capabilities of models from other providers like OpenAI's ChatGPT, Google's Gemini, and others.
This means that to fully experience LibreChat's potential, you'll need to have API access to these external AI services.
For this tutorial, I have used Google's Gemini (free) API to have a conversation with our AI assistant. Unfortunately, I couldn't test with OpenAI's API since during testing they flagged my account and banned me.
Getting Google's API key:
For Google, you can either use the Generative Language API (for Gemini models), or the Vertex AI API (for Gemini, PaLM2 & Codey models).
To use Gemini models through Google AI Studio, you’ll need an API key. If you don’t already have one, create a key in Google AI Studio.
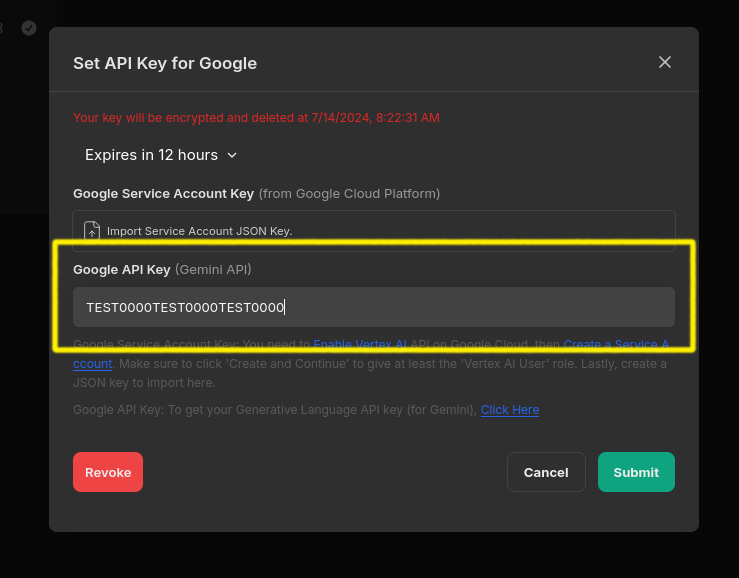
Once you have your key, provide the key in your .env file, which allows all users of your instance to use it:
GOOGLE_KEY=mY_SeCreT_w9347w8_kEY
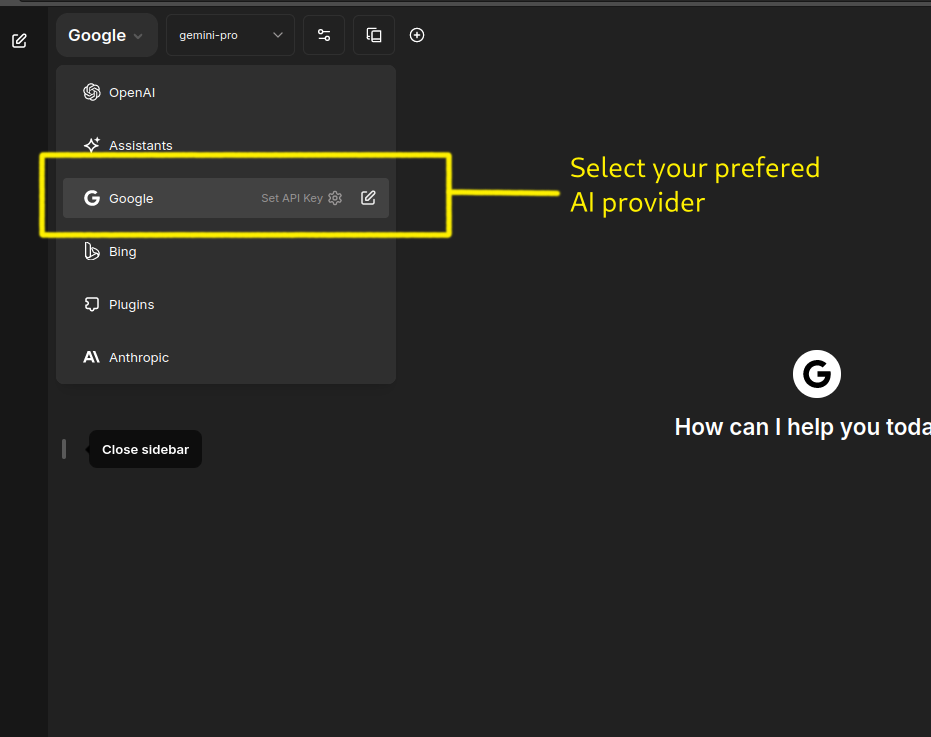
Or you can enter it via GUI by selecting your prefered AI provider i.e. Google in our case:
After that, it'll prompt you to enter your API key:
Now we are ready to chat with our Chat BOT.
Results
Since LibreChat is essentially a wrapper for powerful AI models housed in massive data centers, you can expect lightning-fast response times and minimal latency.
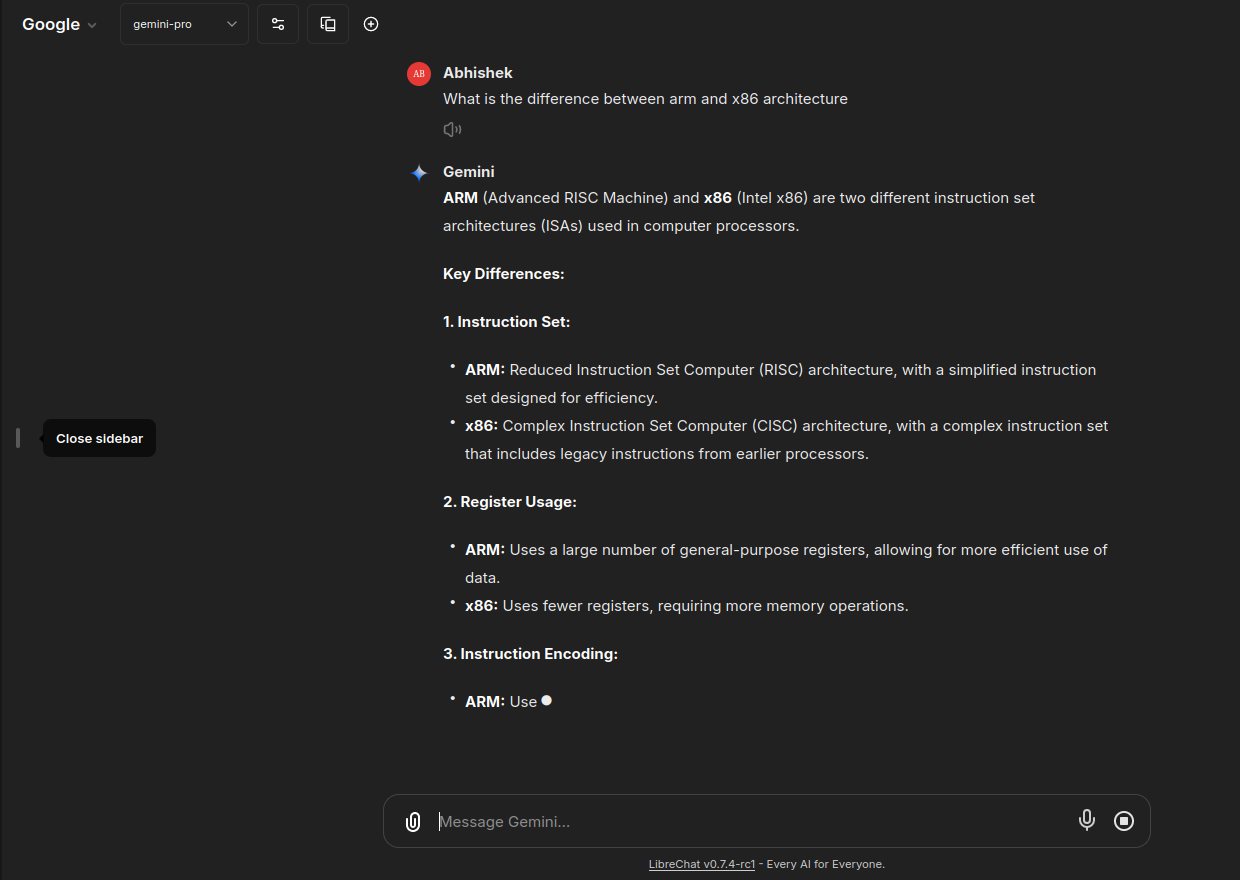
Here are a few results:
LibreChat's reply to the question about difference between ARM & X86 architecture
Another one:
LibreChat's reply to create a docker-compose file for Nextcloud
Perhaps we'll have a dedicated tutorial on integrating LibreChat and Ollama in the future.
Final Thoughts
LibreChat presents an intriguing proposition for users seeking AI interaction. Its open-source nature and ability to leverage multiple AI models offer a degree of flexibility and potential customization that proprietary platforms might lack.
In terms of alternatives, LibreChat could be a compelling option for Linux users who might find Copilot for Windows to be exclusive.
Unfortunately, due to account restrictions, I couldn't personally test the OpenAI API, a limitation that prevented a more comprehensive evaluation, specially the "Chat with documents" feature.
Nevertheless, LibreChat's potential is undeniable, and its evolution will be interesting to watch.
If you have more open source AI projects in mind, feel free to share with us!
When something is termed "Immutable", it means you cannot change it. For a Linux distribution, it carries the same meaning.
But, what exactly is an immutable distro? How is it different from a standard Linux distribution? Should you consider using them, or are they just a cool concept to have?
In this article, I shall answer all these questions.
What is an Immutable Linux Distro?
An immutable distro is an operating system that cannot be changed and is read-only. You cannot make any changes to the core of the operating system (system files and directories).
Yes, you can add/remove files for storage and perform all the daily activities. And, the data will be stored as usual. However, any changes that require administrator-level topics just won't apply. Any system-level change will be temporary (if that happens) and the change will be lost after a reboot.
Immutable distributions also handle updates in a distinct way which involves an entire operating system being replaced with new components like a new installation instead of just the packages being upgraded.
Often, users confuse themselves that an immutable distro is something entirely unique. But, it is the same Linux distribution, it just differs in how it works/how it allows modification and updates.
How Are They Different From Standard Distros?
For starters, you can easily break a non-immutable distribution with a sudo-level change, and it will stay like, until you fix it or re-install the entire operating system.
With an immutable distro, you cannot break things because you cannot modify anything important that makes the OS work reliably. In other words, it is by design that it will offer you a reliable and stable experience, even better than standard LTS releases.
When it comes to updates, it utilizes an “image-based” technique, where you create another instance of the operating system with newer system components. The entire operating system will be replaced with an updated one, keeping your personal files intact.
This gives you a benefit in terms of stability and also, security. Especially, for deployments in the cloud, embedded systems, or container architectures.
Some benefits of immutable options compared to standard distros include:
Malicious attackers cannot make permanent changes to the distro. You can just reboot it and have the same system files intact, giving you enhanced security by design.
Updates are more reliable and safer, making maintenance easy.
Unintentional changes to the system are not possible as it is read-only
If you think you need these benefits for your deployment (or desktop), you can try out some of the best immutable distributions that we have listed, like Vanilla OS, NixOS and more:
If you are a desktop user, it depends on your experience with the usual Linux distributions.
For instance, if updates break your OS experience regularly or if you find yourself making unintentional changes that make it unusable, an immutable option should help you.
And, if you are deploying an OS in the cloud where you want scalability, reliability, and security, you cannot go wrong with the immutable distributions tailored for such use-cases.
 Abhishek Prakash
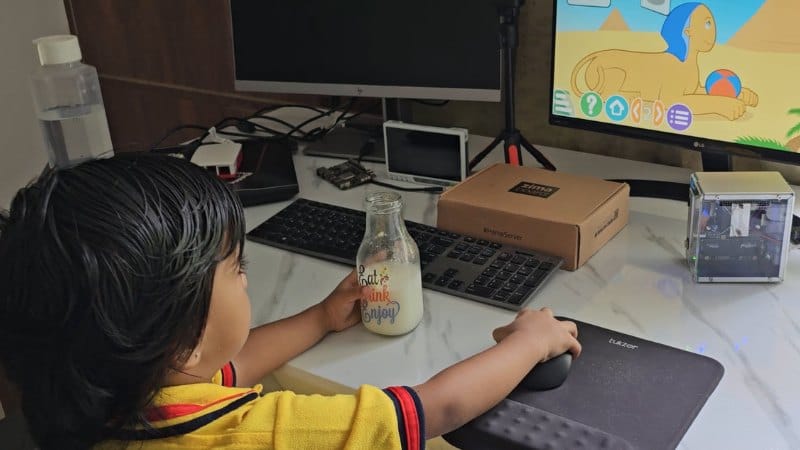


 Ankush Das


 Daniel_Phillips