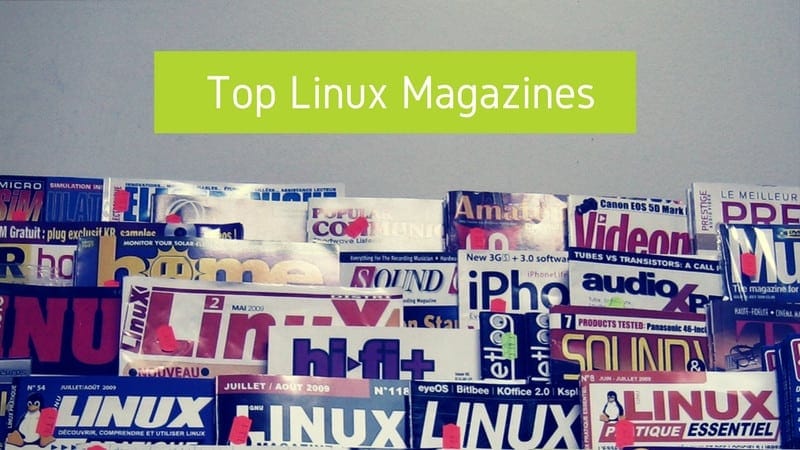
Before the age of blogs, forums, and YouTube tutorials, Linux users relied on printed magazines to stay informed and inspired. Titles like Linux Journal, Linux Format, and Maximum Linux were lifelines for enthusiasts, packed with tutorials, distro reviews, and CD/DVDs.
These glossy monthly issues weren’t just publications—they were portals into a growing open-source world.
Let's recollect the memories of your favorite Linux magazines. Ever read them or had their subscription?
💬 Let's see what else you get in this edition
- RISC-V based SBC, Muse Pi.
- Lenovo offering Linux laptops.
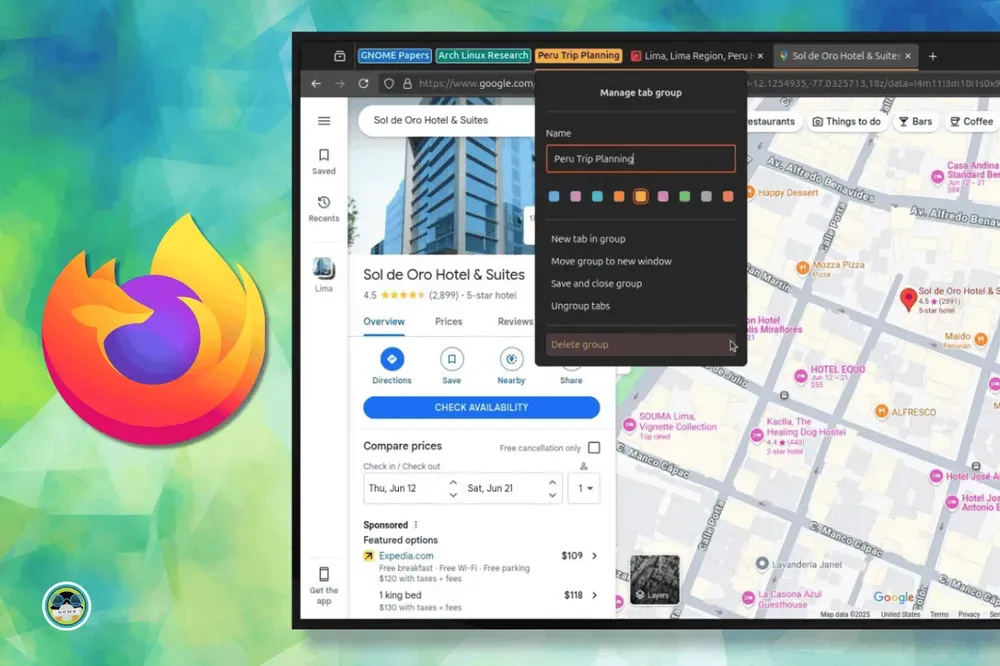
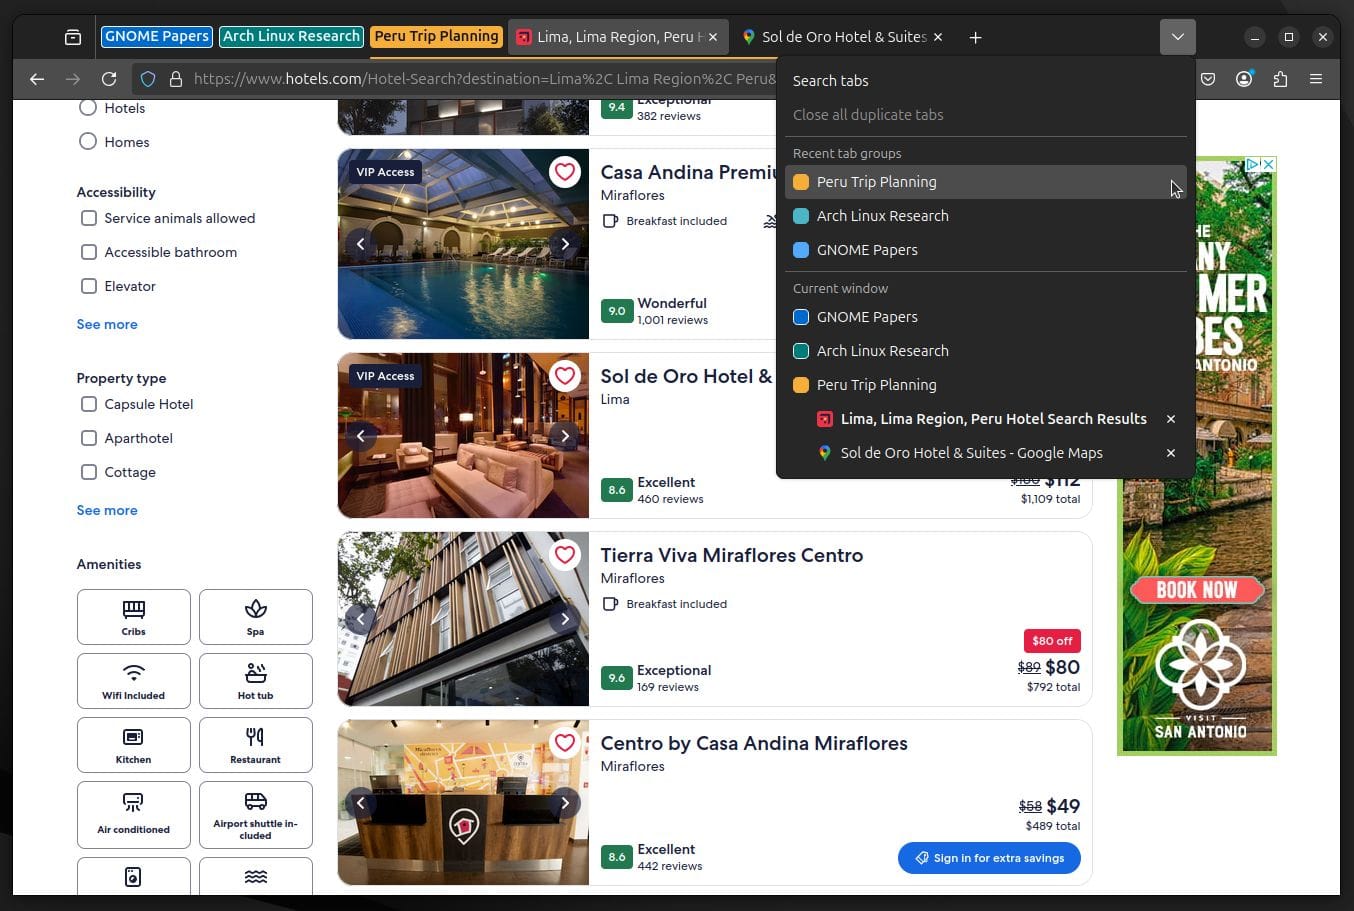
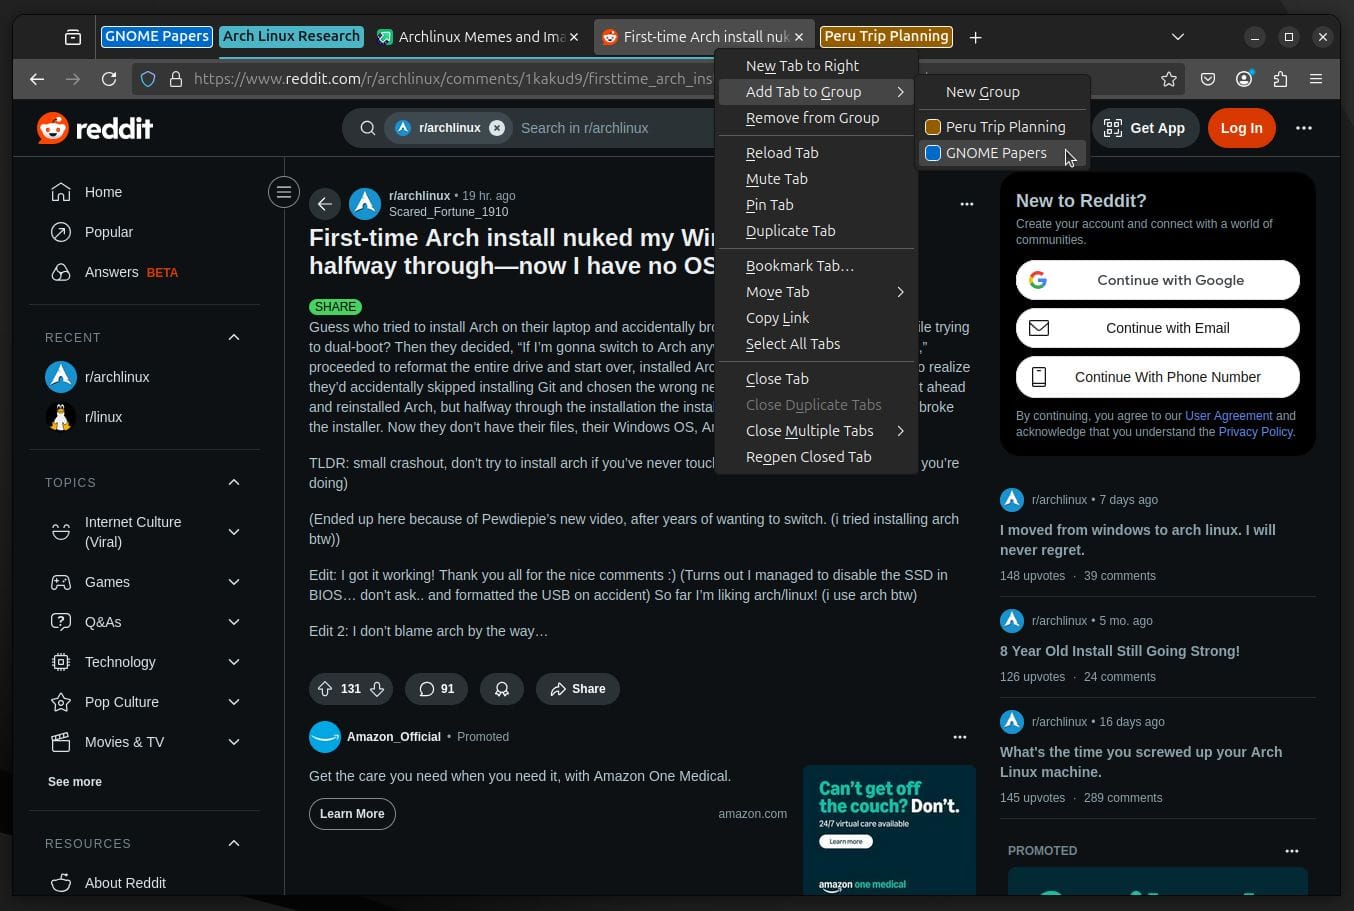
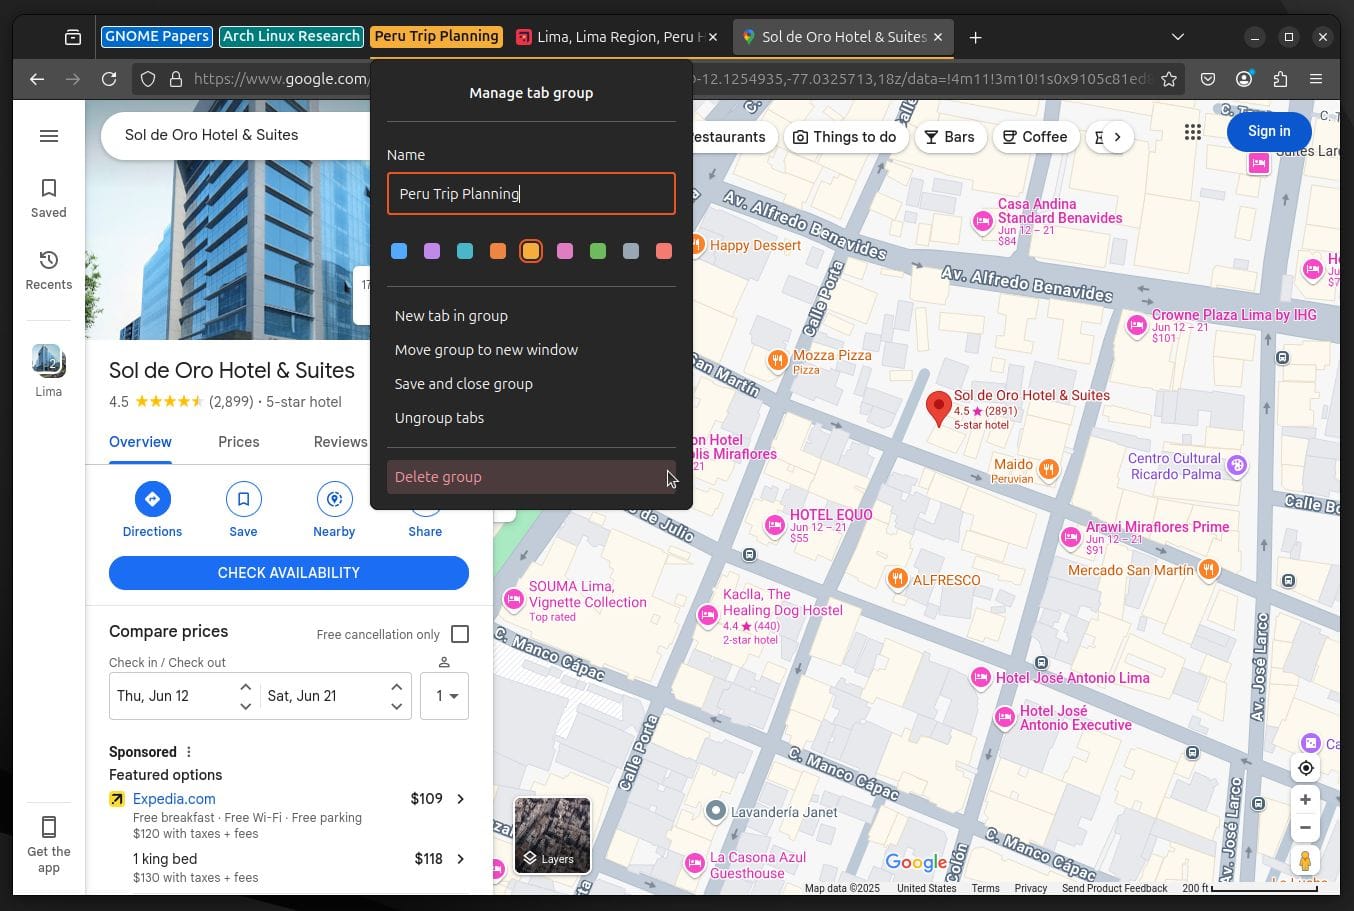
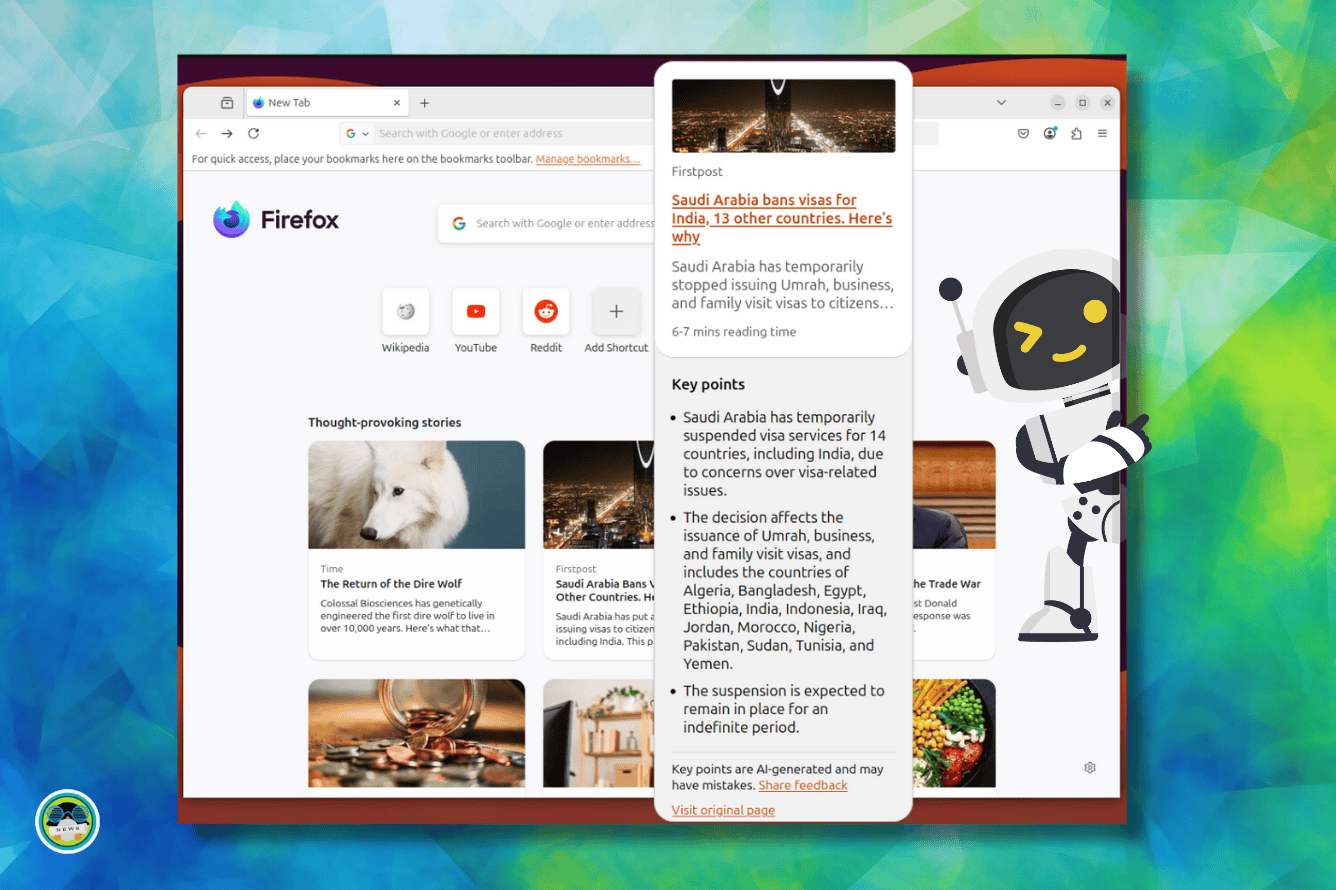
- Trying tab grouping in Firefox.
- And other Linux news, tips, and, of course, memes!
- This edition of FOSS Weekly is supported by PikaPods.
❇️ PikaPods: Enjoy Self-hosting Hassle-free
PikaPods allows you to quickly deploy your favorite open source software. All future updates are handled automatically by PikaPods while you enjoy using the software. PikaPods also share revenue with the original developers of the software.
You get a $5 free credit to try it out and see if you can rely on PikaPods. I know, you can 😄
📰 Linux and Open Source News
- QEMU 10 just released with many new upgrades.
- Proton Pass now allows attaching files to passwords.
- The Indian court orders a ban on Proton Mail.
- Kali Linux is urging users to add their new signing key.
- Running Arch Linux inside WSL is now officially possible.
- The Muse Pi Pro is a new RISC-V SBC with AI acceleration.
Lenovo offers Linux laptops with cheaper price tag .

🧠 What We’re Thinking About
Perplexity is ready to track everything users do with its upcoming AI-powered web browser.

🧮 Linux Tips, Tutorials and More
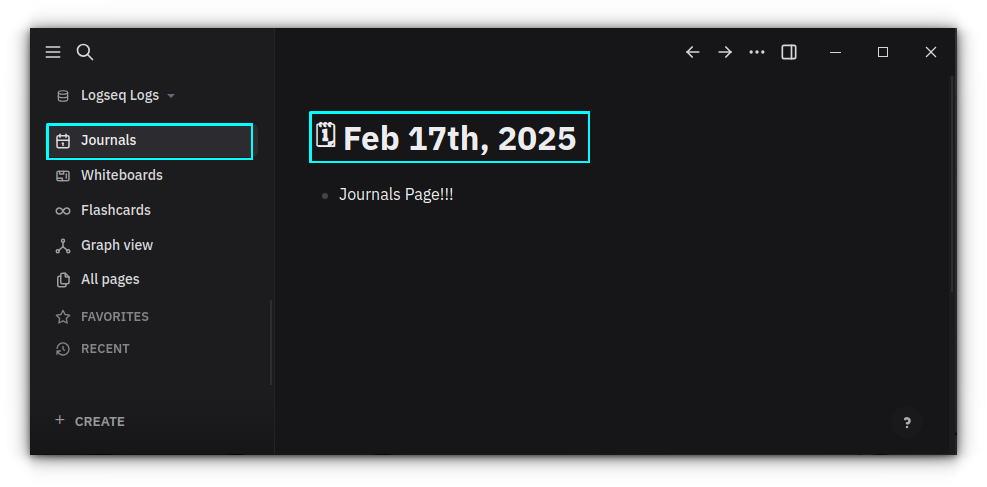
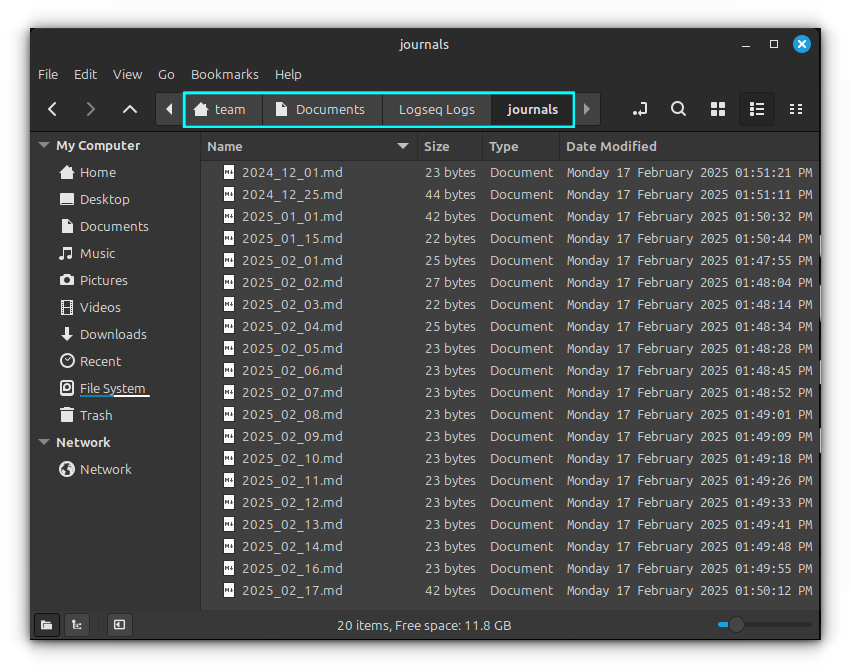
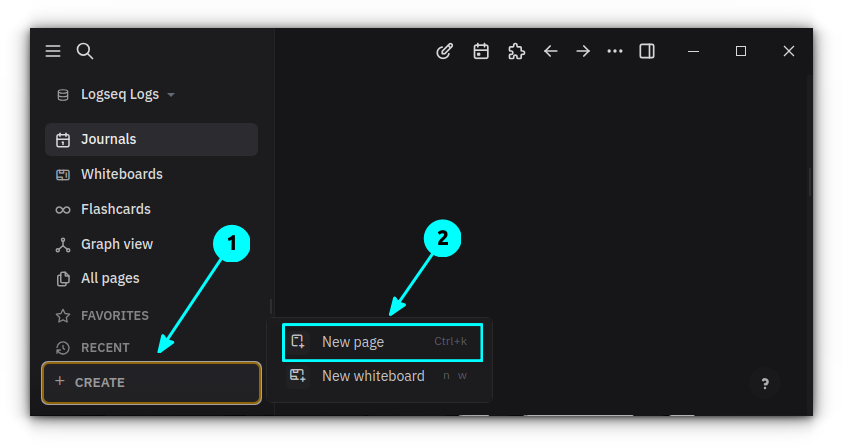
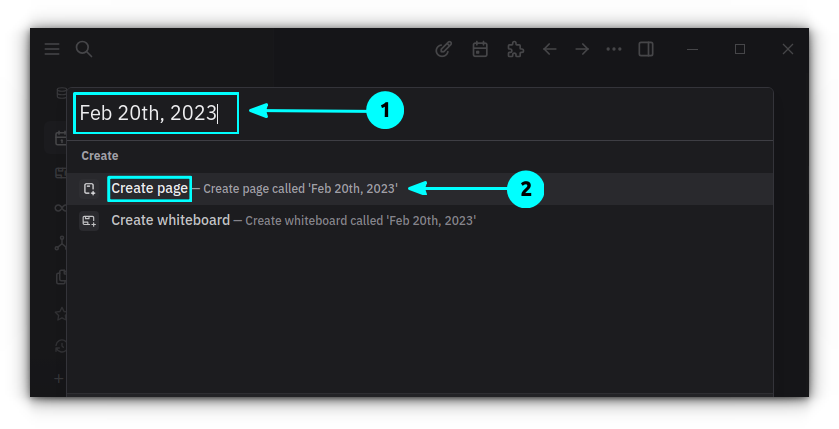
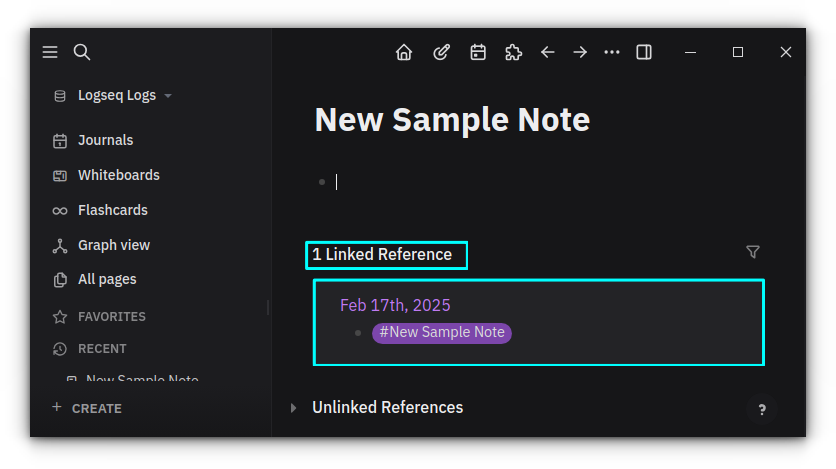
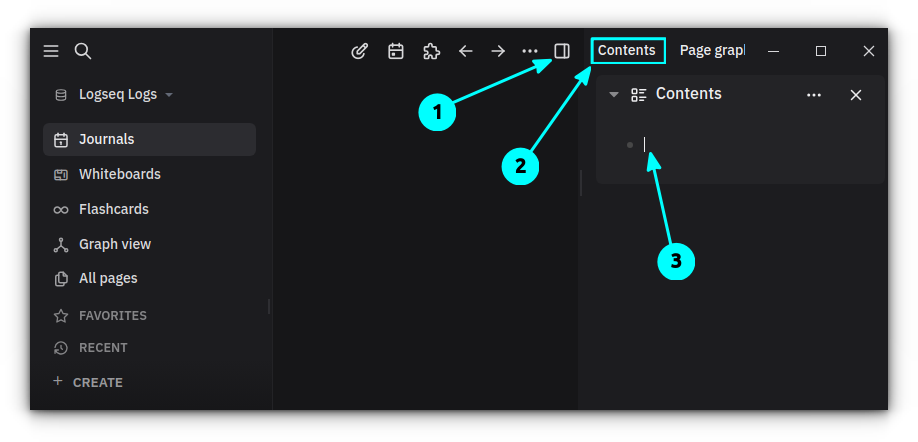
- Organize better with Logseq journals and contents pages.
- Learn how to create a password-protected Zip file in Linux.
- Our apt command guide is a one-stop resource for all your apt command needs.
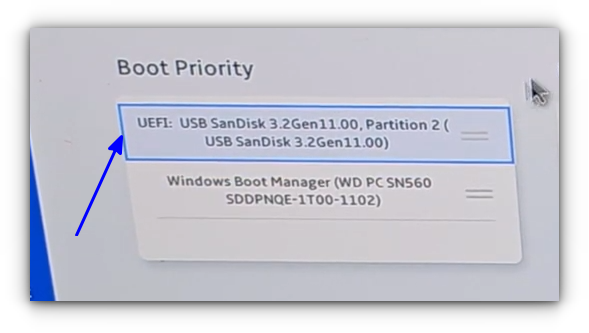
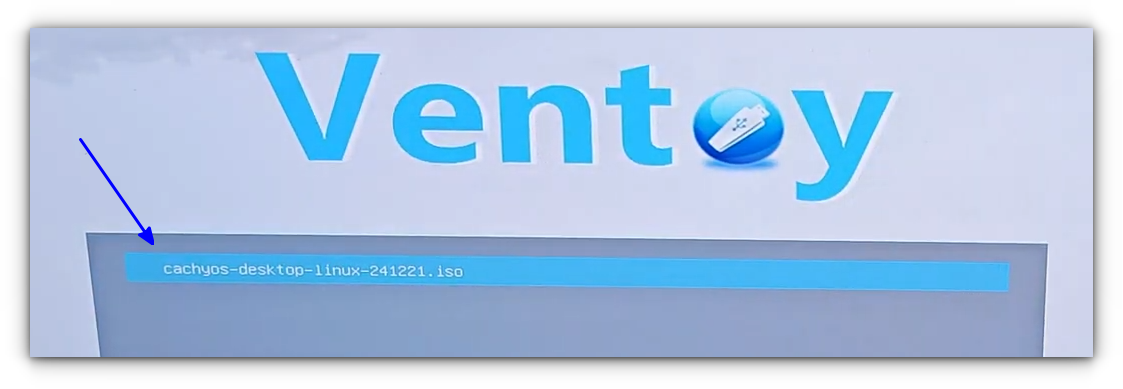
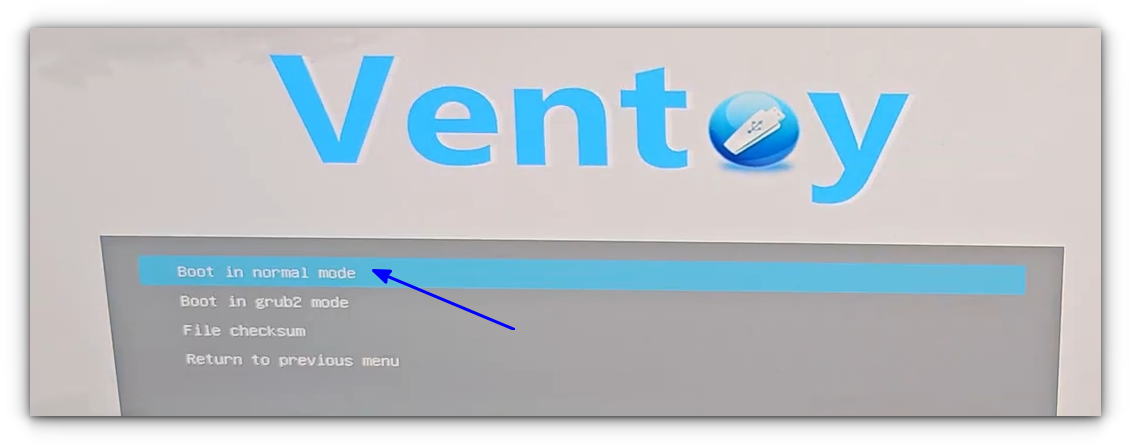
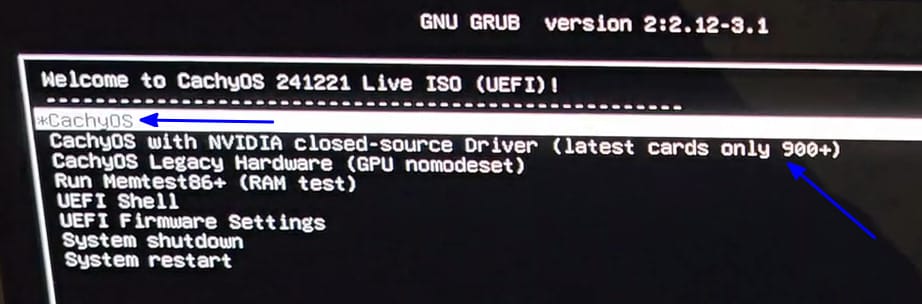
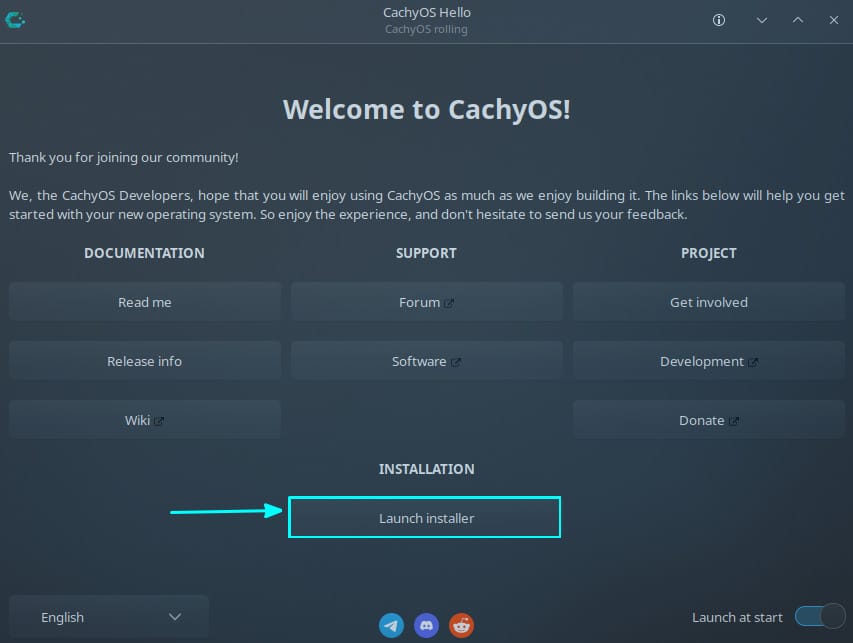
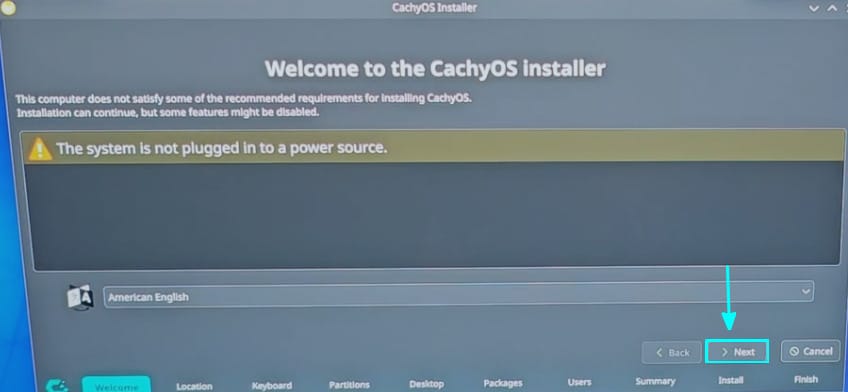
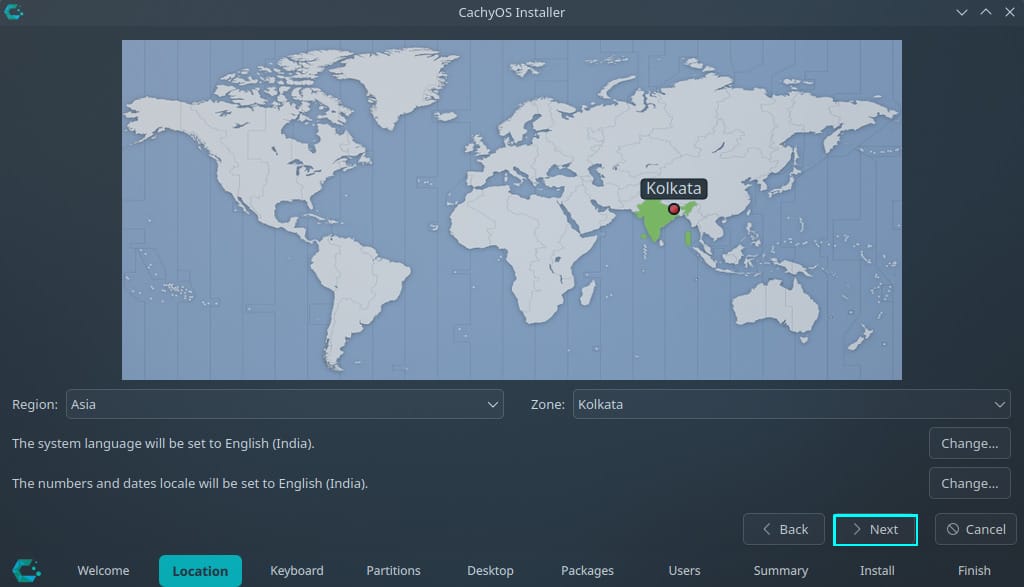
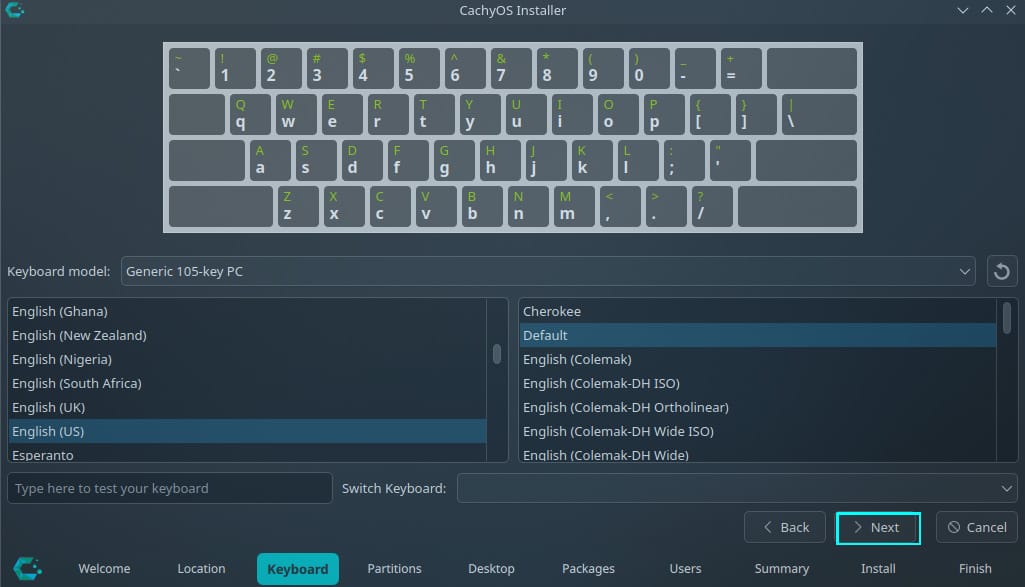
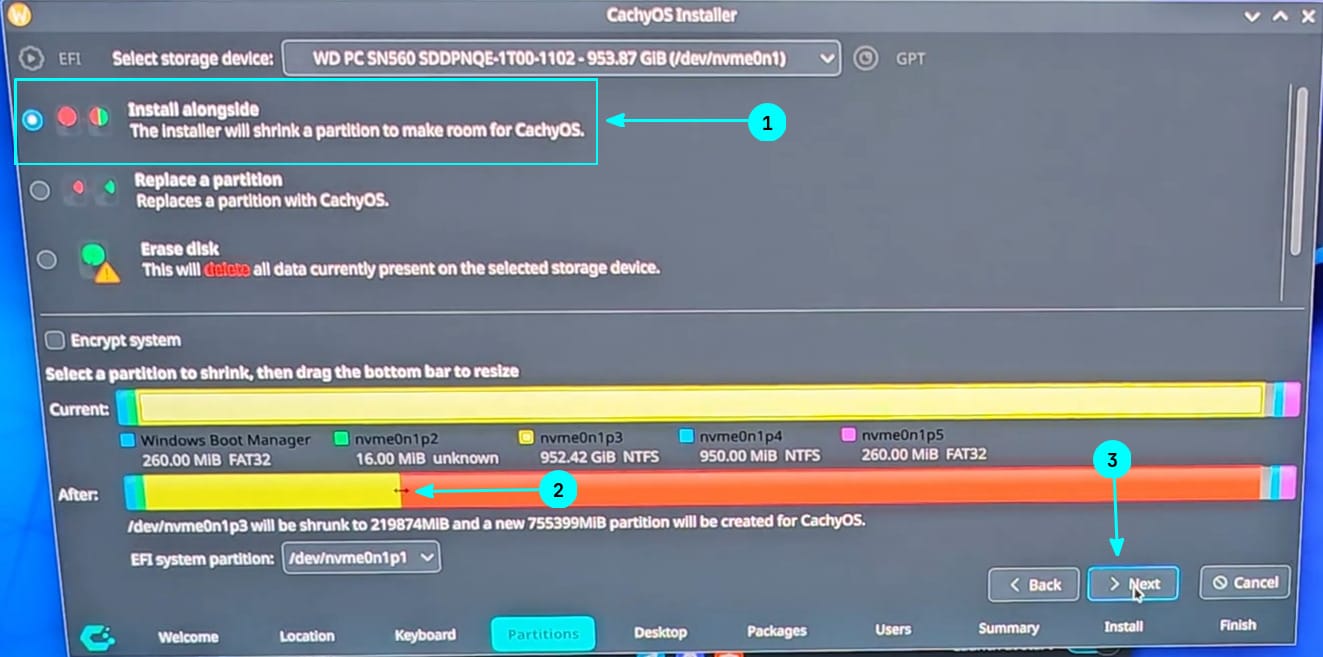
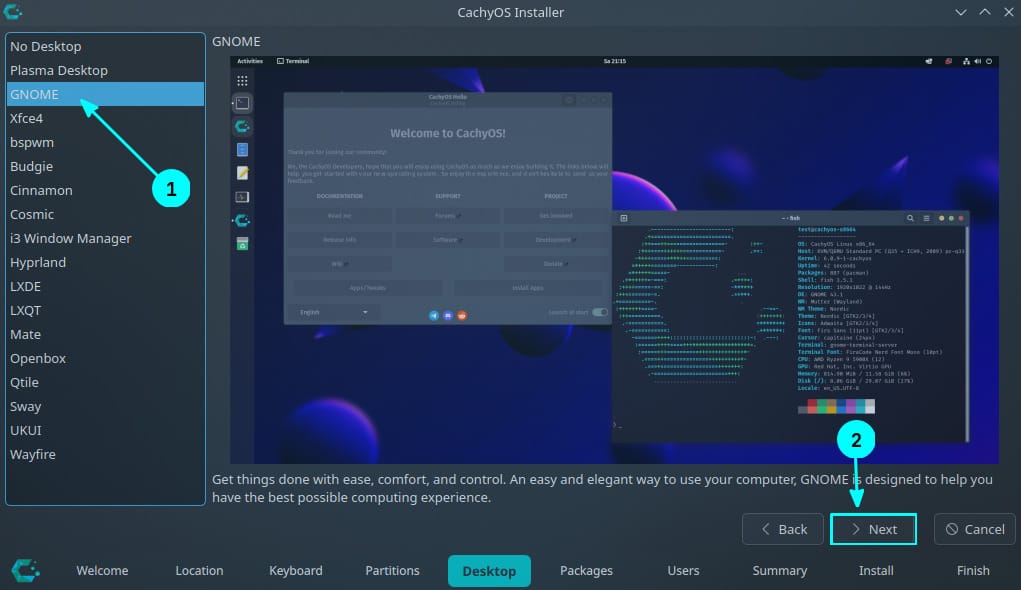
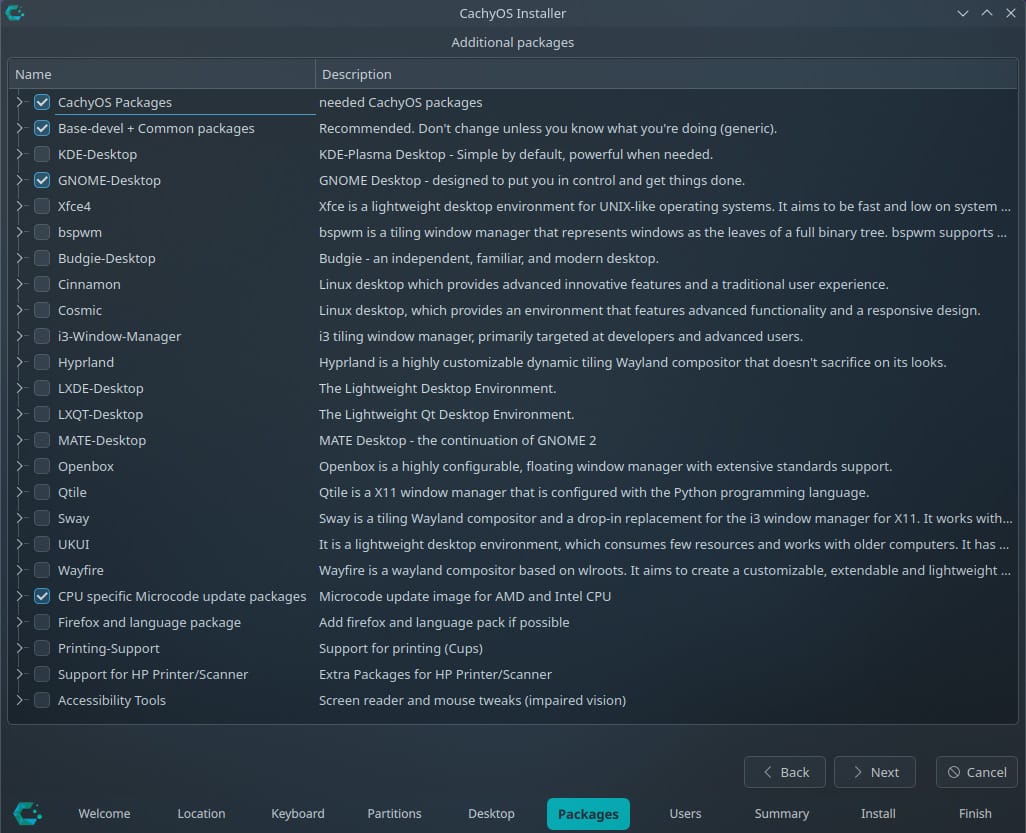
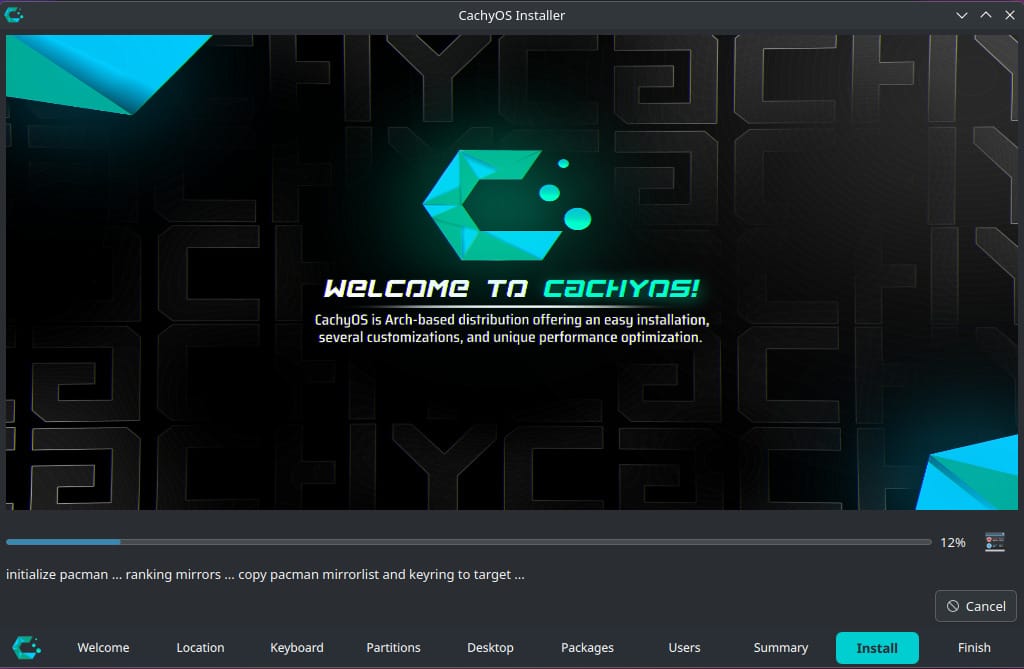
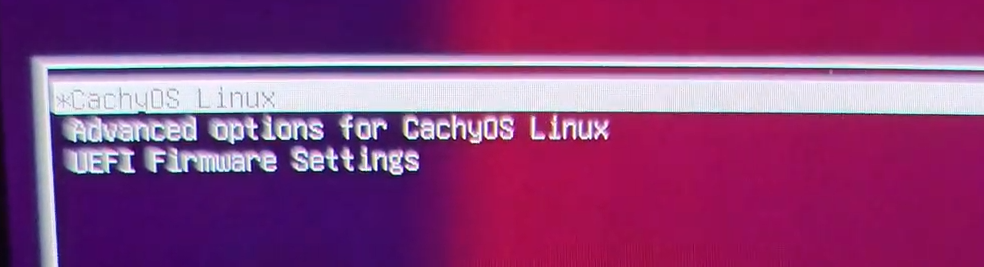
- Dual-booting CachyOS and Windows is a nice way to get the best of both worlds.
Firefox has finally introduced Tab Groups, join us as we explore it.

Desktop Linux is mostly neglected by the industry but loved by the community. For the past 12 years, It's FOSS has been helping people use Linux on their personal computers. And we are now facing the existential threat from AI models stealing our content.
If you like what we do and would love to support our work, please become It's FOSS Plus member. It costs $24 a year (less than the cost of a burger meal each month) and you get an ad-free reading experience with the satisfaction of helping the desktop Linux community.
👷 Homelab and Maker's Corner
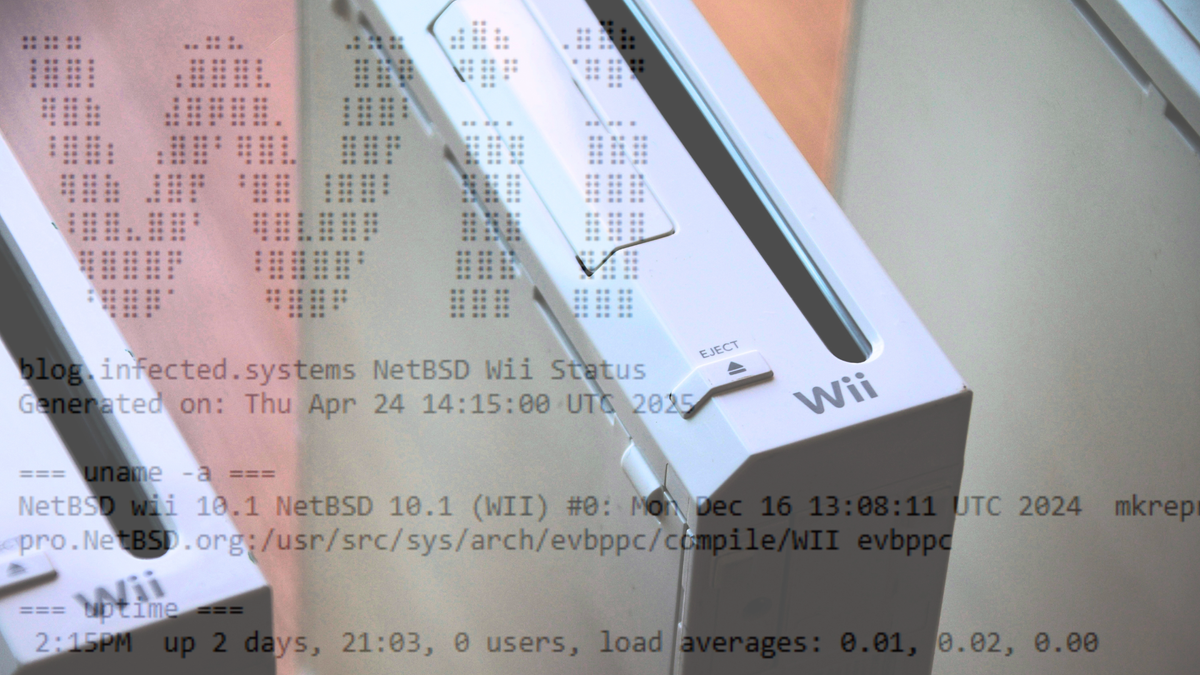
Someone managed to run a website on a Nintendo Wii.
✨ Apps Highlight
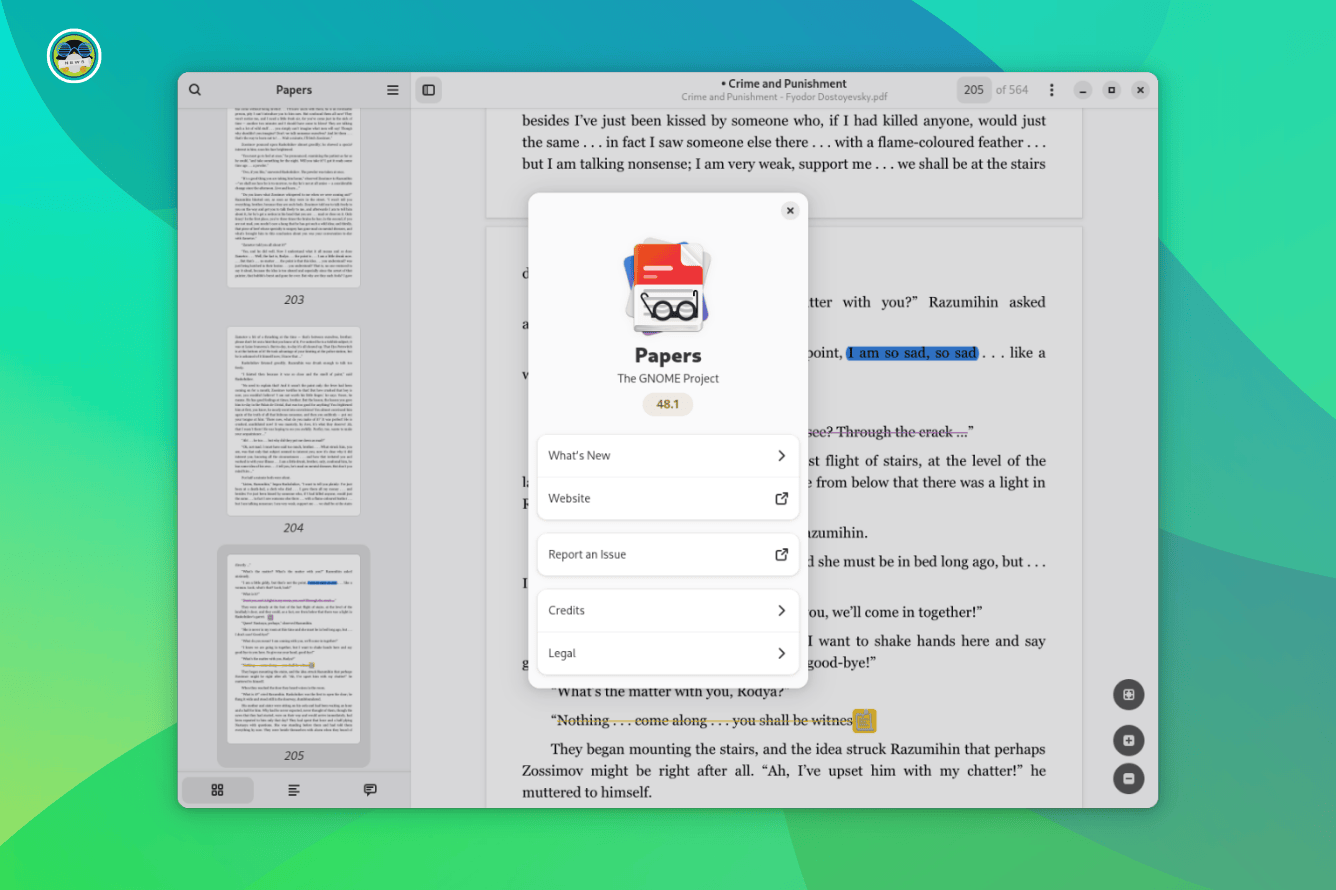
We tested out GNOME's new document viewer, Papers.
📽️ Videos I am Creating for You
🧩 Quiz Time
Test your Ubuntu knowledge with our All About Ubuntu crossword.

🛍️ Deal you might like
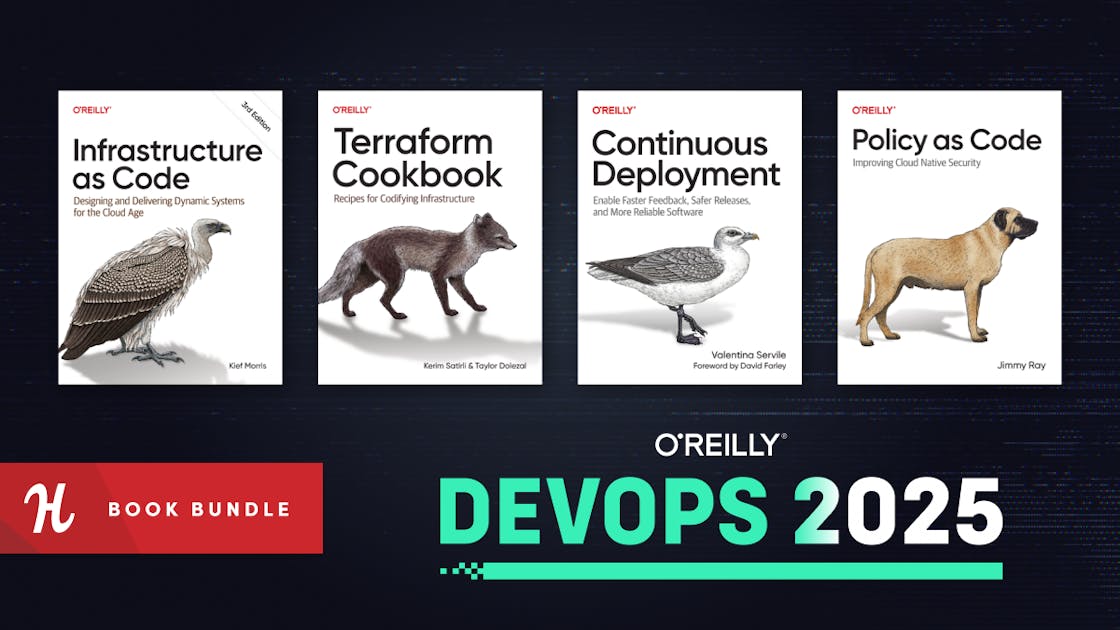
This e-book bundle is tailored for DevOps professionals and rookies alike—learn from a diverse library of hot courses like Terraform Cookbook, Continuous Deployment, Policy as Code and more.
And your purchase supports Code for America!
💡 Quick Handy Tip
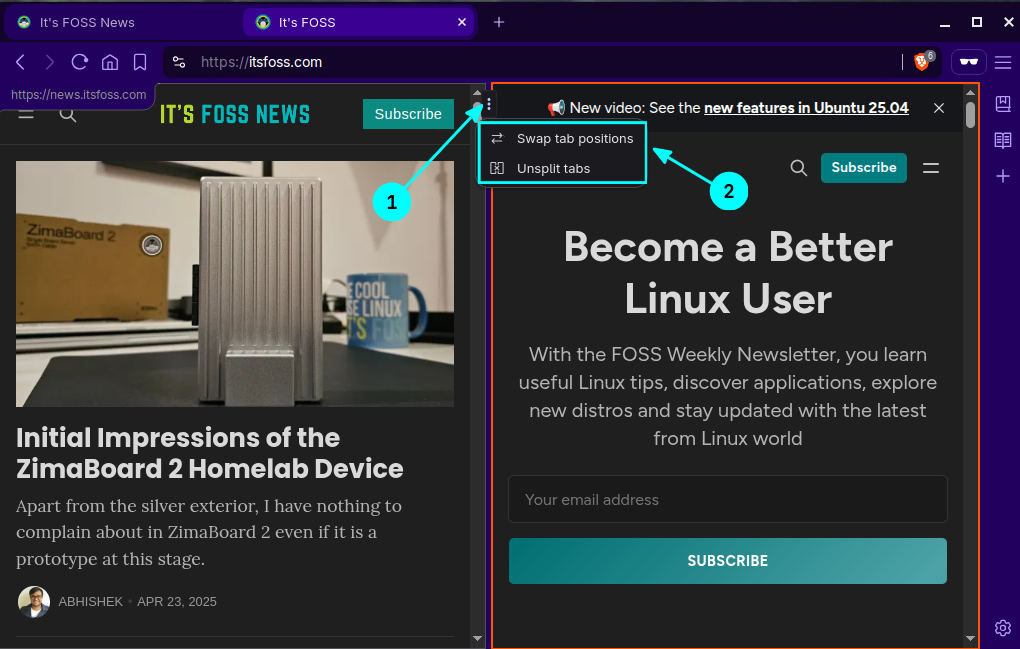
In Brave Browser, you can open two tabs in a split view. First, select two tabs by Ctrl + Left-Click. Now, Right-Click on any tab and select "Open in split view". The two tabs will then be opened in a split view.
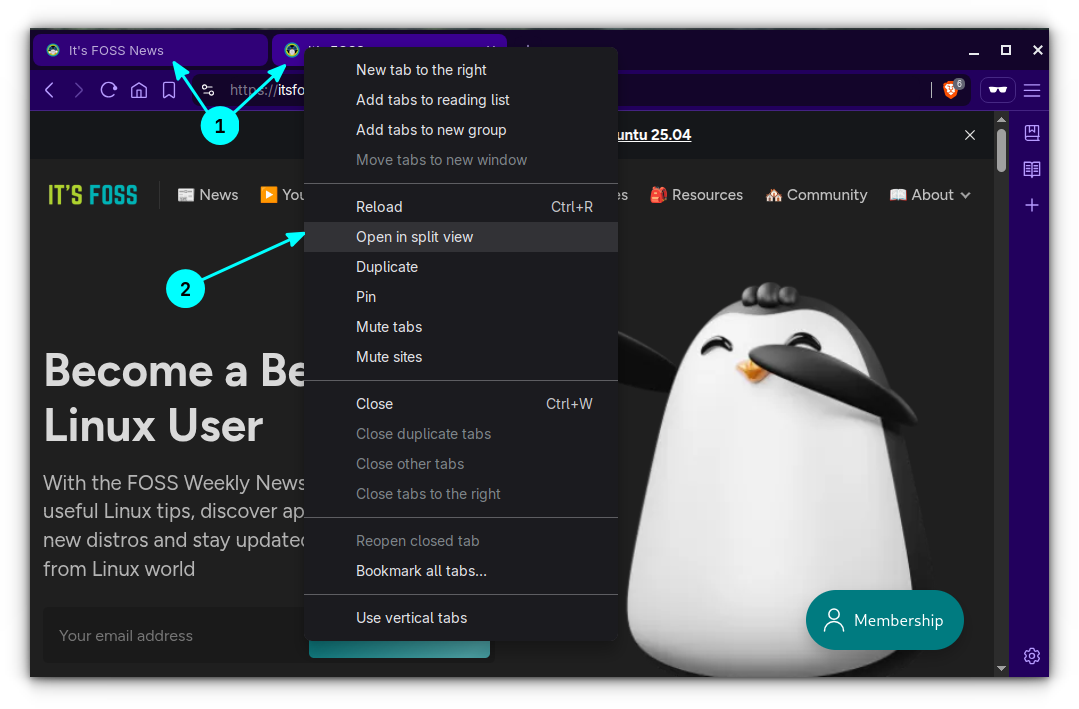
You can click on the three-dot button in the middle of the split to swap the position of tabs, unsplit tabs, and resize them.
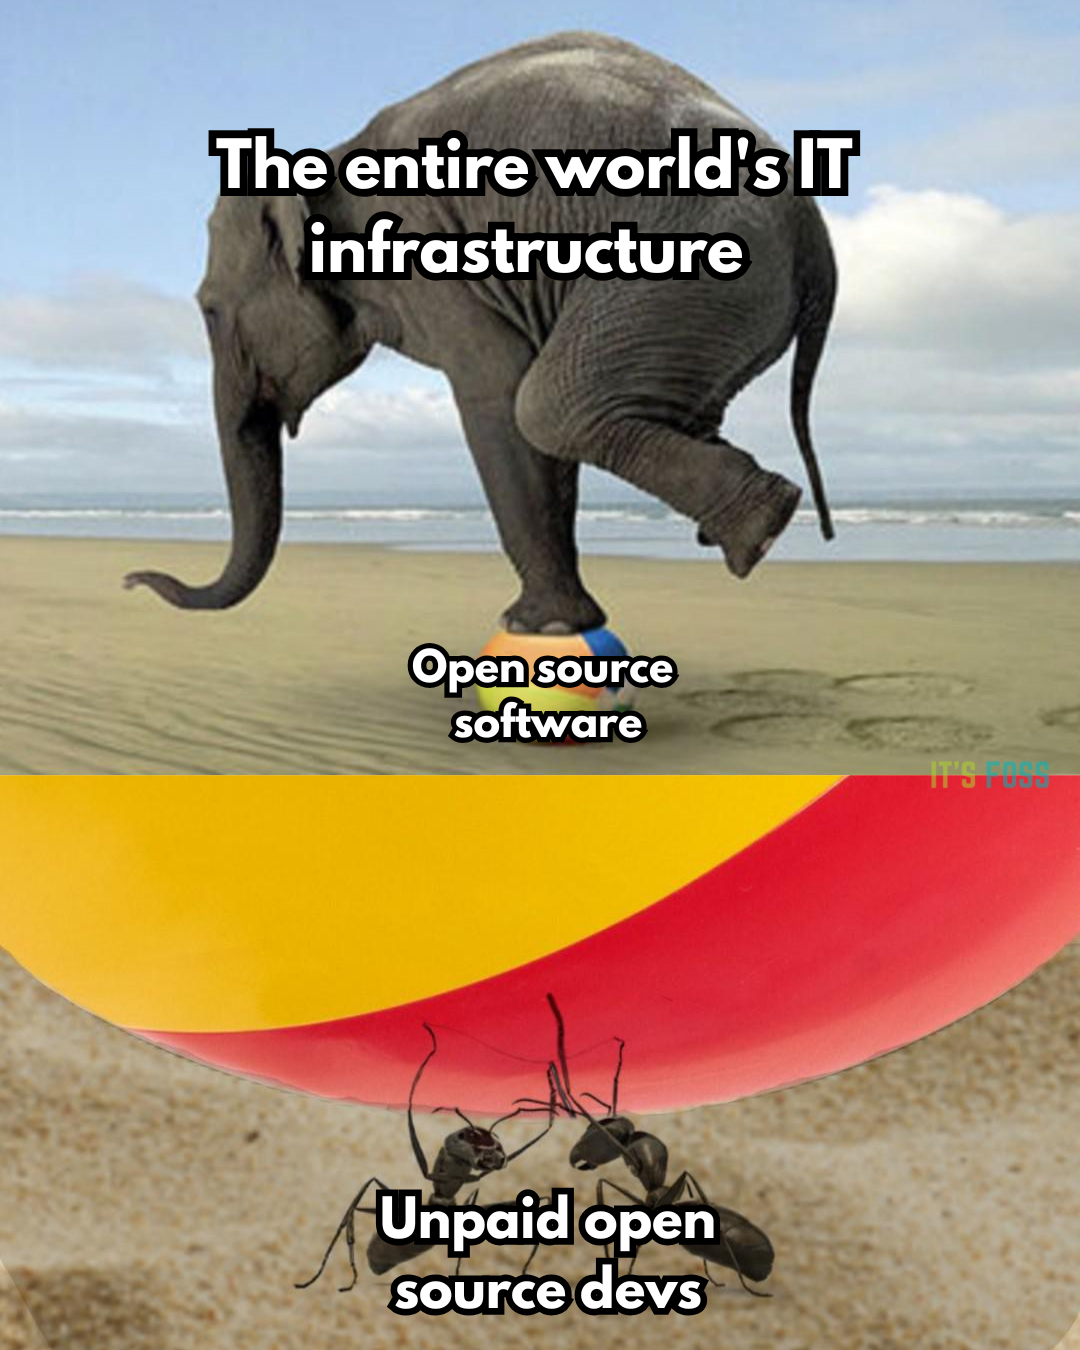
🤣 Meme of the Week
We really need to value them more 🥹
🗓️ Tech Trivia
On April 27, 1995, the U.S. Justice Department sued to block Microsoft’s $2.1 billion acquisition of Intuit, arguing it would hurt competition in personal finance software. Microsoft withdrew from the deal shortly after.
🧑🤝🧑 FOSSverse Corner
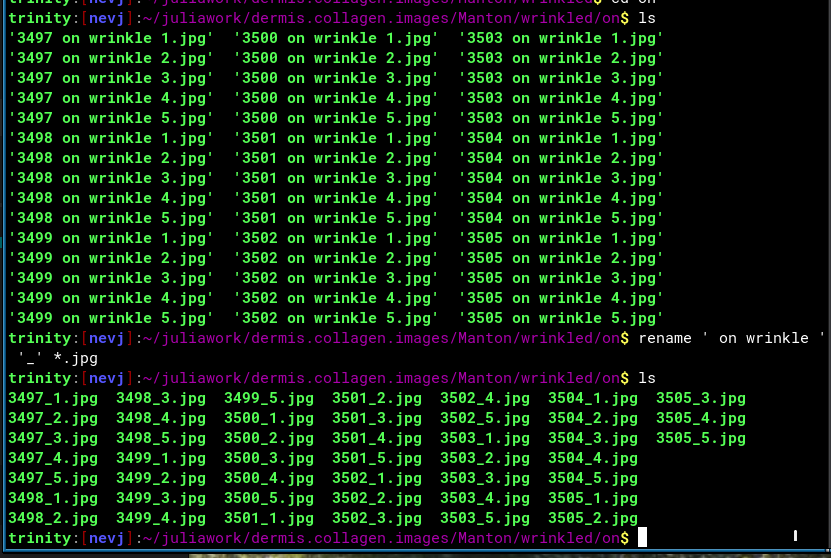
Know of a way to rename many files on Linux in one go? Pro FOSSer Neville is looking for ways:
❤️ With love
Share it with your Linux-using friends and encourage them to subscribe (hint: it's here).
Share the articles in Linux Subreddits and community forums.
Follow us on Google News and stay updated in your News feed.
Opt for It's FOSS Plus membership and support us 🙏
Enjoy FOSS 😄
from It's FOSS https://ift.tt/TOC6W7f
via IFTTT