Senin, 03 November 2025

I Used Instagram from the Linux Terminal. It’s Cool Until It’s Not.

I Used Instagram from the Linux Terminal. It’s Cool Until It’s Not.

It is time to talk about the most important love-hate relationship that has ever been. It is Instagram and... you.

Instagram has become irreplaceable if you're in a spot where you need to reach out to the world to present your work and follow others' in any area, be it art, music, dance, science, tech, modelling, etc. Being one of the biggest platforms, you can't skip out on it if you want to keep up with the world and the lives of your friends. But on the other hand, it is also one of the most distracting apps to exist because of the possibility and addictiveness of doomscrolling your hours into nothingness.

Worry not, because we once again bring you the way to make your life better. The solution, unsurprisingly, lies in the Linux terminal (as most of them do), which will be your next Instagram Client.

Well, actually it is not, as you'll read in this article. But before you do that, check out It's FOSS Instagram account as we are killing it with some realli infotaining stuff. 92K+ people are the proof of that.

Behold Instagram-CLI! And it's not from Meta
I Used Instagram from the Linux Terminal. It’s Cool Until It’s Not.

Claiming to be the "ultimate weapon against brainrot", Instagram-CLI provides an exciting option to use Instagram through your terminal. Said mission is achieved by limiting possible actions to only three things: checking your messages, your notifications, and your feed (consisting only of the accounts that you have followed).

Sliding into the DMs via CLI

The command to access the chats is:

instagram-cli chat

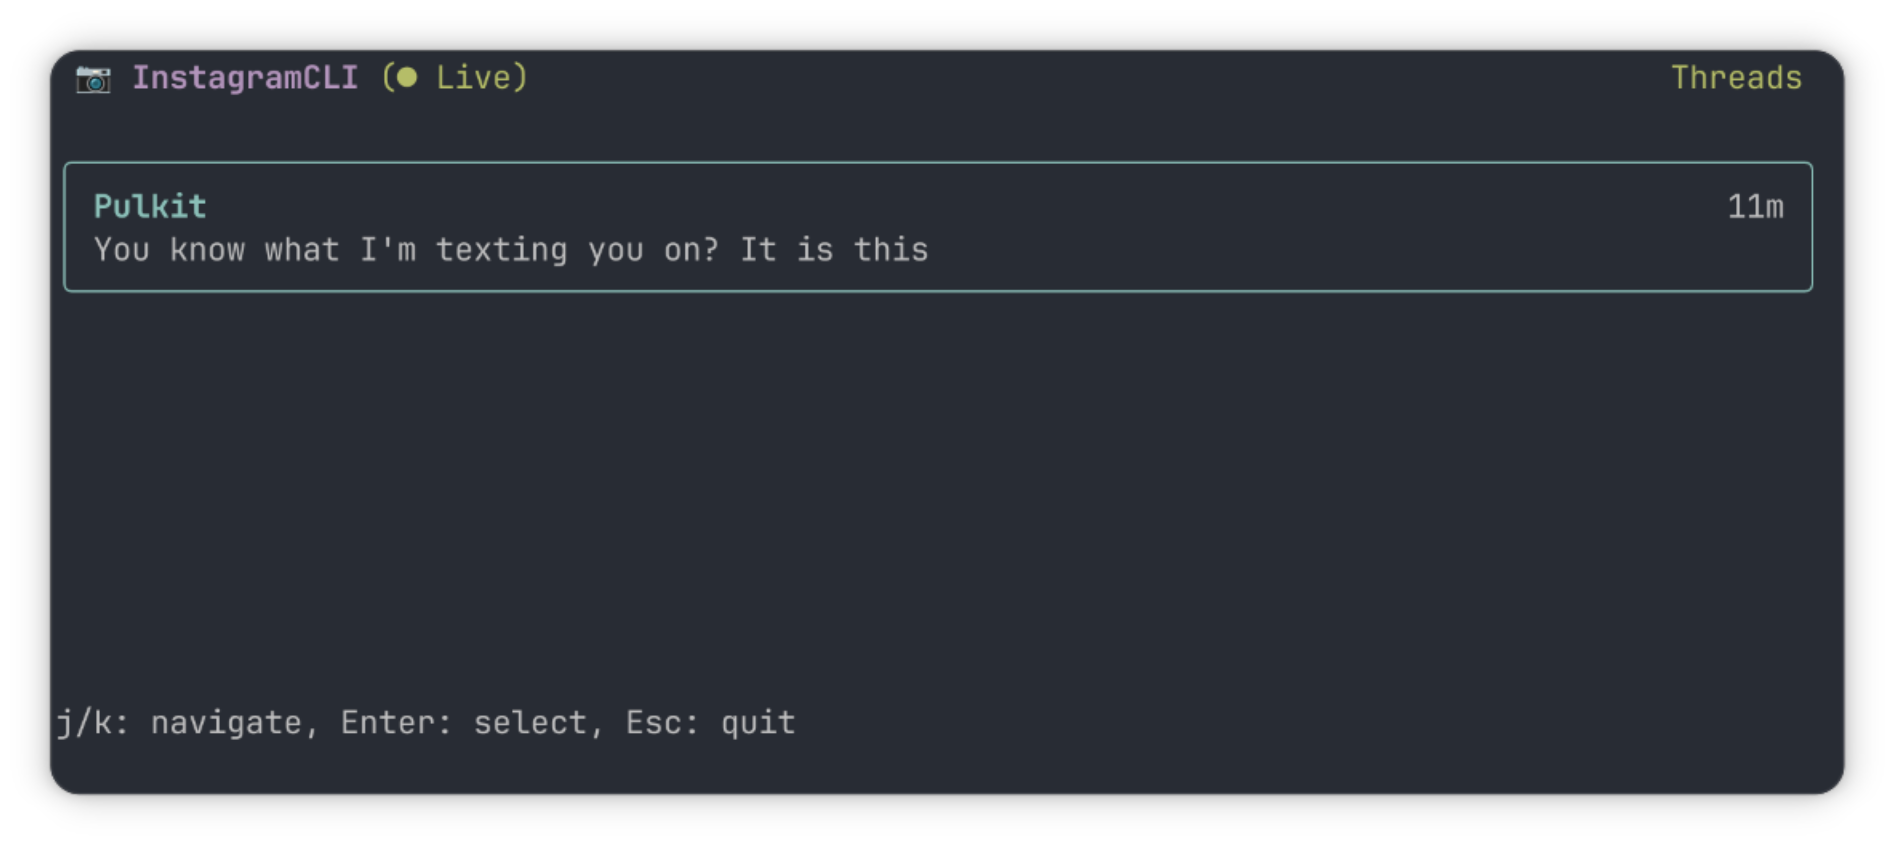
The interface of which looks like this:
I Used Instagram from the Linux Terminal. It’s Cool Until It’s Not.

The navigation is quite simple. j/k keys to scroll through the accounts you can chat with (J/K to select the absolutely first or the absolutely last chat), when you press Enter to choose the chat you want to access. When chatting with someone, you can obviously just write your texts in the chat-box and hit Enter to reply. But if you either want to reply, react or unsend a message, it all starts with the input:

:select

After writing that and pressing Enter, you can navigate through the texts using j/k keys (again, J/K to select the absolutely first or the absolutely last text) and select one for an action. To send a reply saying "You have been replied to.", the input will look like:

:reply You have been replied to.
0:00
/0:19

To embed an emoji in a normal text, you can do it as so:

You have been replied to :thumbsup:

To unsend the message, the input given is:

:unsend

And to react, say with a thumbs-up emoji, the input will look like:

:react thumbsup

To mention someone in a group chat, you can use the "@" as usual, and you can even send files using a simple hashtag. It even supports autocomplete after the hashtag, similar to how it would on the terminal itself. So to send a file called "test.png" that is in your Downloads directory alongside a message, simply write:

This is image testing #Downloads/test.png

It does take a while for a file to be sent, though. I have demonstrated the process in this video:

0:00
/0:24

However, to send the file on its own, you can use:

:upload #Downloads/test.png
🗒️
It is worth noting that the behavior of this chat is very inconsistent. In my personal experience, I have not been able to make the emoji reactions work even though I executed it exactly as they had shown, and while the messages with emojis do get sent, they don't show up on the texting window and disappear from the Instagram official app/website after reloading. The replying function is also a hit or miss.

Goota check the feed

To access your feed, you can simply enter:

instagram-cli feed

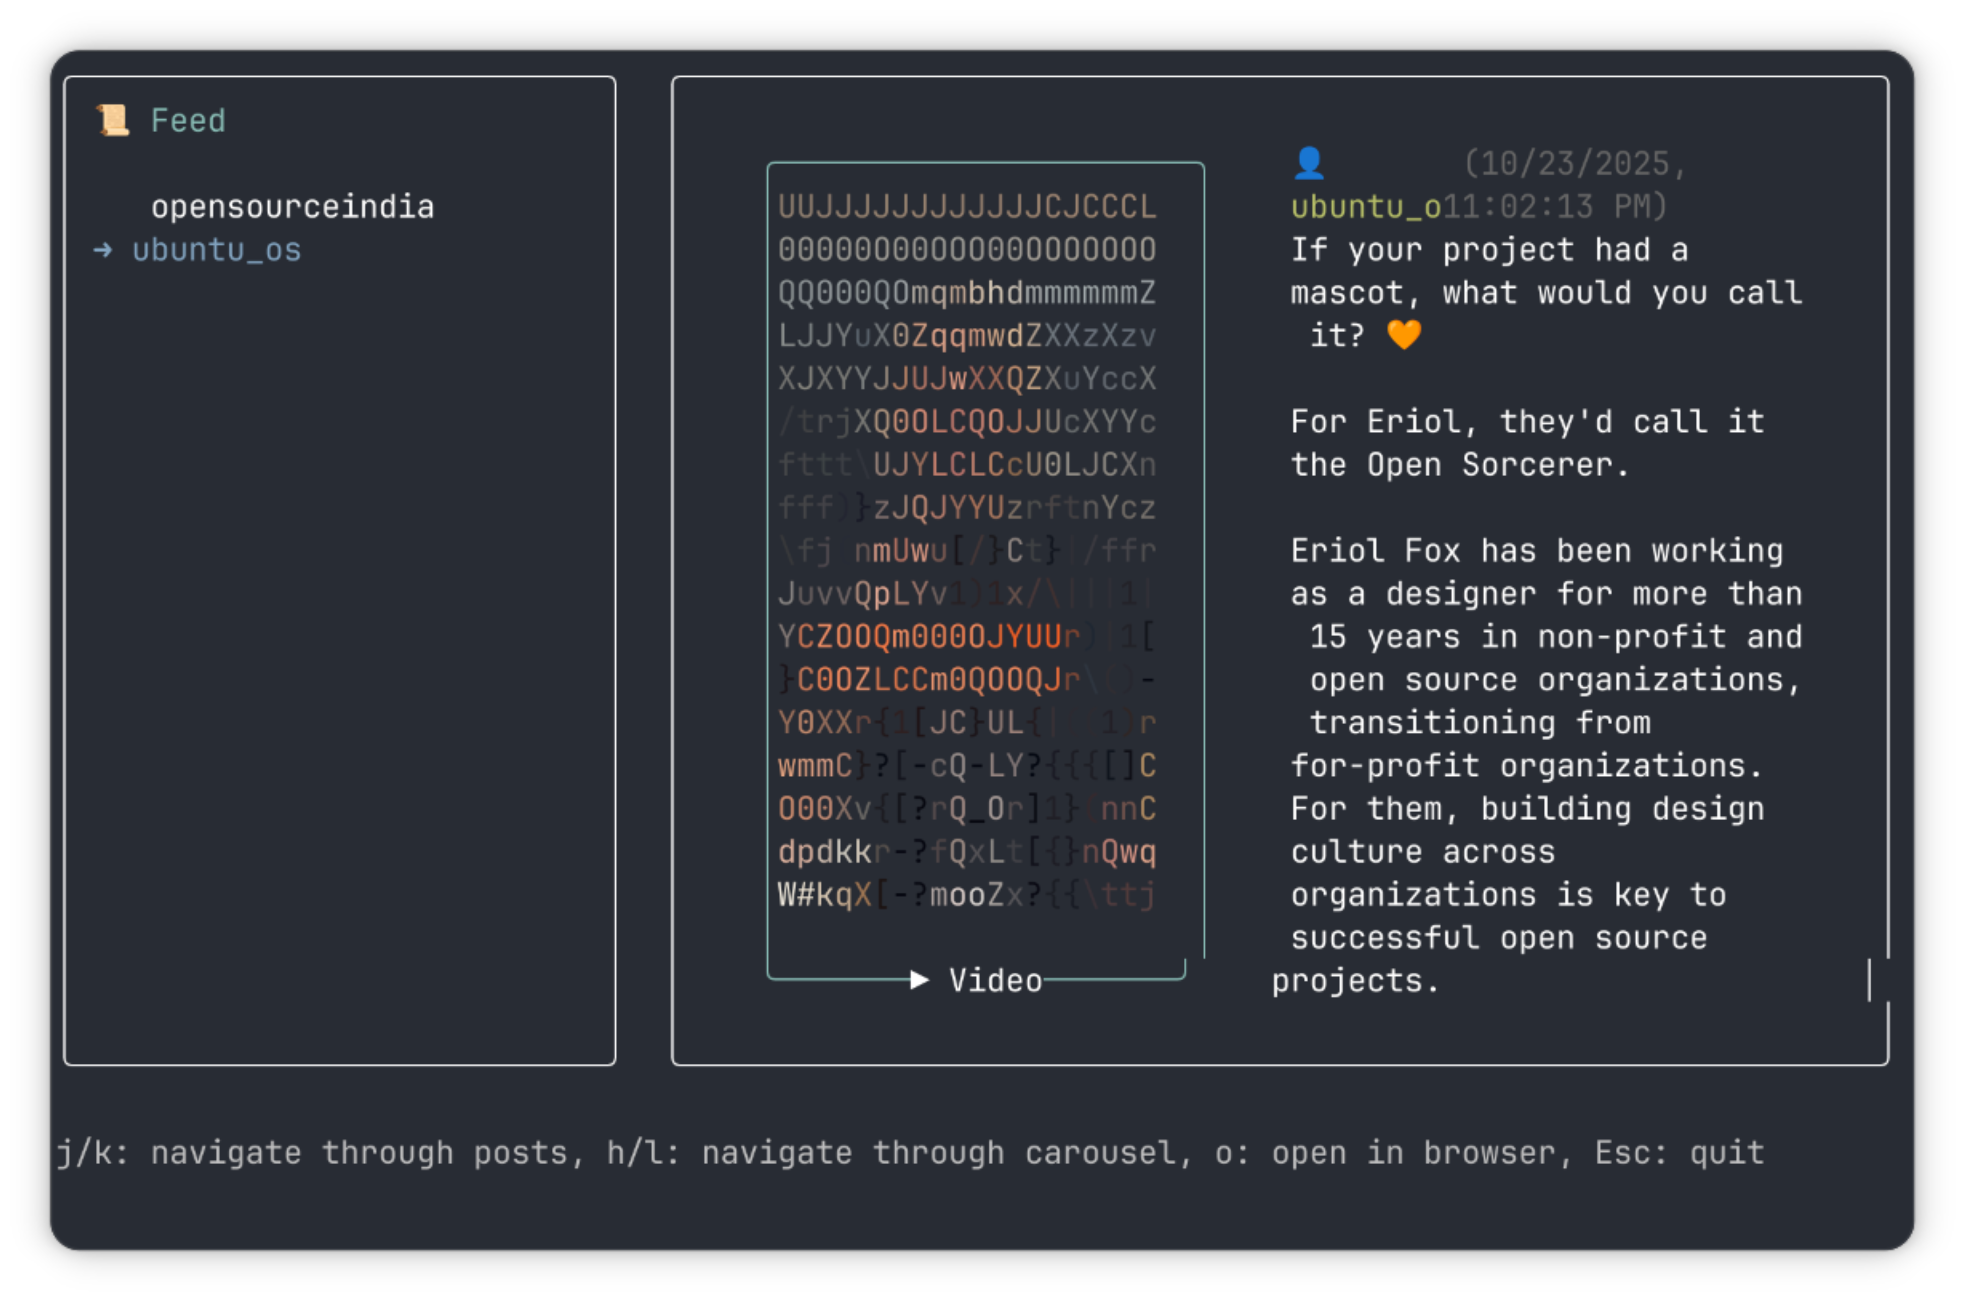
This brings up your feed, where you can scroll through the posts using j/k and through the carousel of a single post using h/l. If you do it for the first time without much configuration, the images in your feed will look something like this:
I Used Instagram from the Linux Terminal. It’s Cool Until It’s Not.

The graphics by default are ASCII, and that might not be something you want, considering the fact that nothing is quite clear (however cool it may be). So how do you fix that? You switch the image mode with the following command:

instagram-cli config image.protocol kitty

Now, the graphical media will look... well, graphical:
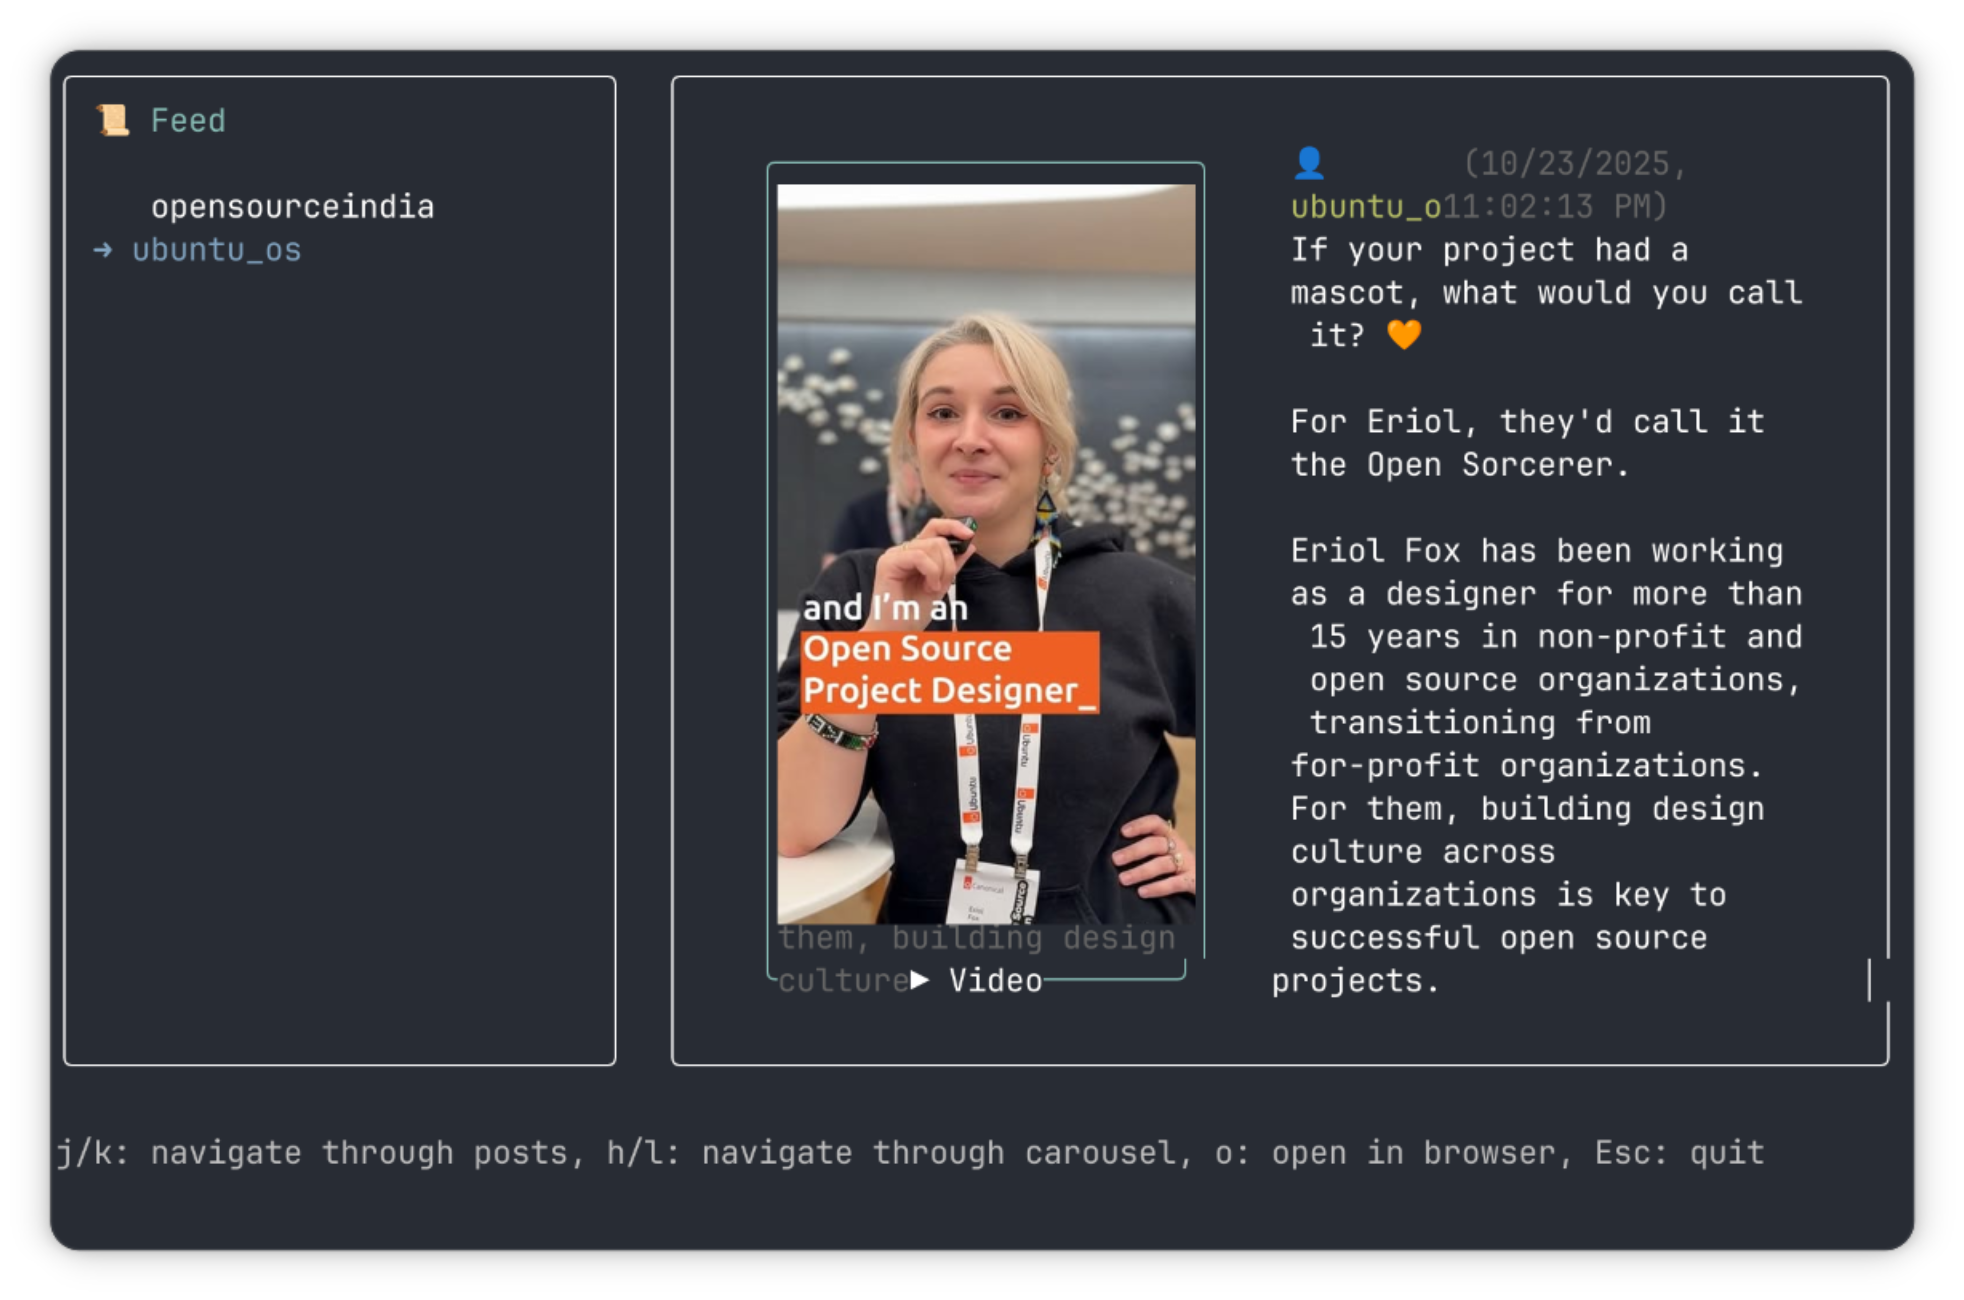
I Used Instagram from the Linux Terminal. It’s Cool Until It’s Not.

If it doesn't work, try using a terminal like Ghostty or Kitty.

If you want to switch back, replace the "kitty" in the command with "ascii". In total, there are 6 imaging options Instagram-CLI provides: "ascii", "halfBlock", "braille", "kitty", "iterm2", "sixel", or "", but knowing only these two might suffice.

🗒️
The feed is quite janky. It automatically scrolls through posts rather inconsistently and doesn't always respond well to the scrolling input. The often images don't sit well within the boxes that they are contained in, making it feel a little rough around the edges.

Notify my terminal

This simply requires one command, and there isn't much more to it:

instagram-cli notify
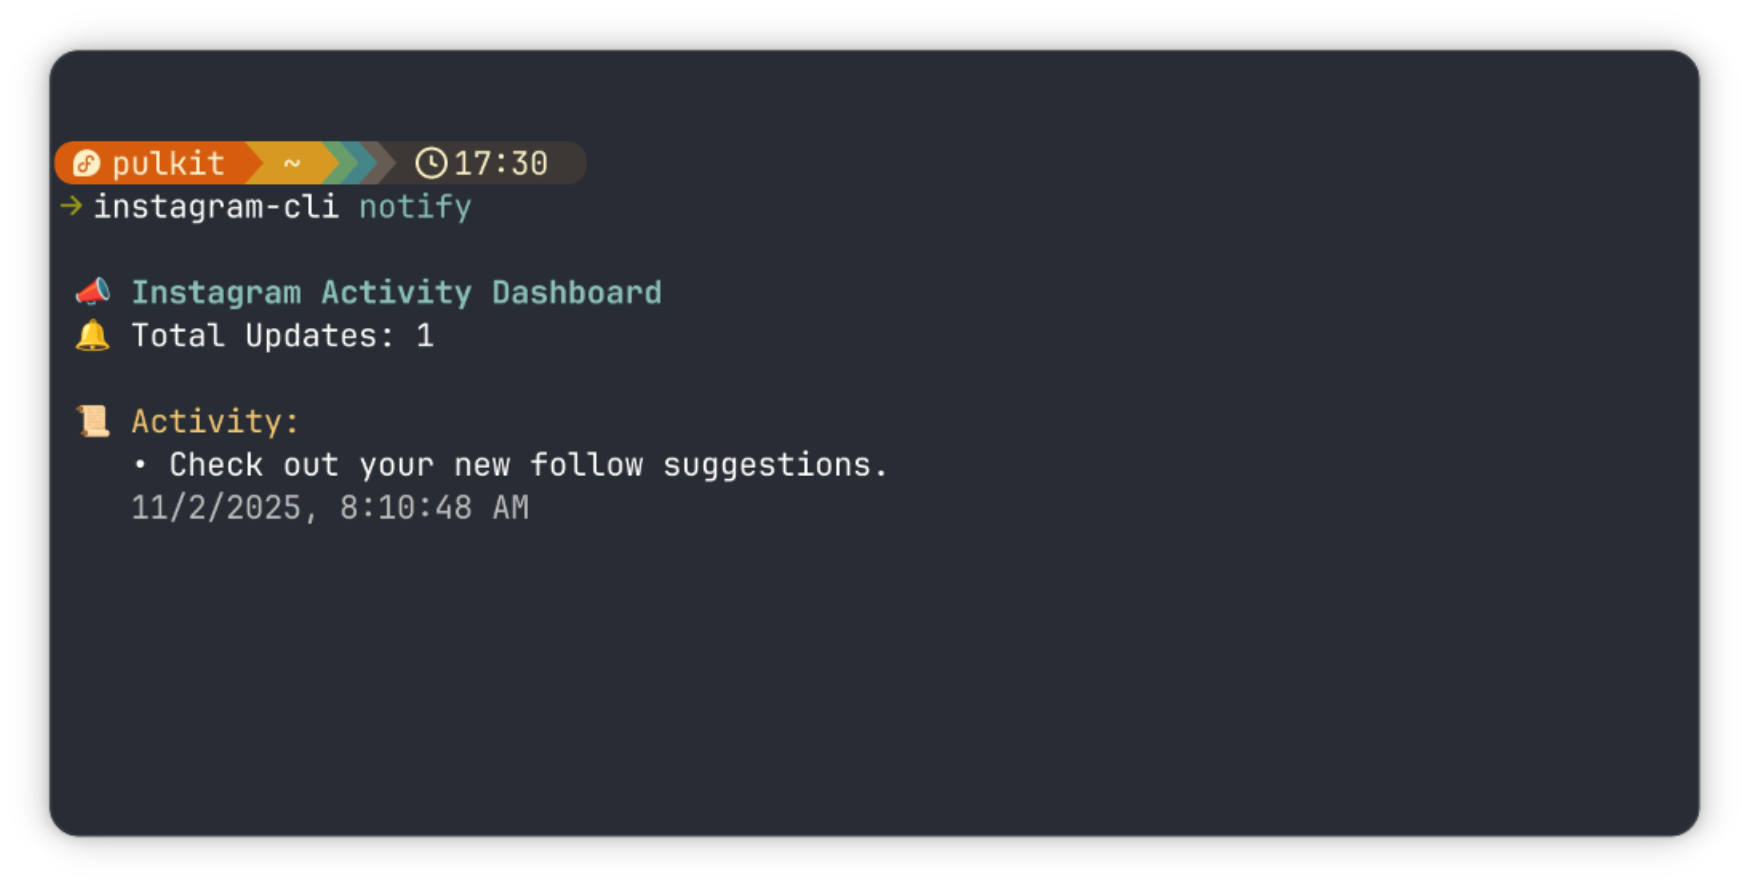
I Used Instagram from the Linux Terminal. It’s Cool Until It’s Not.

Authenticating in the CLI

Logging in can be done with the simple username-password combination after entering the following command:

instagram-cli auth login --username

You can log into multiple accounts in this manner, which you can switch among through this command:

instagram-cli auth switch <username>

In case you forget what account is currently active, you can ask it who you are:

instagram-cli auth whoami

And to finally log out of your currently active account, simply enter:

instagram-cli auth logout
🚧
This was is perhaps the most important warning of all. I tried to log into my personal account on Instagram-CLI and Instagram flagged it as suspicious behavior calling it scraping. I was locked out of my account for a little bit because of it, so log in at your own risk. We recommend using a dummy account that is expendable.

Config if you can

Since it offers a bunch of configuration options, it only makes sense to have a command that can list them all at once so you can keep a track of it all:

instagram-cli config

Any of the values can be changed with:

instagram-cli config <key> <value>

But if you want to change multiple keys at once, you can simply edit the config file as a text file at once:

instagram-cli config edit

Try it (but perhaps not risking your main account)

The recommended method for installation of the program uses npm, so make sure that you have that preinstalled on your system. If not, you can install it using:

sudo curl -qL https://www.npmjs.com/install.sh | sh

And then to install Instagram-CLI on your system, enter:

sudo npm install -g @i7m/instagram-cli

Alternatively, if you want to install it without npm, you can use Python:

sudo pip3 install instagram-cli
🚧
The project developers have asked specifically not to use the same account if you have both the clients installed.

💡 Bonus Banner

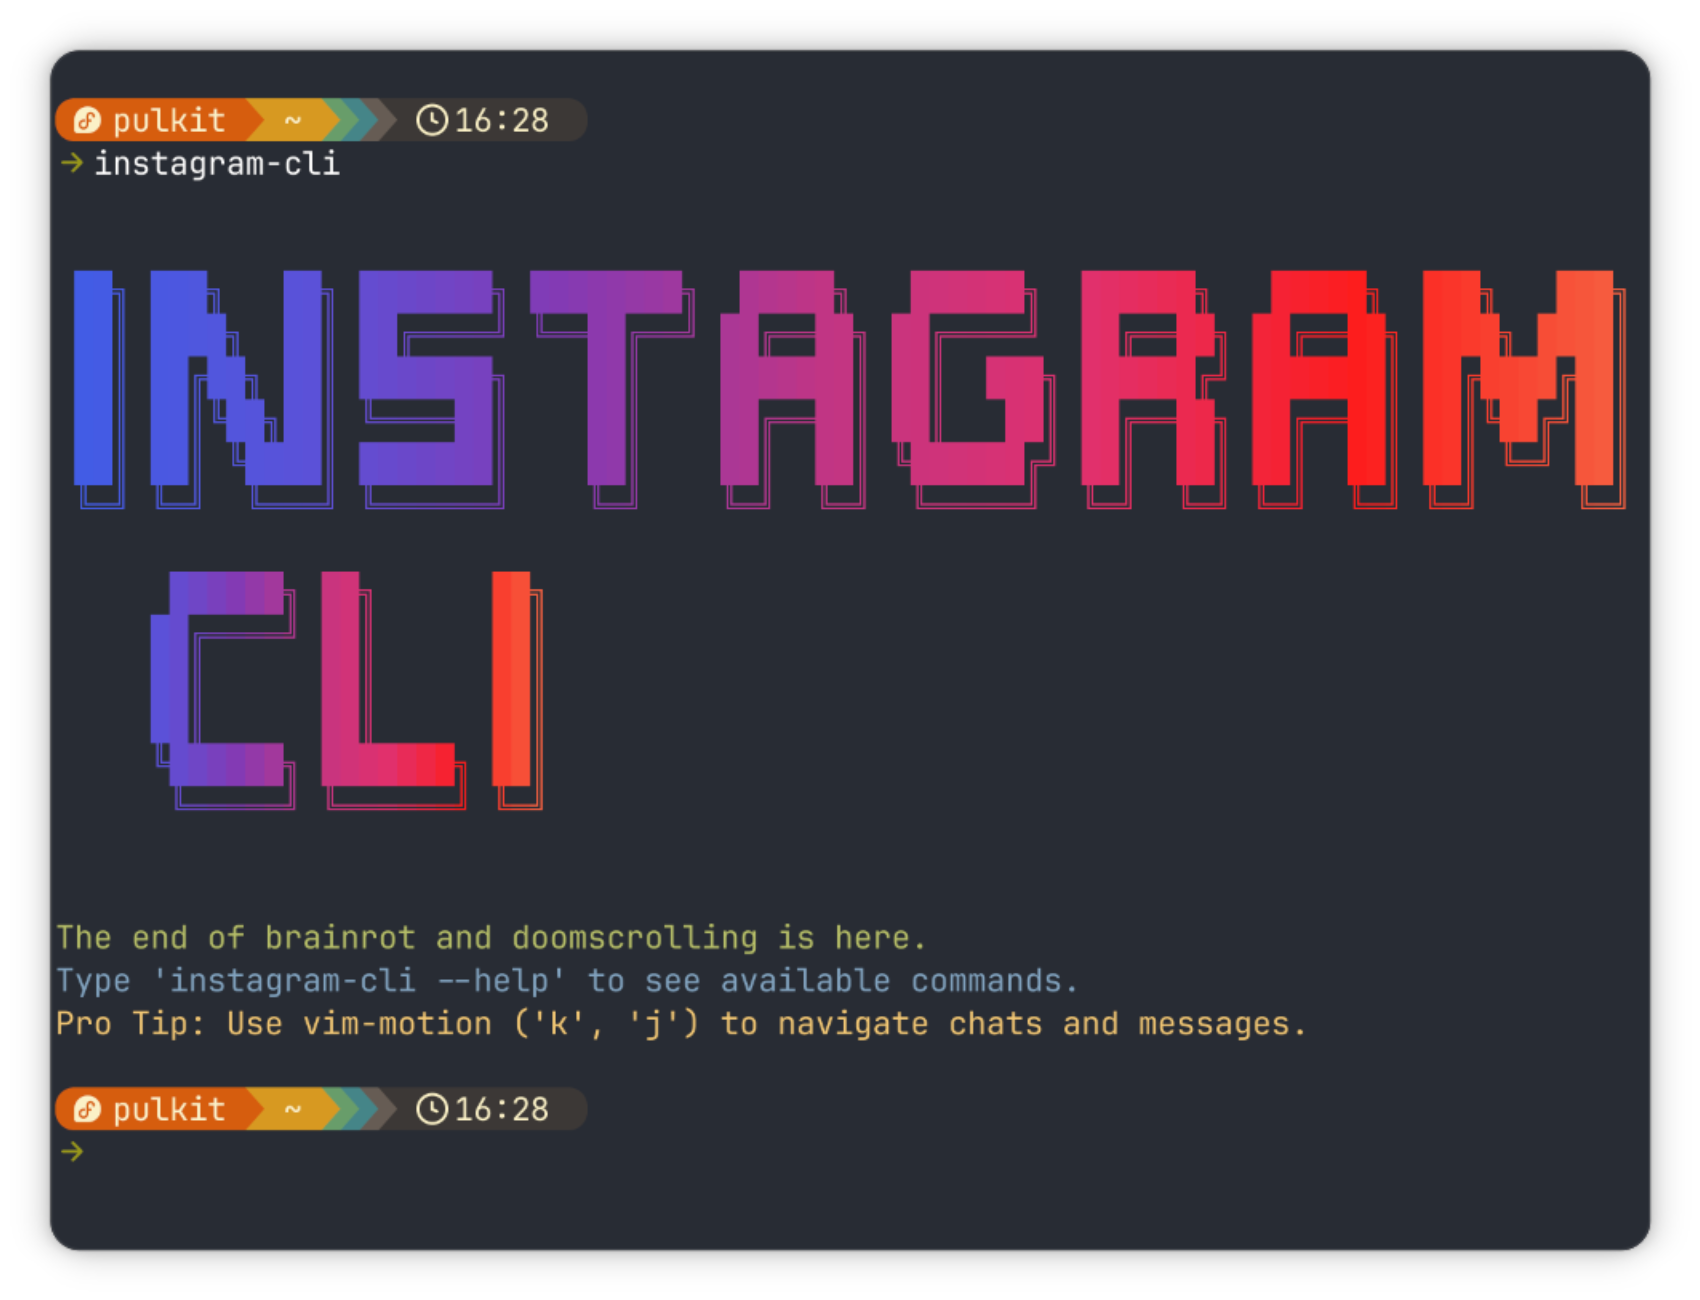
If you want to recreate the banner at the beginning of the article (perhaps to show off the capabilities of your terminal), enter the command without any other parameters:

instagram-cli

Wrapping Up

Instagram-CLI is an interesting initiative because of the way it reduces your screentime while still giving you an option to socialize. Not to forget, it helps you avoid Meta's trackers. Helps you simultaneously improve your social media habits while also managing your FOMO.

The project is still very clearly quite rough around the edges, which has more to do with Meta's policies than the developers themselves. It is a hit or miss, but it might just work for your account, so give it a shot. But if you see your account flagged, you know what you got to do.

Let us know what you think about this it in the comments. Cheers!


from It's FOSS https://ift.tt/ByVWbD3
via IFTTT
Minggu, 02 November 2025

The (Almost) Perfect Linux Marketplace App for Flatpak Lovers

The (Almost) Perfect Linux Marketplace App for Flatpak Lovers

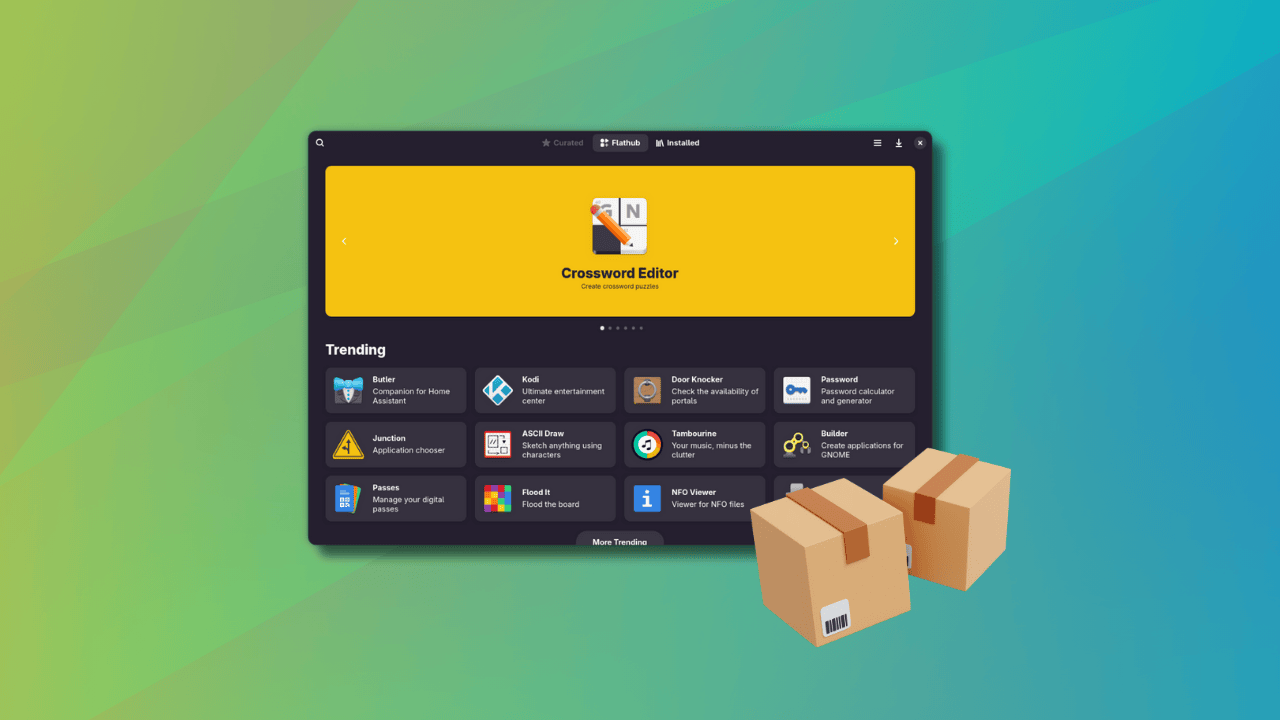
Do we need a separate, dedicated software center application for Flatpaks? I don't know and I don't want to go in this debate anymore. For now, I am going to share this new marketplace that I have come across and found intriguing.

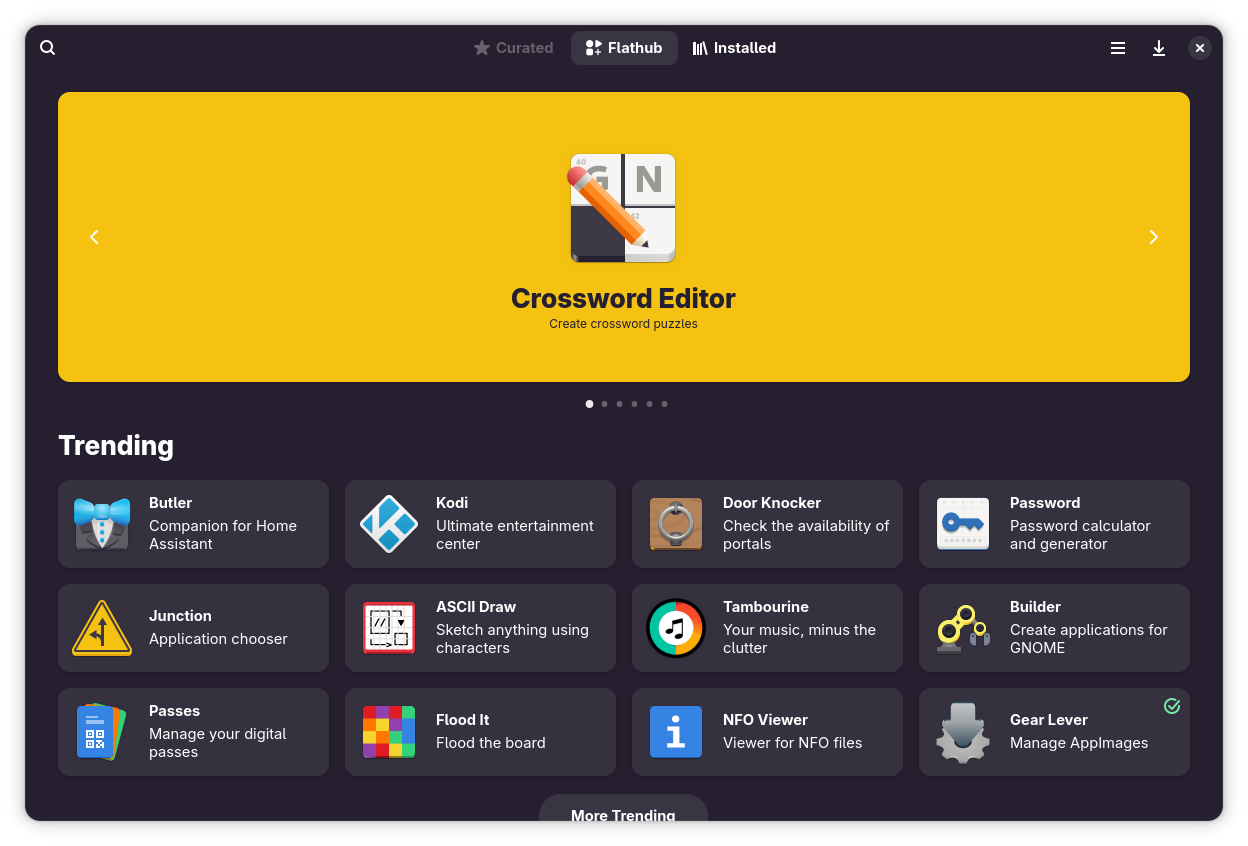
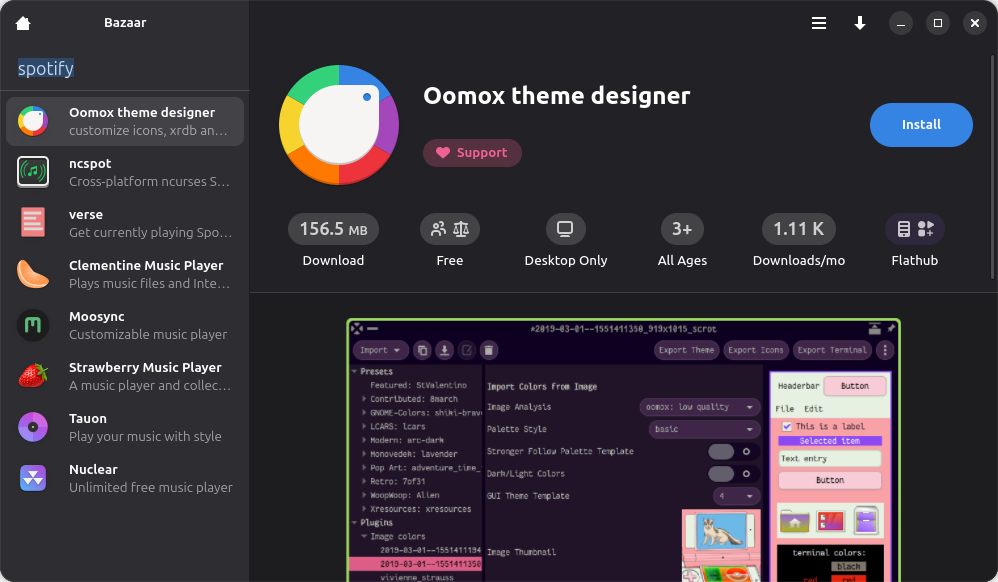
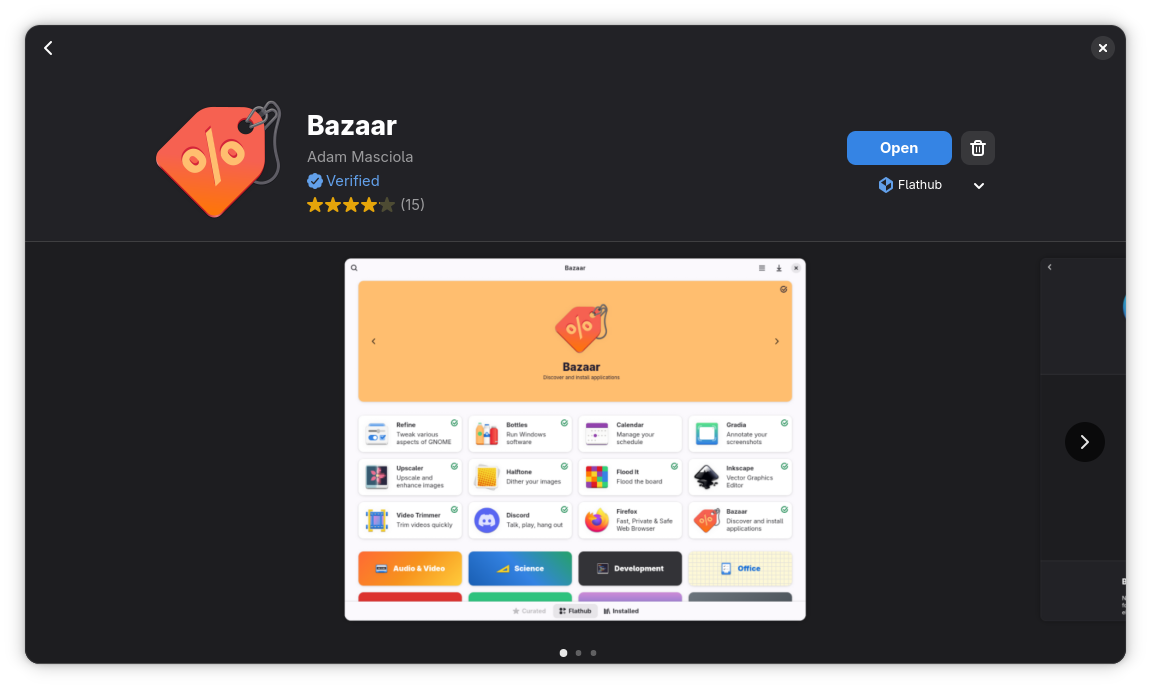
Bazaar is a modern Flatpak app store designed with GNOME styles. It focuses on discovering and installing Flatpak apps, especially from Flathub. In can se you did not know already, bazaar means market or marketplace. A suitable name, I would say.

The (Almost) Perfect Linux Marketplace App for Flatpak Lovers

Bazaar: More than just a front end for Flathub

As you'll see in the later sections, Bazaar is not perfect. But then nothing is perfect in this world. There are scopes for improvement but overall, it provides a good experience if you are someone who frequently and heavily use Flatpaks on GNOME desktop. There is a third-party KRunner plugin for KDE Plasma users.

Let's explore this Bazaar and see what features it offers. If you prefer videos, you can watch its features in our YouTube video.

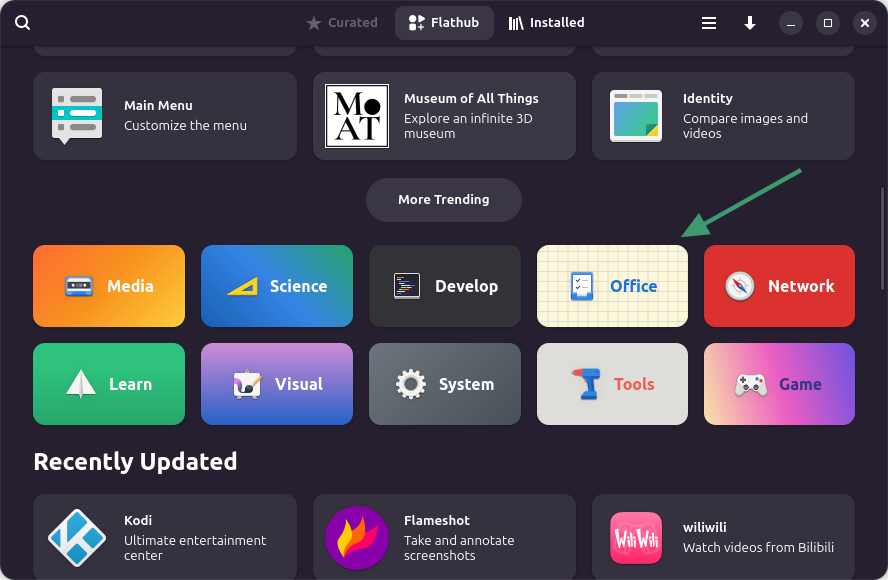
Apps organized into categories

Like GNOME software, several app categories are available in Bazaar. You can find them on the homepage itself. If you are just exploring new apps of your interest, this helps a little.

The (Almost) Perfect Linux Marketplace App for Flatpak Lovers
App categories

Search and install an app

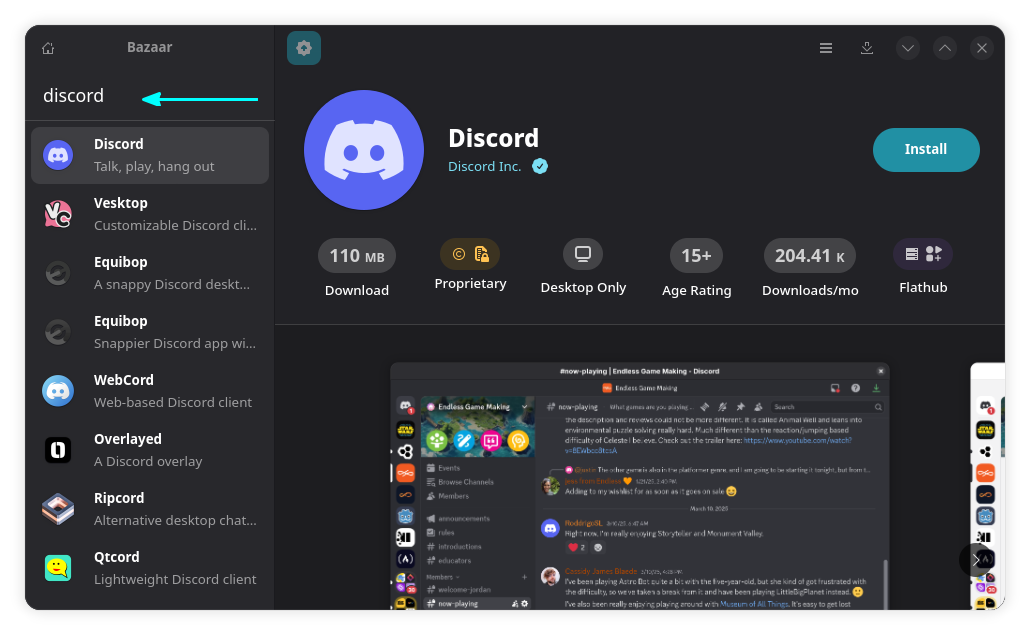
Of course, you can search for an application, too. Not only you can search with its name, you can also search for its type. See, Flathub allows tagging apps and this helps 'categorizing' apps in a way. So if you search for text editor, it will show the applications tagged with text editor.

The (Almost) Perfect Linux Marketplace App for Flatpak Lovers
Search Apps

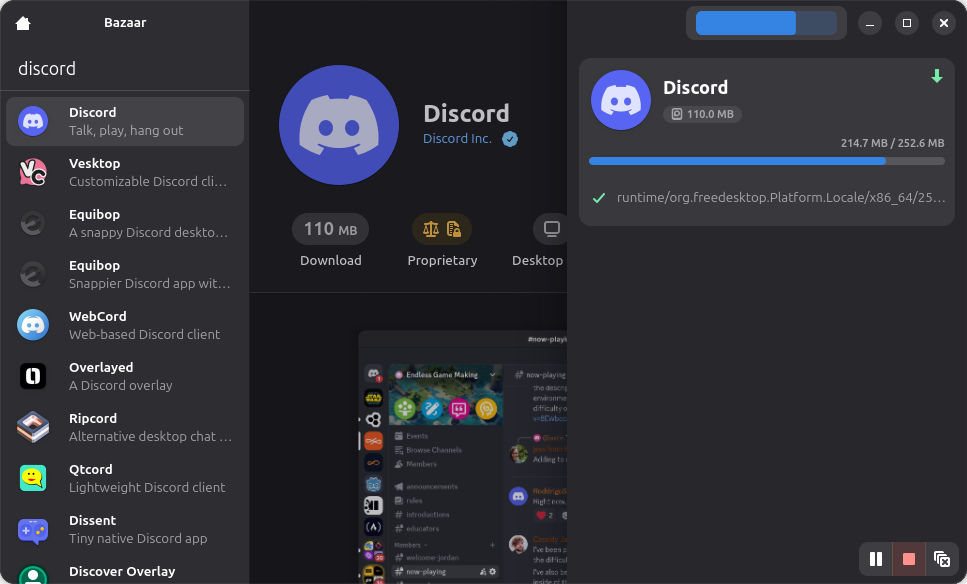
When you hit the install button, you can see a progress bar on the top-right. Click on it to open the entire progress bar as a sidebar.

The (Almost) Perfect Linux Marketplace App for Flatpak Lovers
Progress bar

It shows what items and runtimes are being installed. You can scroll down the page of the package to get more details, screenshots of the project, and more.

Accent colors

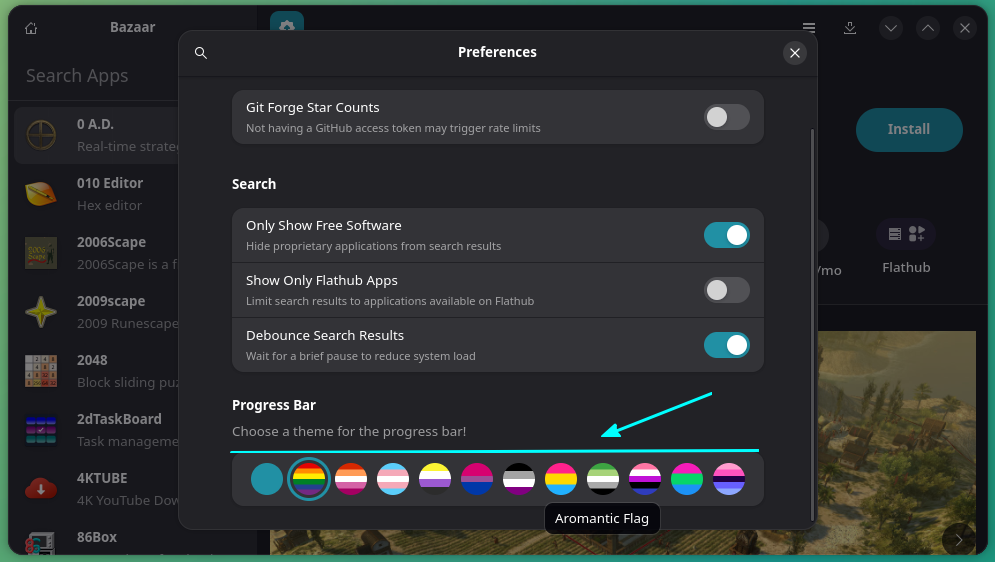
The progress bar you saw above can be customized a little. Click the hamburger menu to access preferences and then go to the Progress Bar section. You'll find the options to choose a theme for the progress bar. These themes are accent colors represent LGBTQ and their sub-catrgories.

The (Almost) Perfect Linux Marketplace App for Flatpak Lovers
Progress bar style settings

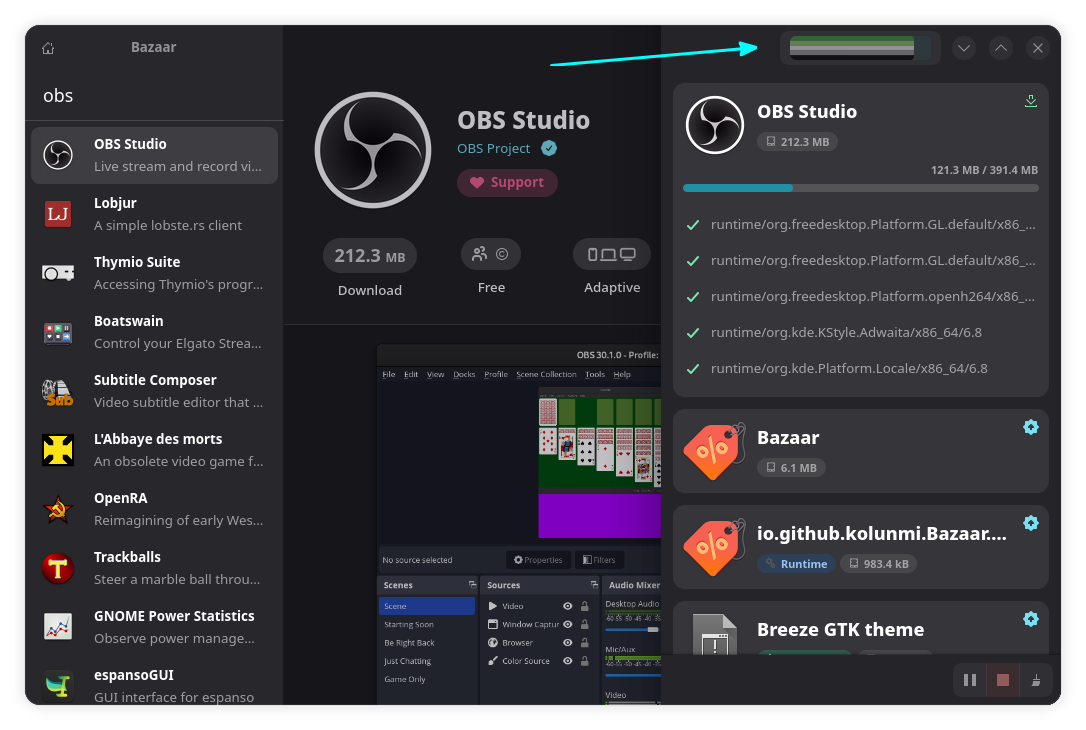
You can see an Aromantic Flag applied for the progress bar in the screenshot below.

The (Almost) Perfect Linux Marketplace App for Flatpak Lovers
Progress bar style applied

Show only open source apps

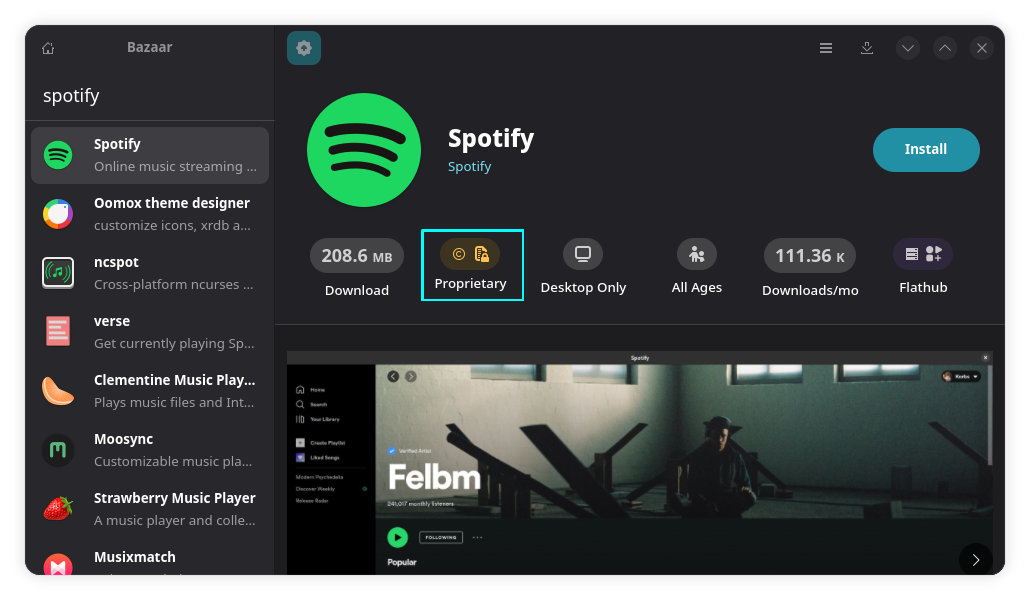
Flathub has both open source and proprietary software available. The licensing information is displayed on an individual application page.

The (Almost) Perfect Linux Marketplace App for Flatpak Lovers
Non-free apps in search result

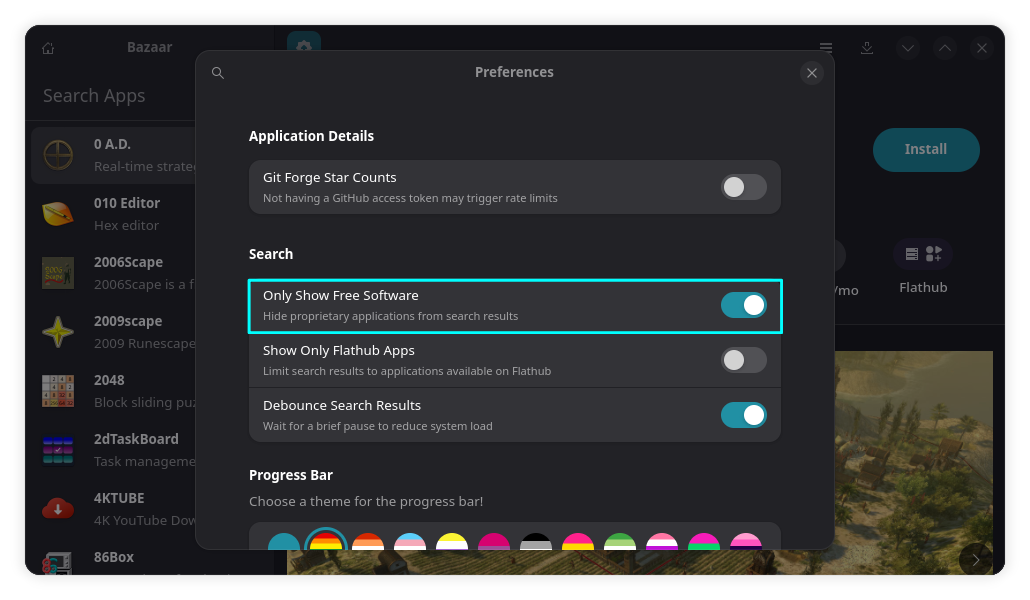
Now, some people don't want to install proprietary software. For them, there is the option to only show open source software in Bazaar.

You can access this option by going to preferences from the hamburger menu and toggle on the button, "Show only free software".

The (Almost) Perfect Linux Marketplace App for Flatpak Lovers
Show only free software settings
📋
Repeated reminded. Free in FOSS means free as in freedom, not free as in beer.

Refresh the content using the shortcut CTRL + R and you should not see proprietary software anymore.

The (Almost) Perfect Linux Marketplace App for Flatpak Lovers
No non-free software in results

Application download statistics

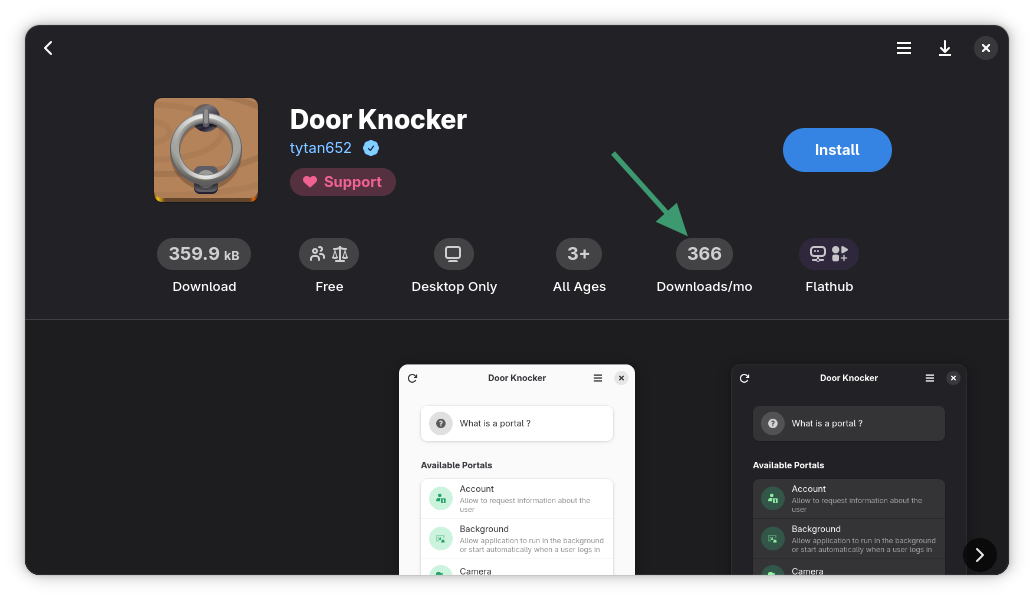
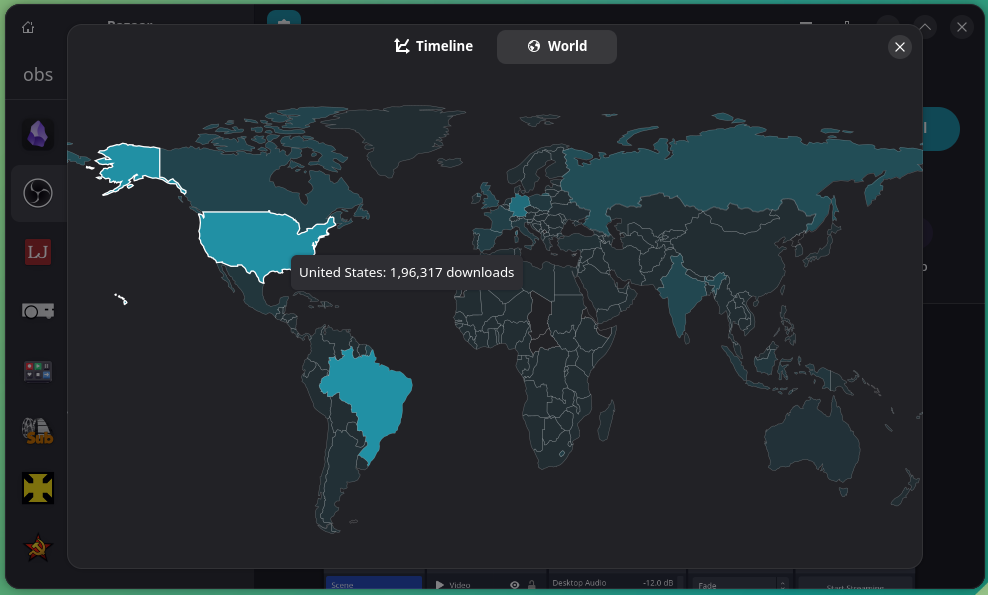
In an app page, you can click on the Monthly Downloads section to get a chart view and a map view.

The (Almost) Perfect Linux Marketplace App for Flatpak Lovers

The map view shows the download per region of that app.

The (Almost) Perfect Linux Marketplace App for Flatpak Lovers
Download per location

The chart view gives you an overview of the download stats.

The (Almost) Perfect Linux Marketplace App for Flatpak Lovers
Download overview chart

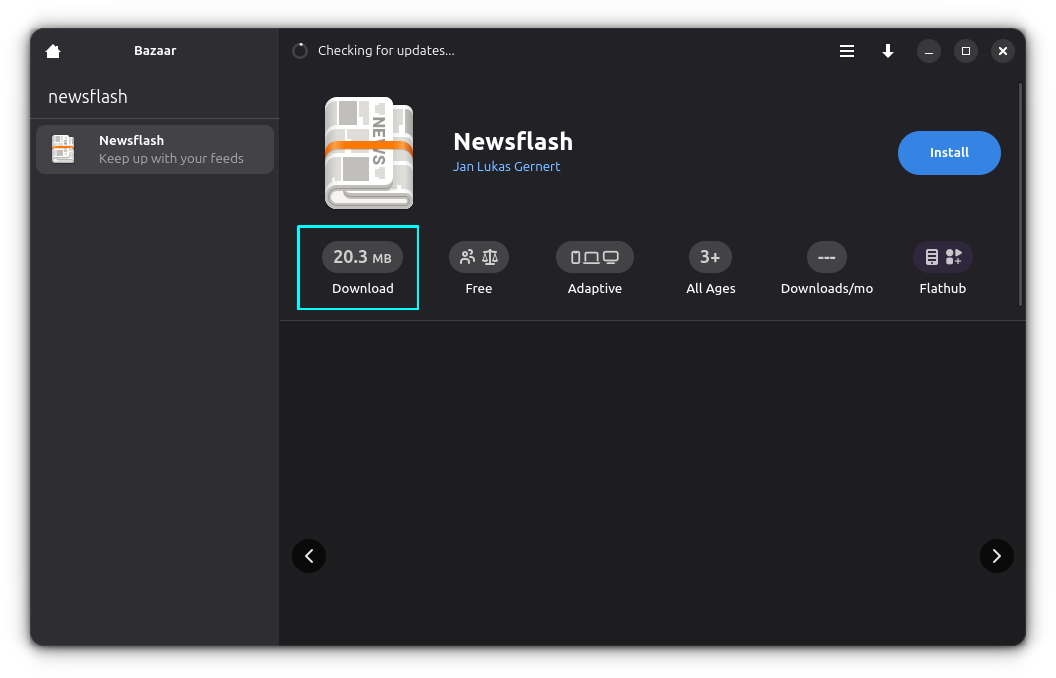
Other than that, if you click on the download size of an application in the app page:

The (Almost) Perfect Linux Marketplace App for Flatpak Lovers
Click on download size

You can see a funny download size table, comparing the size of the Flatpak applications with some facts.

The (Almost) Perfect Linux Marketplace App for Flatpak Lovers
Funny download size chart

Easily manage addons

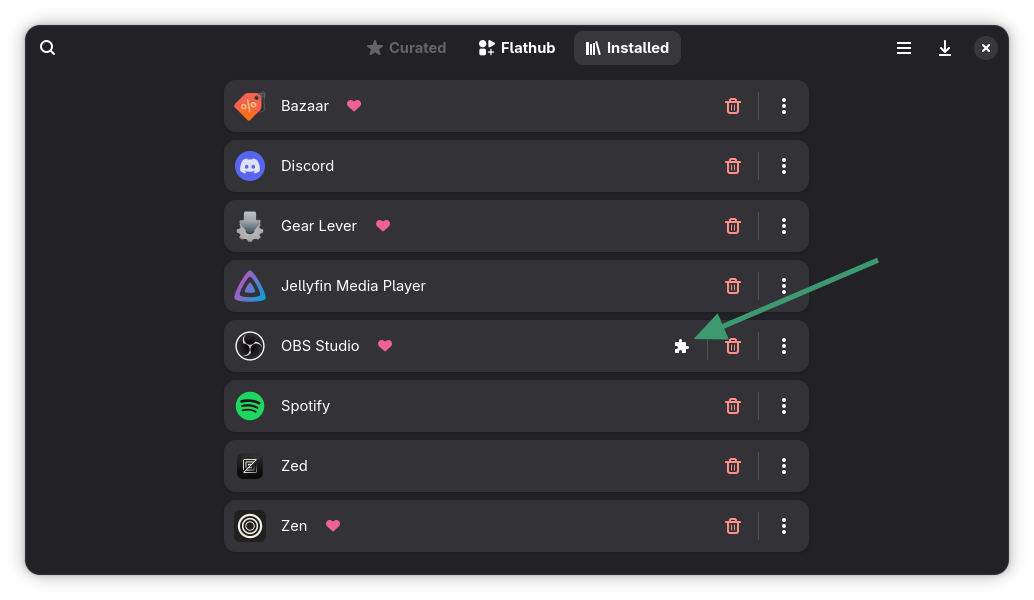
Some apps, like OBS Studio, have optional add-on packages. Bazaar indicates the availability of add-ons in the Installed view. Of course, the add-ons have to be in Flatpak format. This feature comes from Flathub.

The (Almost) Perfect Linux Marketplace App for Flatpak Lovers

When you click the add-ons option, it will show the add-ons available for installation.

The (Almost) Perfect Linux Marketplace App for Flatpak Lovers
Manage add-ons

Removing installed Flatpak apps

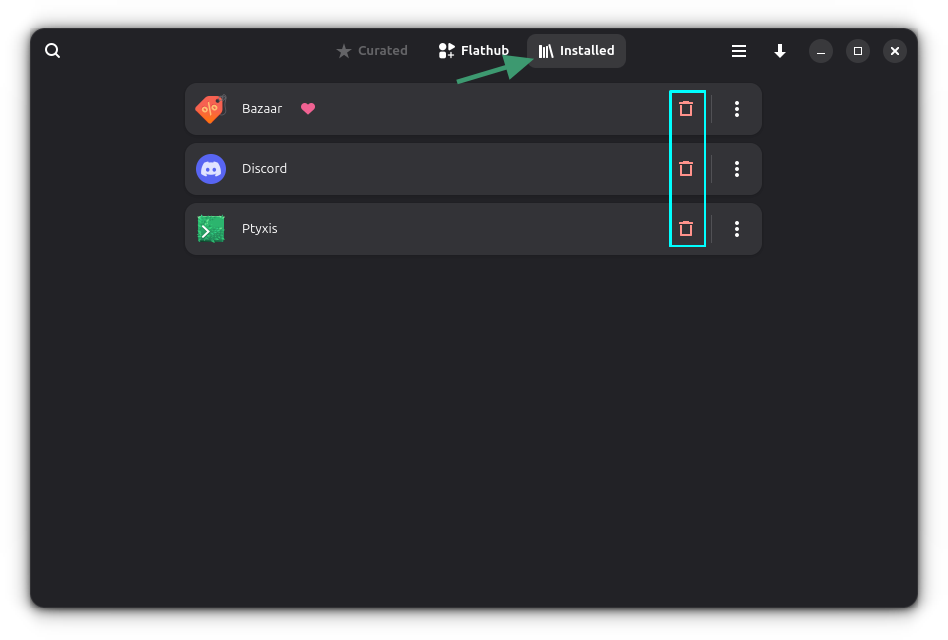
You can easily remove installed Flatpak apps from the Installed view.

The (Almost) Perfect Linux Marketplace App for Flatpak Lovers
Remove applications

This view shows all the installed Flatpak packages on your system, even the ones you did not install via Bazaar.

More than just Flathub

By default, Bazaar includes applications from Flathub repository. But if you have added additional remote Flatpak repositories to your system, Bazaar will include them as well.

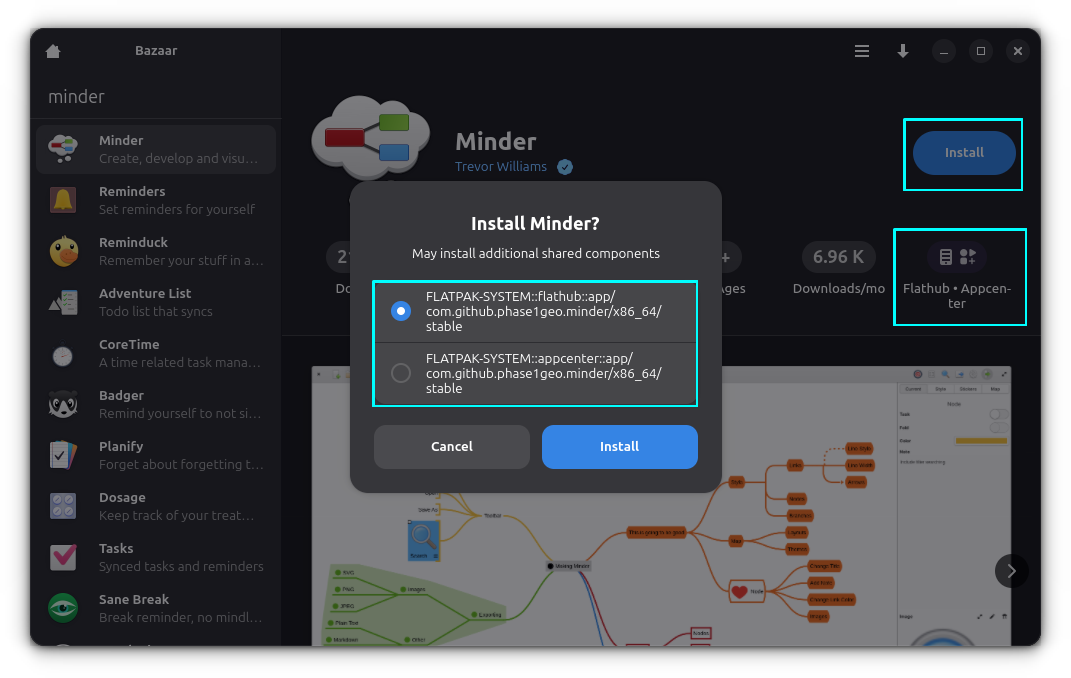
It's possible that an application is available in more than one remote Flatpak repositories. You can choose which one you want to use from the application page.

The (Almost) Perfect Linux Marketplace App for Flatpak Lovers
Select an installation repository

Although, I would like to have the ability to filter applications by repositories. This is something that can be added in the future versions.

Installing Bazaar on Linux

No prizes for guessing that Bazaar is available as a Flatpak application from Flathub. Presuming that you have already added Flathub remote repo to your system, you can install it quickly with this command:

flatpak install flathub io.github.kolunmi.Bazaar

If you are using Fedora or Linux Mint, you can install Bazaar from the software center of respective distributions as well.

The (Almost) Perfect Linux Marketplace App for Flatpak Lovers

Wrapping Up

Overall, this is a decent application for Flatpak lovers. There is also a 'curated' option available for distributors. Which means if some new distros want to package Bazaar as ist software center, they can have a curated list of applications for specific purpose.

Is it worth using it? That is debatable and really up to you. Fedora and Mint already provide Flatpak apps from their default software center. This could, however, be a good fit for obscure window managers and DEs. That's just my opinion and I would like to know yours. Please share yours in the comment section.


from It's FOSS https://ift.tt/Yb34t6N
via IFTTT

Jumat, 31 Oktober 2025

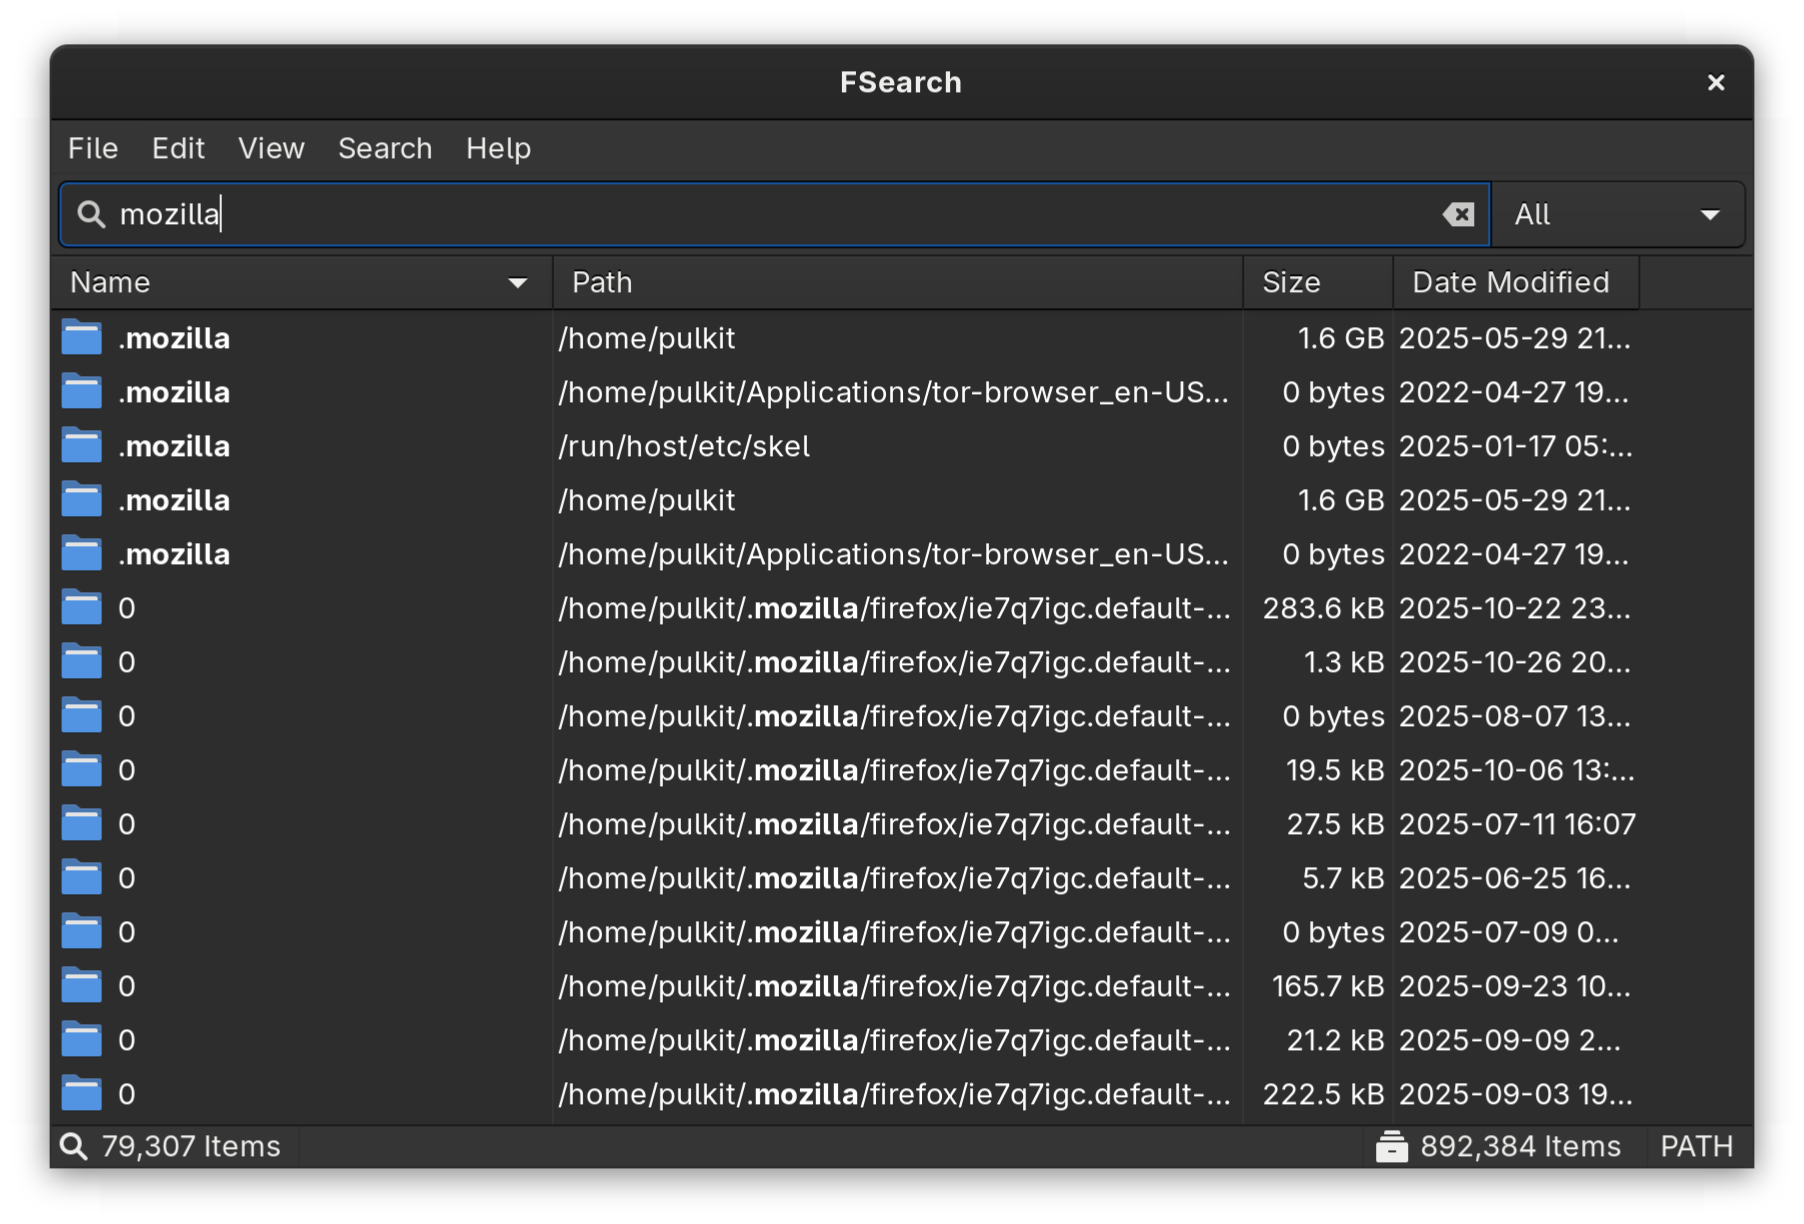
I Found Everything Search Engine Alternative for Linux Users

I Found Everything Search Engine Alternative for Linux Users

A desktop-wide search application can be the key to speeding up your workflow by a significant amount, as anything you might look for will almost be at your fingertips at any given moment.

Today, we'll be looking at a GUI desktop application that does exactly that.

FSearch: Fast, Feature-rich GUI Search App

FSearch is a fast file search application, inspired by Everything Search Engine on Windows.

It works in an efficient way without slowing down your system, giving you results as you type the keywords in. The way it does this is by indexing the files from the directories in advance, updating them at a fixed interval, and storing that information to search through whenever the application is used.

I Found Everything Search Engine Alternative for Linux Users

It is written in C and based on GTK3, which is ideal for GNOME users but might not look as good on Qt based desktop environments like KDE. Let's look at some of the features this utility offers.

Index Inclusion/Exclusion

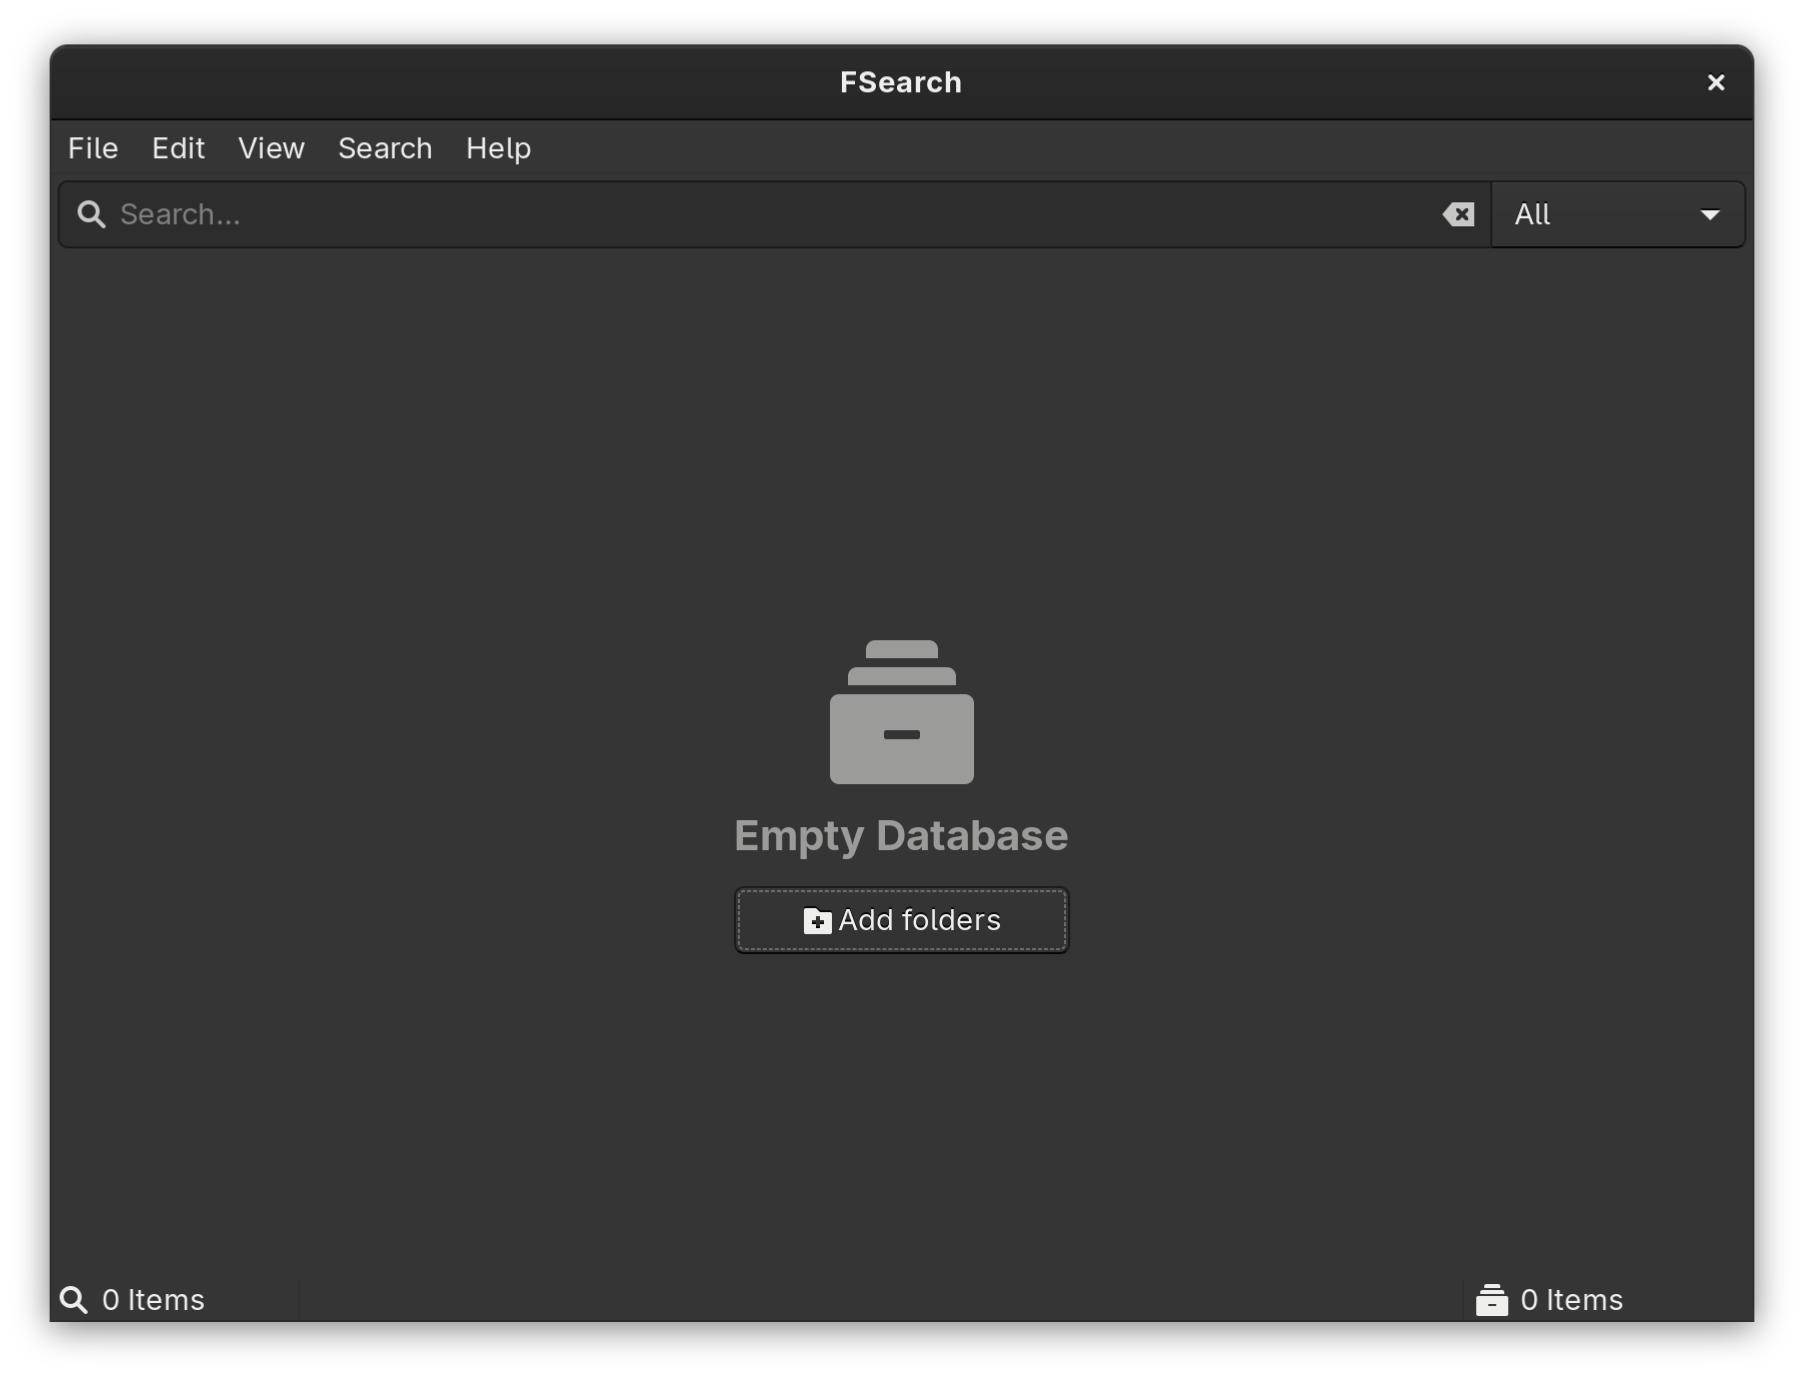
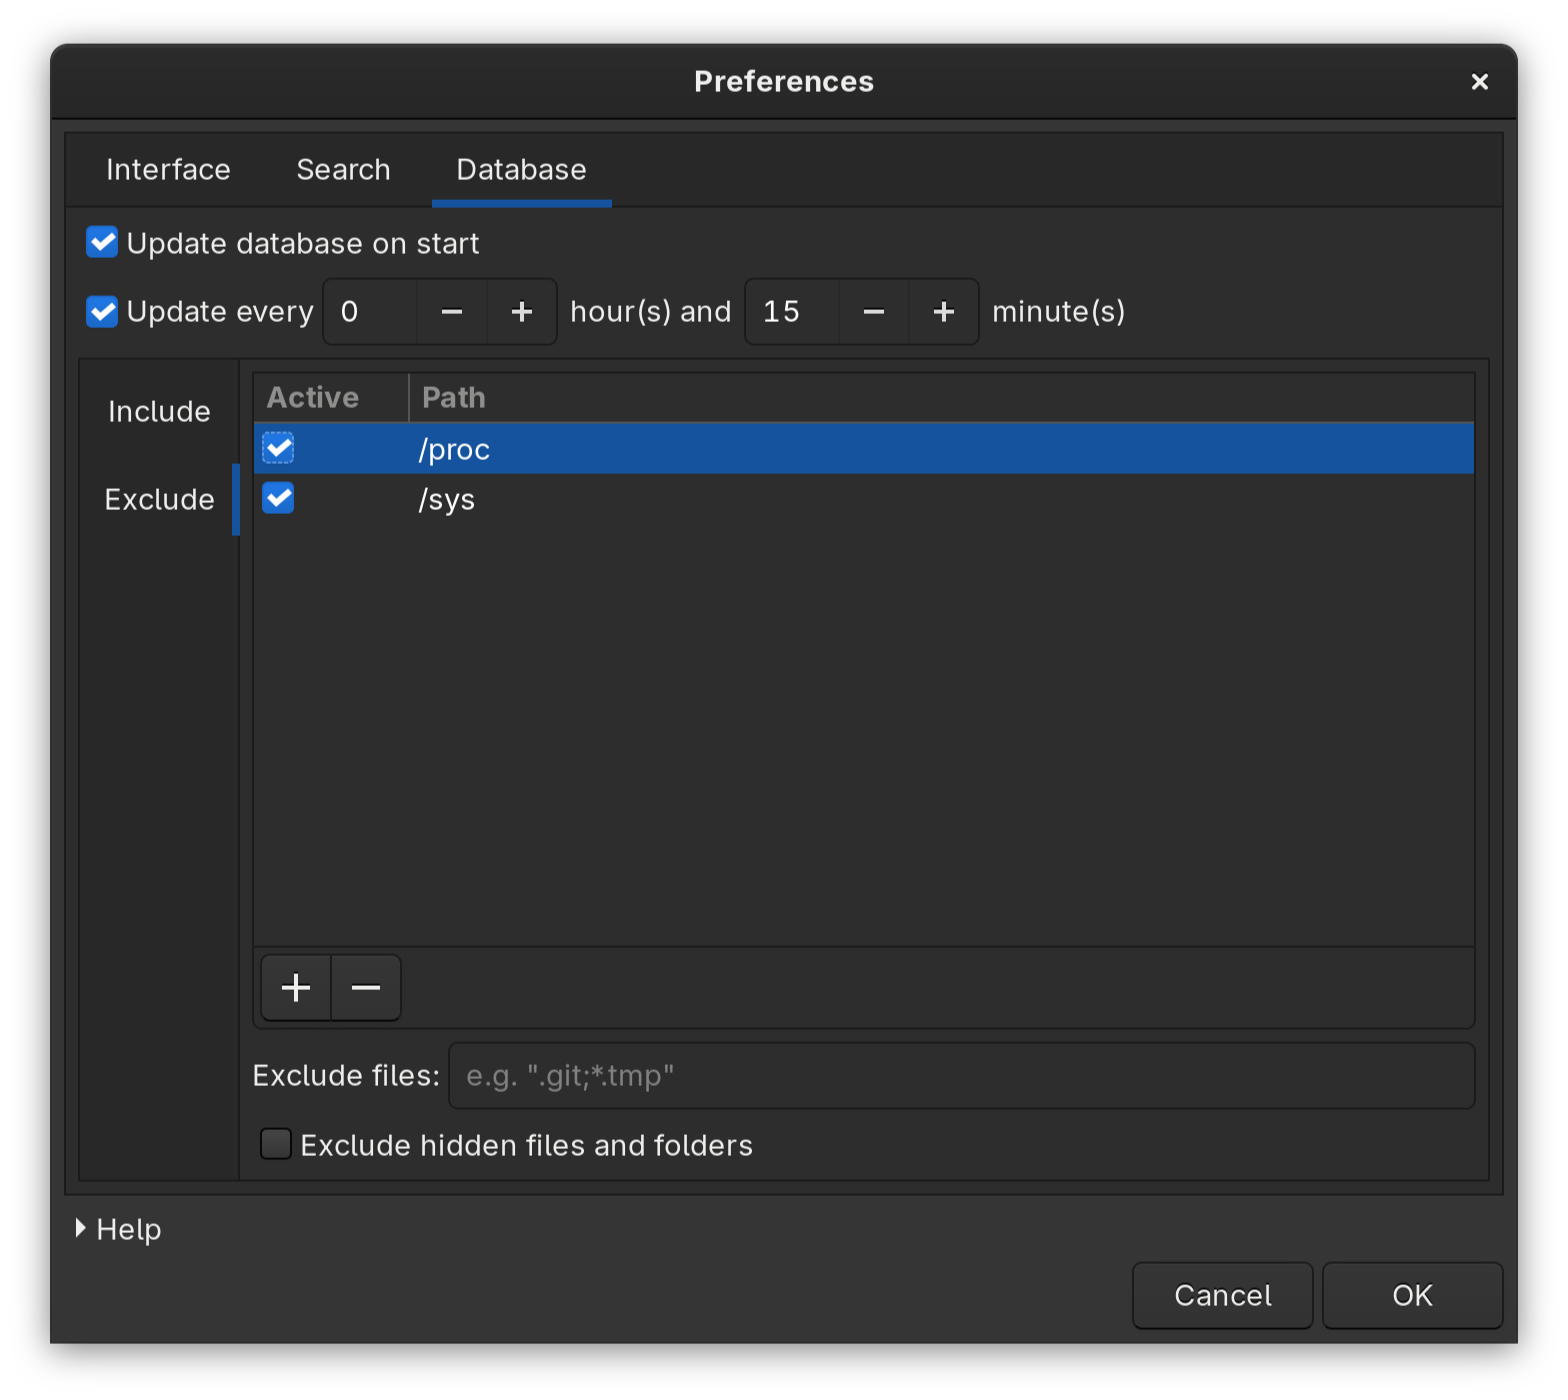
The first thing that you need to do after installation and the most crucial aspect of all is to specify to the utility what are the directories that you want it to search for anything in. Besides the inclusion category, you can also specify what directories you want excluded from the search. Another extremely helpful option is to exclude the hidden files from being searched which can be the case if you only want to search the files as you see them on your file explorer.

I Found Everything Search Engine Alternative for Linux Users

Besides that, you can also configure how often the database needs to be refreshed and updated. This will depend on how often the relevant files on your system change, and hence should be your own choice.

Wildcard and RegEx Support

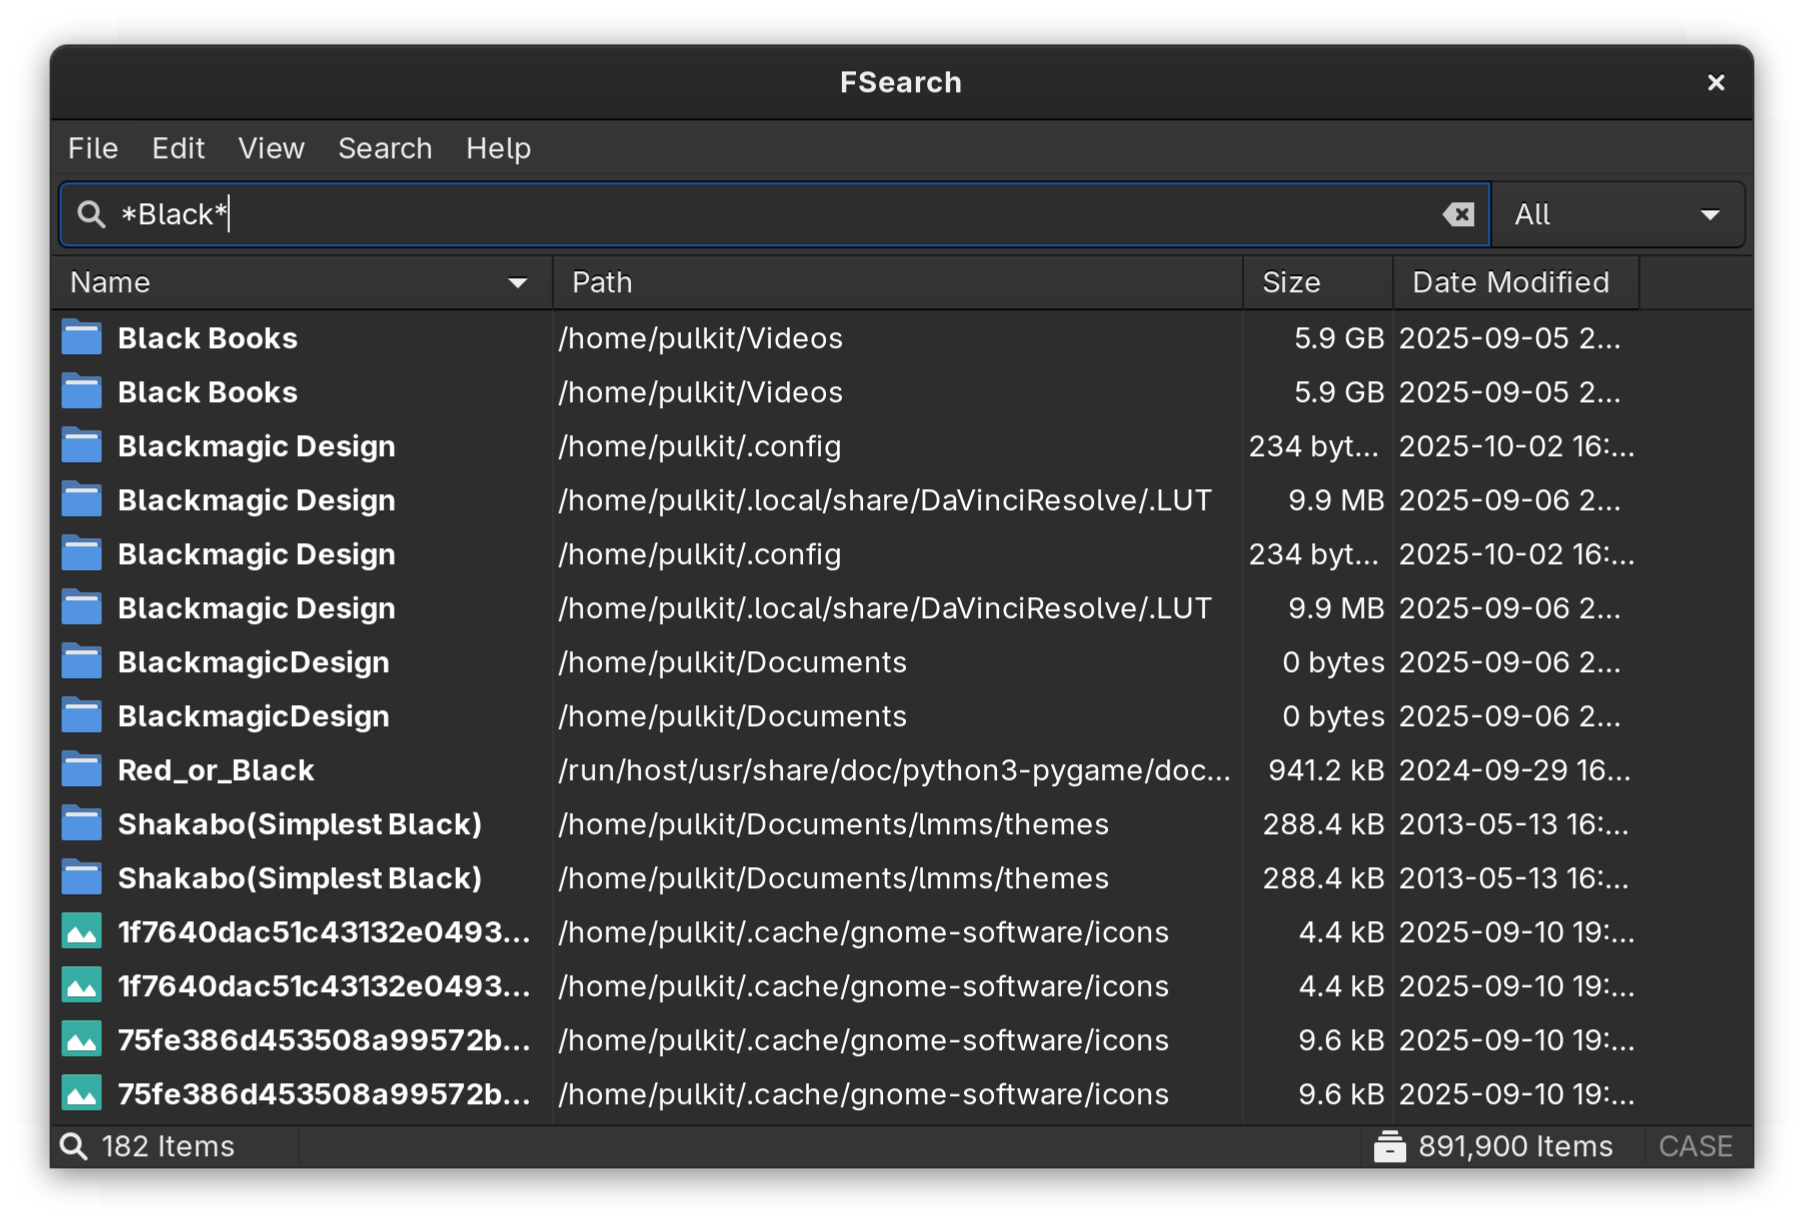
The search input supports the wildcard mode by default, which are often used for specifications on the command line. For example, if I want to search for all files that contain "Black" in the name, I can give the input as such:

I Found Everything Search Engine Alternative for Linux Users

Here, "*" essentially means everything. So any files with anything at all before and after the word "Black" will be listed. There are many more wildcards like this such as "?" for one missing character, and "[ ]" specifying ranges. You can read more about them here.

The other option is to specify the search results by the RegEx formatting, which is a different style in itself. It can be activated using Ctrl+R, and switched by the same.

Fast Sort

You can quickly sort out the results based on name, path, size or last modification date right from the interface, as the results are shown with these details present. All it takes is one click on the right detail header (or two clicks if you want them in a descending instead of an ascending order).

Filetype Filter

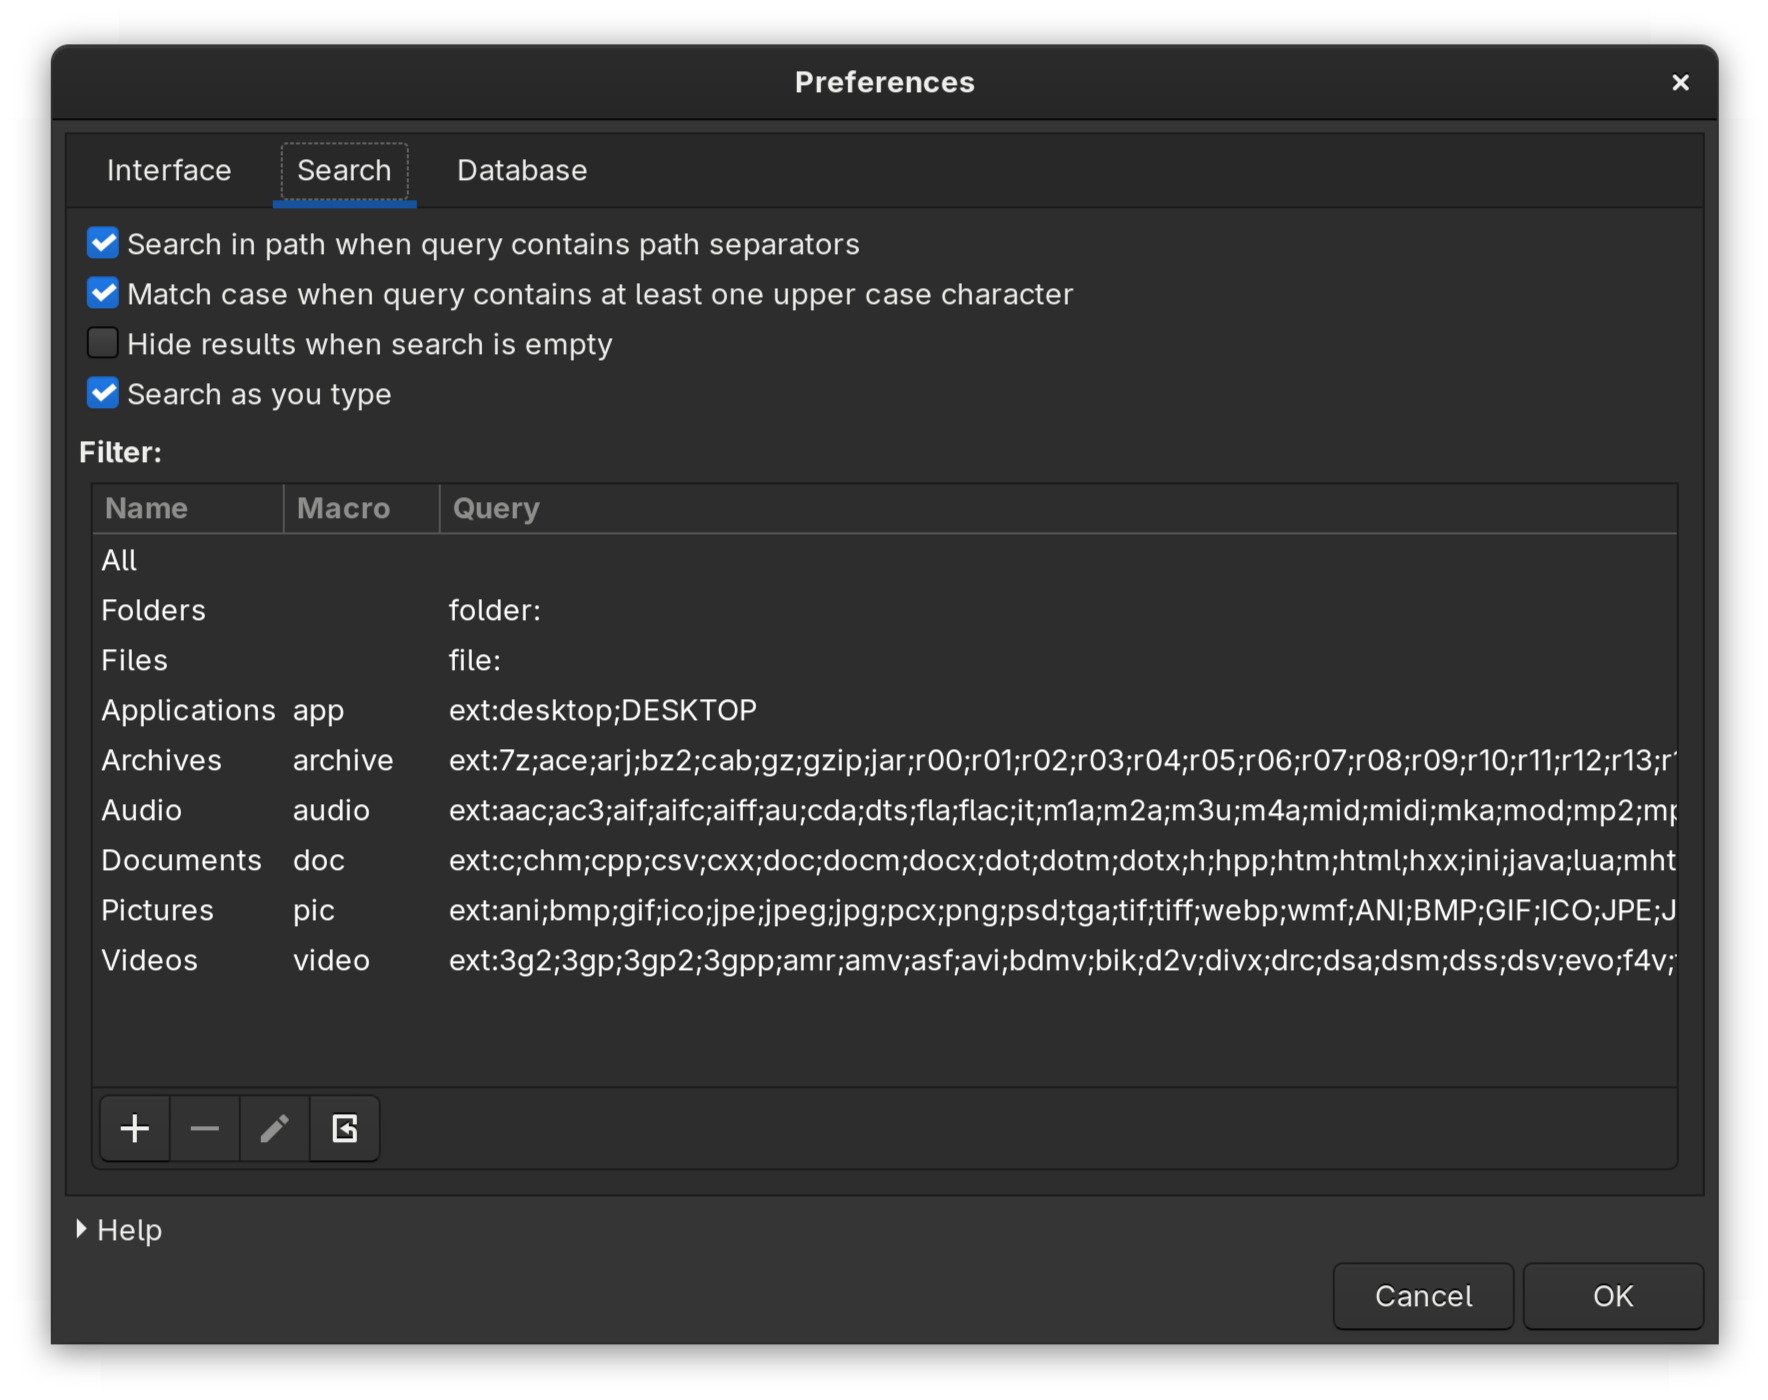
The searched files can be of different categories defined in the utility itself, which are defined by the extensions of the files that the results yield. There is a button on the right of the search bar where the search results category can be specified, the default being "All". The categories are:

  • All
  • Files
  • Folders
  • Applications (such as .desktop)
  • Archives (such as .7z, .gzip, .bz)
  • Audio (such as .mp3, .aac, .flac)
  • Documents (such as .doc, .csv, .html)
  • Pictures (such as .png, .jpg, .webp)
  • Videos (such as .mp4, .mkv, .avi)

The excellent feature is that these categories and their list of extensions are modifiable. You can add or change any of the options if it doesn't fit your needs well.

I Found Everything Search Engine Alternative for Linux Users

Search in Specific Path

Another interestingly important search option is to also search in the path of the filenames. This becomes relevant when you remember the approximate location of the file or part of the path or something as such. It seems like a minor detail but can be a real savior when the appropriate time arises. An example of it can be this:

I Found Everything Search Engine Alternative for Linux Users

This mode can be activated using the keyboard shortcut Ctrl+U.

Other Features

There are other minor features that help in the customization, such as toggling the case sensitivity of the search terms (which can also be done with the Ctrl+I keyboard shortcut), single-clicking to open files, pressing Esc to exit, remembering window size on closing, etc.

Installing FSearch on Linux

FSearch is available on various distributions in multiple different ways. First, to cover the distro-independent option, Flatpak. FSearch exists on Flathub and can be installed with a simple search on any distribution where Flathub is enabled internally in the app store such as Fedora. If not from the store, you can find the .flatpakref file here and (considering it is downloaded in the Downloads folder) install it with:

sudo flatpak install io.github.cboxdoerfer.FSearch.flatpakref

On Ubuntu based distributions, there are two options, a stable release and a daily one. To add the repository the stable version, enter this command:

sudo add-apt-repository ppa:christian-boxdoerfer/fsearch-stable

Whereas for the daily release:

sudo add-apt-repository ppa:christian-boxdoerfer/fsearch-daily

In either case, then enter the following commands after to install the application:

sudo apt update
sudo apt install fsearch

On Arch-based distributions, use the following command:

sudo pacman -S fsearch

On Fedora, the installation can be done by entering:

dnf copr enable cboxdoerfer/fsearch
dnf install fsearch

If none of these apply, you can always install from source or find instructions on the official website.

Final Thoughts

FSearch does what it claims to do without exceptions and hurdles. It is very fast, not very taxing on the hardware, has very sensible configuration options, and looks pretty good while doing its job. A huge recommendation from my side would be to add a keyboard shortcut to open FSearch (the process will depend on your distribution), something very accessible like Shift+S perhaps to easily open the utility and use it immediately.

I know that for many Linux users, nothing replaces the find command clubbed with xargs and exec but still, not all desktop Linux users are command line ninjas. That's why desktop search apps like FSearch, ANGRYsearch and SearchMonkey exist. Nautilus' built-in file search works well, too.

Mastering Nautilus File Search in Linux Desktop
Become a pro finder with these handy tips to improve your file search experience with GNOME’s Nautilus file search.
I Found Everything Search Engine Alternative for Linux Users

Please let us know in the comments if this is an application you'd like to use, or if you have any other preferences. Cheers!


from It's FOSS https://ift.tt/qbYFcax
via IFTTT

Kamis, 30 Oktober 2025

Here's How You Can Customize Linux Desktop for Halloween [Dot Files Included]

Here's How You Can Customize Linux Desktop for Halloween [Dot Files Included]

Halloween is here. Some people carve pumpkins, I crafted a special set up for my Arch Linux 🎃

0:00
/0:30

In this tutorial, I'll share with you all the steps I took to give a Halloween-inspired dark, spooky makeover with Hyprland. Since it is Hyprland, you can relatively easily replicate the setup by getting the dot files from our GitHub repository.

🚧
This specific setup was done with Hyprland window compositor on top of Arch Linux. If you are not using Hyprland and still want to try it, I advise installing Arch Linux in a virtual machine.

If videos are your thing, you can watch all the steps in action in this video on our YouTube channel.

Step 1: Install Hyprland and necessary packages

First, install all the essential Hyprland packages to get the system up and running:

sudo pacman -S hyprland xdg-desktop-portal-hyprland hyprpolkitagent kitty

The above will install Hyprland and necessary packages. Now, install other utility packages.

sudo pacman -S hyprpaper hyprpicker hyprlock waybar wofi dunst fastfetch bat eza starship nautilus

What do these packages do? Well, here are some info:

  • hyprpaper: Hyprland Wallpaper utility
  • hyprpicker: Color picker
  • hyprlock: Lock screen utility
  • waybar: Waybar is a Wayland panel
  • wofi: Rofi launcher alternative, but for Wayland. Rofi can be used. In fact, we have some preset config for Rofi in our GitHub repository. But Wofi was selected for this video.
  • dunst: Notification daemon.
  • fastfetch: fastfetch is a system information display utility.
  • bat: Modern alternative for cat command.
  • eza: Modern ls command alternative
  • starship: Starship is a prompt customization tool.
  • nautilus: Nautilus is the file manager from GNOME.

Step 2: Install and enable display manager

You need a display manager to login to the system. We use SDDM display manager. GDM also works fine with Hyprland.

sudo pacman -S sddm

Once SDDM package is installed, enable the display manager on boot time.

sudo systemctl enable sddm.service
Here's How You Can Customize Linux Desktop for Halloween [Dot Files Included]
Enable SDDM


Now, reboot the system. When login prompt appears, login to the system.

Here's How You Can Customize Linux Desktop for Halloween [Dot Files Included]
Login to Hyprland

Step 3: Install other utility packages

Once essential Hyprland packages are installed and you are logged in, open a terminal in Hyprland using Super + Q. Now install Firefox browser using:

sudo pacman -S firefox

It's time to install theme packages. Hyprland is not a desktop environment in the sense of what GNOME or KDE is. Yet you may still use some apps developed for GNOME (GTK apps) or Qt apps.

To theme, you need to install theme managers for respective system:

  • nwg-look: To apply theme to GTK apps.
  • qt5ct: To apply theme to Qt5 apps.

Install these packages using the command:

sudo pacman -S qt5ct nwg-look
🚧
If you are using a minimal installation of Arch Linux, you may need to install an editor like nano to edit file in terminal.

Step 4: Change the monitor settings

In most cases, Hyprland should recognize the monitor and load accordingly. But in case you are running it in a VM, it will not set the display size properly.

Even though we give full configuration at a later stage, if you want to fix the monitor, use the command:

monitor=<Monitor-name>,1920x1080,auto,auto
Here's How You Can Customize Linux Desktop for Halloween [Dot Files Included]
Monitor settings

It is important to get the name of the monitor. Use this command:

hyprctl monitors

Remember the name of your monitor.

Here's How You Can Customize Linux Desktop for Halloween [Dot Files Included]
Get monitor name

Step 5: Download our custom Hyprland dot files

Go to It's FOSS GitHub page and download the text-script-files repository.

Here's How You Can Customize Linux Desktop for Halloween [Dot Files Included]
Download config files

You can also clone the repo, if you want using the command:

git clone https://github.com/itsfoss/text-script-files.git

But the above needs git installed.

If you have downloaded the zip file, extract the archive file. Inside that, you will find a directory config/halloween-hyprland. This is what we need in this article.

Step 6: Copy wallpaper to directory

Copy the images in the wallpapers folder to a directory called ~/Pictures/Wallpapers. Create it if it does not exist, of course.

mkdir -p ~/Pictures/Wallpapers
Here's How You Can Customize Linux Desktop for Halloween [Dot Files Included]
Copy wallpapers

Step 7: Download GTK theme, icons and fonts

Download the Everforest GTK theme dark borderless macOS buttons.

Here's How You Can Customize Linux Desktop for Halloween [Dot Files Included]
Download GTK theme

Download Dominus Funeral icon theme dark style.

Here's How You Can Customize Linux Desktop for Halloween [Dot Files Included]
Download Icon theme

Download the "Creepster" font from Google Fonts website.

Next, create ~/.themes, ~/.icons, and ~/.fonts respectively:

mkdir -p ~/.themes ~/.icons ~/.fonts

And we need to paste theme, icon, and font files in their respective locations:

  • Extract the "Creepster" font file and place it at ~/.fonts.
  • Extract the theme file and paste it at ~/.themes.
  • Extract the icon file and paste it at ~/.icons
Here's How You Can Customize Linux Desktop for Halloween [Dot Files Included]
Paste thems, icons, and fonts

Step 8: Install other nerd fonts

Install Nerd fonts like:

If you are in Arch Linux, open a terminal and run the command:

sudo pacman -S ttf-firacode-nerd ttf-cascadia-code-nerd ttf-cascadia-mono-nerd woff2-font-awesome ttf-jetbrains-mono

Step 9: Verify Waybar and Hyprland config

Open the config.jsonc file on the downloaded directory and replace any occurrence of Virtual-1 with your monitor name.

For GNOME Box VM, it is Virtual-1. On my main system, I have two monitors connected. So, the names for my monitors are HDMI-A-1 and HDMI-A-2. Note the name of the monitors as we saw in Step 4:

hyprctl monitors

Now in the Waybar config, change the monitor name from Virtual-1 to the name of your monitor. Change all such occurrences.

📋
You can use any editor's find and replace feature. Find complete word Virtual-1 and replace it with your monitor name. If you are using nano, follow this guide to learn search and replace in nano editor.

Also, take a look at the panel item. If you see any item that is not needed in the panel, you can remove it from the [modules-<position>] part.

👉 Similarly, open the hyprland config in the downloaded directory. Change all reference to Virtual-1 to your monitor name. Similarly, replace monitor name in the hyprlock and hyprpaper config files.

Step 10: Copy and paste config files

Copy the following directories (in the downloaded GitHub files) and paste it to the ~/.config folder.

  • waybar: Waybar panel configs and styles.
  • wofi: Application launcher config
  • dunst: Customized dunst notification system.
  • starship.toml: Customized starship prompt.

If you are using a GUI file manager, copy all file/folders except hypr, wallpaper, and README.

Here's How You Can Customize Linux Desktop for Halloween [Dot Files Included]
Copy except hypr and wallpaper

Step 11: Replace Hyprland config

We did not copy hypr folder, because there is already a folder called hypr in every Hyprland system, which contains the minimal config.

I don't want to make it vanish. Instead, keep it as a backup.

cp ~/.config/hypr/hyprland.conf ~/.config/hypr/hyprland.conf.bak

Now, exchange the content of the hyprland.conf in your system with the customized content. Luckily, the mv command has a convenient option called -exchange.

mv --exchange ~/.config/hypr/hyprland.conf /path/to/new/hyprland/config
🚧
What the above command does is swap the contents of your default hyprland config with the one we created.
Here's How You Can Customize Linux Desktop for Halloween [Dot Files Included]
Backup and replace Hyprland config

Step 12: Paste hyprlock and hyprpaper configs

Now, copy the hyprlock.conf and hyprpaper.conf file to ~/.config/hypr directory.

Here's How You Can Customize Linux Desktop for Halloween [Dot Files Included]
Copy hyprlock and hyprpaper config files

Step 13: Change themes

Open the NWG-Look app and set the GTK theme and font (Creepster font) for GTK apps:

Here's How You Can Customize Linux Desktop for Halloween [Dot Files Included]
Set GTK Theme and font

Now, change icon theme:

Here's How You Can Customize Linux Desktop for Halloween [Dot Files Included]
Set icon theme for GTK apps

This app automatically adds necessary file links in the ~/.config/gtk-4.0. Thanks to this feature, you don't need to apply theme manually to the GTK4 apps.

Open the Qt5ct app and change the theme to darker.

Here's How You Can Customize Linux Desktop for Halloween [Dot Files Included]
Apply Qt Darker theme

Now, apply icon theme:

Here's How You Can Customize Linux Desktop for Halloween [Dot Files Included]
Qt icon theme

And change the normal font to "Creepster":

Here's How You Can Customize Linux Desktop for Halloween [Dot Files Included]
Qt font style

Step 14: Set Starship and aliases

First, paste some cool command aliases for the normal ls and cat command, using the modern alternatives eza and bat respectively. This is optional, of course.

Open ~/.bashrc in any editor and paste these lines at the bottom of this file:

alias ls='eza -lG --color always --icons'
alias la='eza -alG --color always --icons'
alias cat='bat --color always --theme="Dracula"'

Now, to enable Starship prompt, paste the starship eval line to the ~/.bashrc and source the config.

Here's How You Can Customize Linux Desktop for Halloween [Dot Files Included]
Edit bashrc
eval "$(starship init bash)"

source ~/.bashrc
Here's How You Can Customize Linux Desktop for Halloween [Dot Files Included]
Customized starship prompt

Once all this is done, restart the system, and log back in to see the Halloween themed Hyprland.

Hyprland Halloween Makeover

Enjoy the spooky Hyprland set up. Happy Halloween 🎃


from It's FOSS https://ift.tt/5sXySTp
via IFTTT